Migration Profiles How-Tos
How do I create or modify a Migration Profile?
- Login to Power365 and open your project of choice.
Choose Profiles from the top left pulldown menu
to navigate to the Migration Profile Management view.
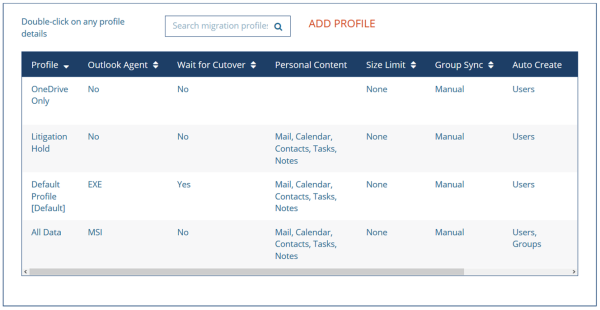
Click Add Profile to create a new profile. See figure 1.
Figure 1: Migration Profile Management View – Add Profile
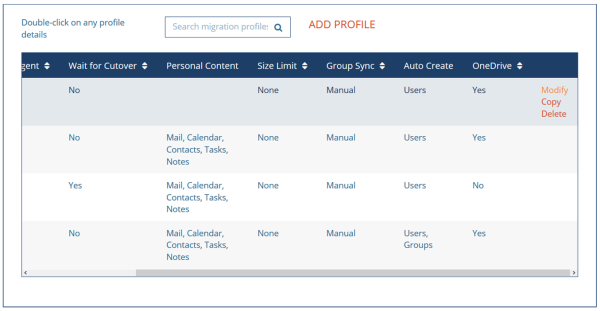
- Click Modify to edit an existing profile.
- Click Copy to duplicate an existing profile.
Click Delete to remove an existing profile.
Figure 2: Migration Profile Management View – Modify, Copy, Delete
How do I assign a migration profile to a wave?
There are two methods to set a migration profile on a user(s).
Set per User – Set the profile on individual users.
Select the user or users in the user management view.
Select the Add to Profile action.
Click the Apply action.
Choose the desired Profile.
Click OK to apply.
Set per Wave – Set the profile on individual users assigned to a wave.
Select the wave or waves in the wave management view.
Select the Add to Profile action.
Click the Apply action.
Choose the desired Profile.
Click OK to apply to all users in the wave(s).
Figure 3: User Action - Add to Profile
How do I customize the cutover email?
During a user cutover, the user will receive a final cutover email from Power365 informing them the migration is complete and they may now cutover their Outlook client if needed.
To customize this cutover email:
- Confirm you would like to edit the default subject and body of the cutover email during the migration profile setup.
- Download the default template for editing.
- Edit the subject and body of the default template. Note that the subject has a 256 character limit.
- Upload your custom template.
To review the formatting of the cutover email, click the Test icon to send a test cutover email to an email address of your choice.
Note that the cutover email can be resent to users by using the Send Cutover Email action.


