Reports Tab
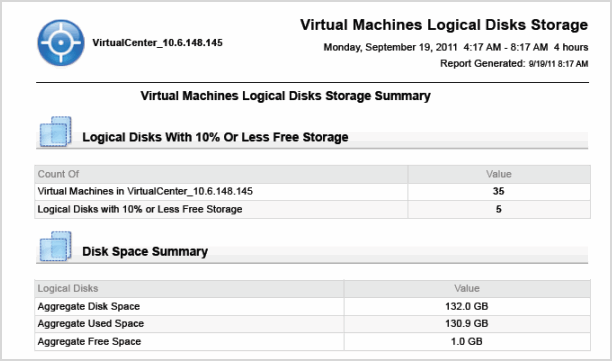
The Reports tab allows you to create, copy, and edit reports created from predefined templates. This tab provides the following sections:
|
• |
|
• |
Tasks
|
1 |
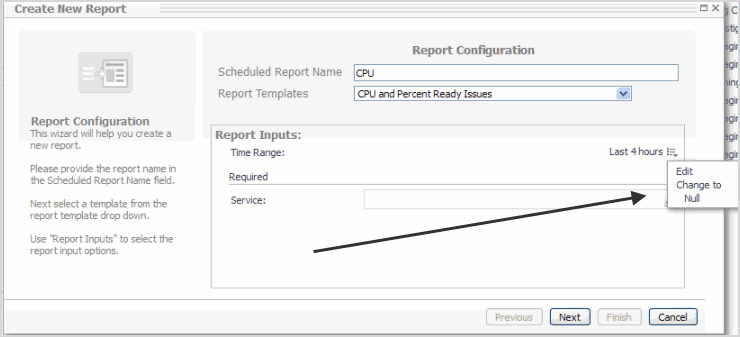
Click Create New Report. |
|
• |
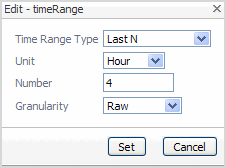
Edit—displays the Edit-time Range dialog. |
|
• |
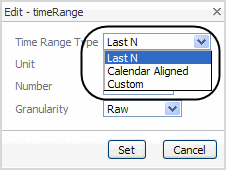
Time Range Type—sets the time range type. |
|
• |
Unit—sets the unit of the time range (Year, Month, Week, Day, Hour, Minute, Second). |
|
• |
Number—sets the time range length. |
|
• |
Granularity—sets the granularity level of the time range, for example 5 minutes. |
|
• |
Change to Null—changes the time range to a null value. |
|
5 |
Click Next. |
|
• |
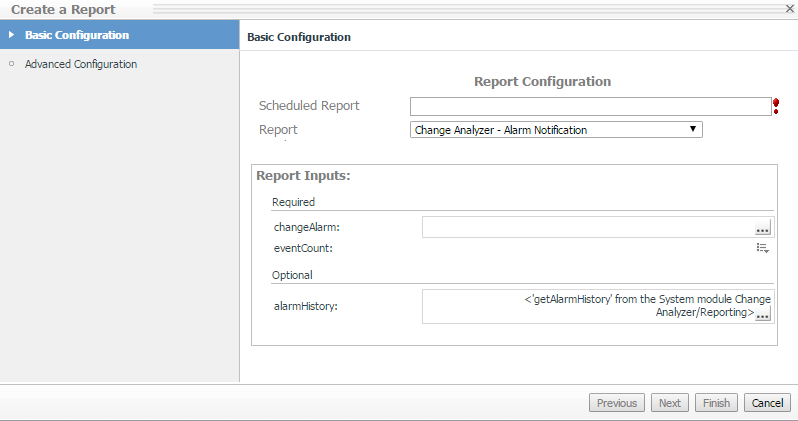
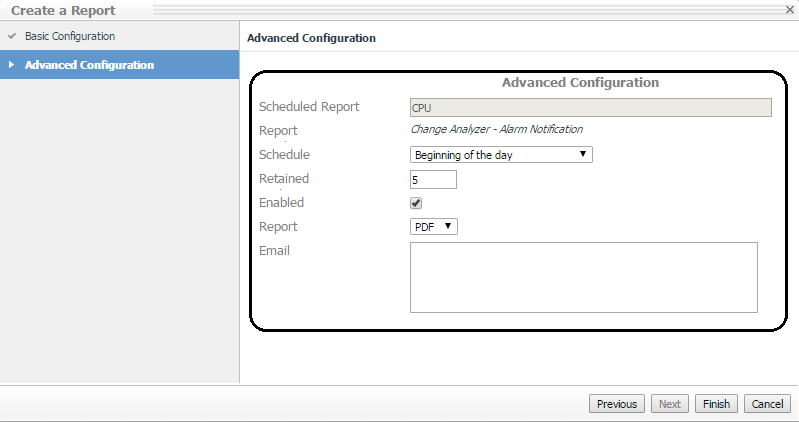
Scheduled Report—name assigned to the report. |
|
• |
Report—report template chosen in the previous dialog. |
|
• |
Schedule—when the report runs. |
|
• |
Retained—the number of reports retained. |
|
• |
Enabled—enables the report to run on its selected schedule. |
|
• |
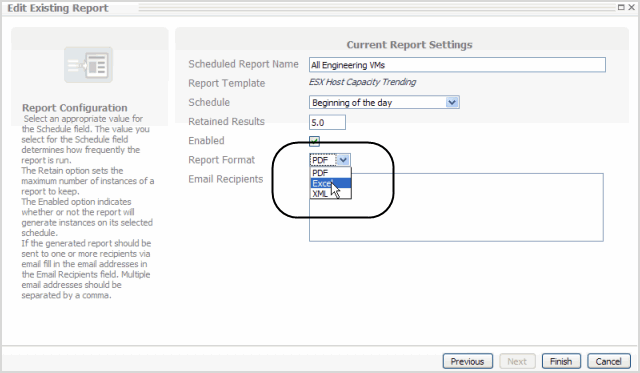
Report—allows you to select a report format: PDF, Excel, or XML. |
|
• |
Email—email addresses are separated by a comma; do not use semi-colons. To receive the reports in email, configure the email server parameters in the Administration dashboard (Administration > Setup & Support > Email Configuration). |
|
6 |
Click Finish. |
|
1 |
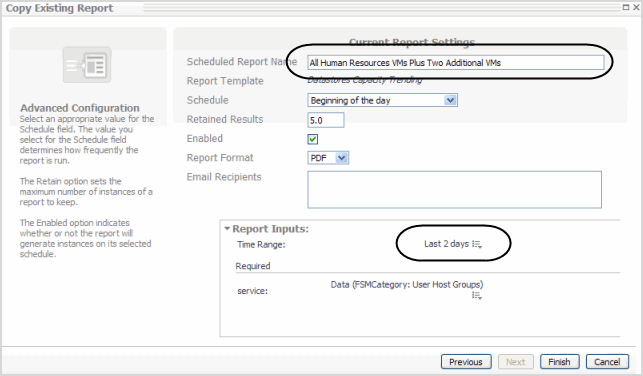
Click Copy Existing Report. |
|
3 |
Click Next. |
|
4 |
Click Finish. |
This view allows you to edit report settings, for example report schedule or format.
|
1 |
Click Edit Existing Report. |
|
3 |
Click Next. |
|
5 |
Click Finish. |
Recent Report History
The Recent Report History table lists all of the the most recently run reports.
|
2 |
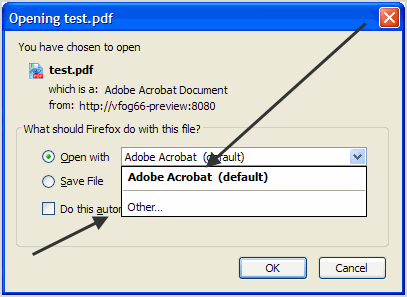
Select the default viewing application or select Other to view the report in another application. |
|
3 |
Click OK. |
About Reports
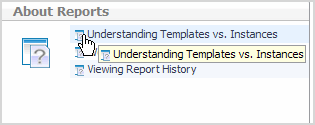
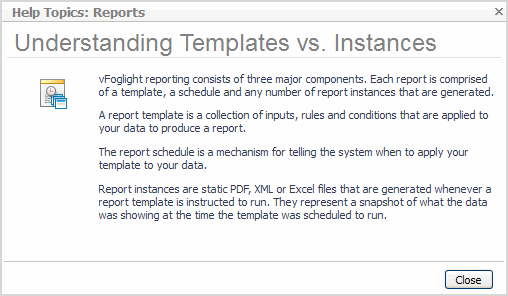
This section displays tooltip help topics on the creation of capacity management reports.

