Configured Password Filter Plugin (Modern Password Sync)
Modern Password Sync requires Quest Directory Sync Password Filter installed in both source and target Active Directory. In a multi-domains forest, at least one Domain Controller per Domain must be configured with Password Filter.
To install the password filter, the following are required
-
One (1) Local Administrator Account for each Microsoft Forest and/or Domain that has permissions to install Password Filter on the Domain Controller.
-
One (1) Domain Controller per domain in a multi-domain forest.
Follow these steps to set up the password filter.
-
Launch the Password Filter installer on the domain controller.
-
Click the Next button.
-
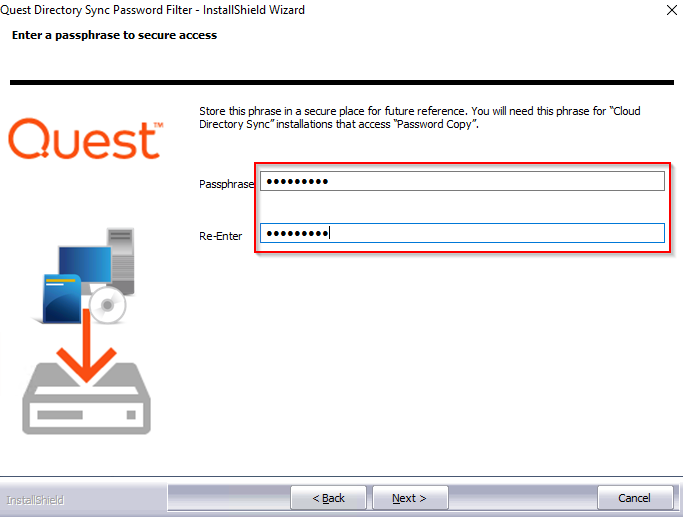
Enter the same Passphrase used during Directory Sync agent installation, the passphrase must be the same for Directory Sync agent to communicate with the Password Filter.
-
Click the Next button.
-
Click the Install button.
-
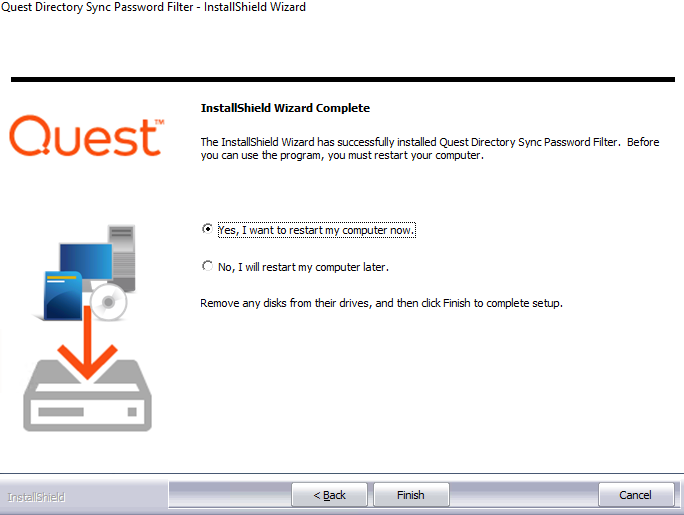
Select ‘Yes, I want to restart my computer now’ and click the Finish button. Note, the domain controller must be restarted as Password Filter runs during startup.
-
Repeat the above step and install the Password Filter in the target Active Directory Domain Controller.
Setup Templates
Before we can build our workflows, it is best to set up your template(s). Templates contain common mappings and settings used to sync Users, Contacts, Devices, Groups, Office 365 Groups and Microsoft Teams. A template can then be applied to any workflow with a Stage Data step.
For the purpose of this guide, the following template will need to be configured to perform Password Synchronization for User Objects. This guide also assume users will be created in the target Active Directory if there is no match found. Additional templates may be created based on your project requirements.
- Local to Local Password Sync
How to create a Local to Local Template
- Navigate to Templates.
- Click New.
- Enter the Name and Description for the template.
- In our example, we will name our template “Local to Local Password Sync”. Click Next
- Click Local as the source environment type. Click Next
- Click Local as the target environment type. Click Next
- Set CREATE NEW USERS AS = AS-IS.
- Set UPDATE CREATED USERS= ENABLE.
- Set UPDATE MATCHED USERS= ENABLE.
- Set IF TARGET ADDRESS EXISTS setting as OVERWRITE ONCE.
- Click Next.
- Set CREATE GROUPS AS = SKIP.
- Set UPDATE CREATED GROUPS = DISABLE.
- Set UPDATE MATCHED GROUPS = DISABLE.
- Click Next.
- Set CREATE NEW CONTACTS AS = DO NOT CREATE.
- Set UPDATE CREATED CONTACTS = DISABLE.
- Set UPDATE MATCHED CONTACTS = DISABLE.
- Click Next.
- Set CREATE NEW DEVICES AS = SKIP.
- Set UPDATE CREATED CONTACTS = DISABLE.
- Set UPDATE MATCHED CONTACTS = DISABLE.
- Click Next.
- Enter a default password, Click Next.
- Leave the SYNCHRONIZE SID HISTORY checkbox unchecked. Click Next.
- Under mappings, we can leave the settings as default or update them based on your project requirements.
- Click Next.
- Click Finish.
Setup Workflows
Follow these steps to create two (2) new workflows for reading, matching, staging and writing data.
