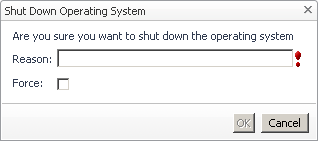
Use the Pause, Power Off, and Shutdown OS buttons on the Hyper-V Administration tab to pause and power off virtual machines, and to shut down their OS, as required.
|
1 |
Select a virtual machine object instance and open the Hyper-V Explorer Administration tab. |
|
2 |
|
3 |
Click OK. |
|
1 |
Select a virtual machine object instance and open the Hyper-V Explorer Administration tab. |
|
2 |
|
3 |
Click OK. |
|
1 |
Select a virtual machine object instance and open the Hyper-V Explorer Administration tab. |
|
2 |
|
3 |
In the Shutdown Operating System dialog box, in the Reason box, type the reason for shutting down the virtual machine’s OS. |
|
4 |
To force the virtual machine to shut down, select the Force check box. |
|
5 |
Click OK. |
Use the Clone, Delete, and Save buttons on the Hyper-V Administration tab to clone, delete, and save changes to virtual machines, as required.
|
1 |
Select a virtual machine object instance and open the Hyper-V Explorer Administration tab. |
|
2 |
|
1 |
Select a virtual machine object instance and open the Hyper-V Explorer Administration tab. |
|
2 |
|
1 |
Select a virtual machine object instance and open the Hyper-V Explorer Administration tab. |
|
2 |
|
3 |
Click OK. |
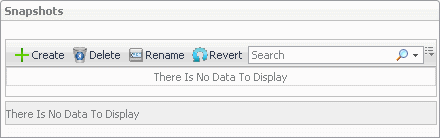
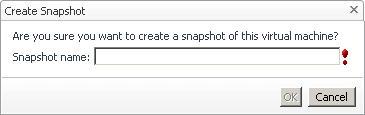
A virtual machine snapshot is a saved virtual machine image to which you can return at any point in time. Use the Snapshots view on the Hyper-V Administration tab to create, manage, and revert to virtual machine snapshots, as required.
|
1 |
Select a virtual machine object instance and open the Hyper-V Explorer Administration tab. |
|
2 |
|
3 |
|
4 |
Click OK. |
|
1 |
Select a virtual machine object instance and open the Hyper-V Explorer Administration tab. |
|
2 |
On the Hyper-V Explorer Administration tab, in the Snapshots view, select the virtual machine snapshot that you want to delete. |
|
3 |
Click Delete. |
|
1 |
Select a virtual machine object instance and open the Hyper-V Explorer Administration tab. |
|
2 |
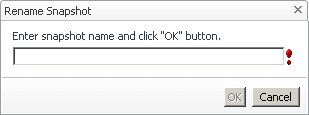
On the Hyper-V Explorer Administration tab, in the Snapshots view, select the virtual machine snapshot that you want to rename. |
|
3 |
Click Rename. |
|
4 |
In the Rename Snapshot dialog box, type the snapshot name. |
|
5 |
Click OK. |
|
1 |
Select a virtual machine object instance and open the Hyper-V Explorer Administration tab. |
|
2 |
On the Hyper-V Explorer Administration tab, in the Snapshots view, select the virtual machine snapshot to which you want to revert. |
|
3 |
Click Revert. |
|
4 |
Click OK. |
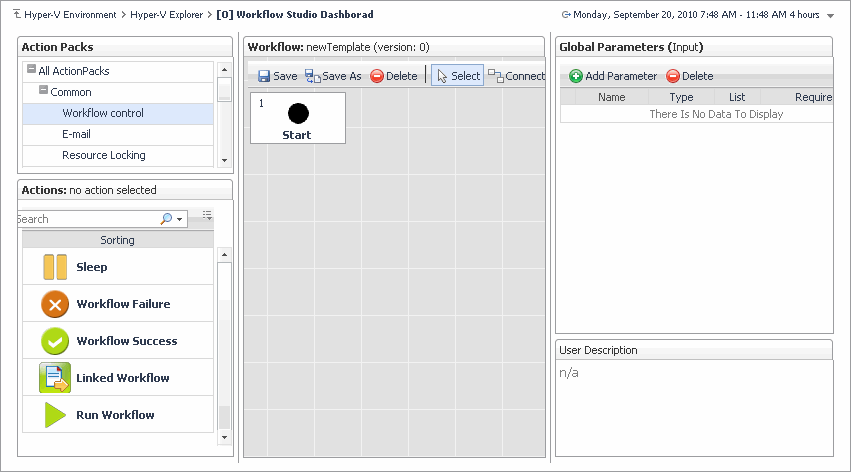
A workflow is a collection of tasks arranged into a specific order, that you can run multiple times against the same or different set of objects. It provides a way to automate common scenarios and simplify administration in general. Use the Workflows view on the Hyper-V Administration tab to create and manage server workflows.
|
1 |
|
2 |
|
1 |
|
2 |
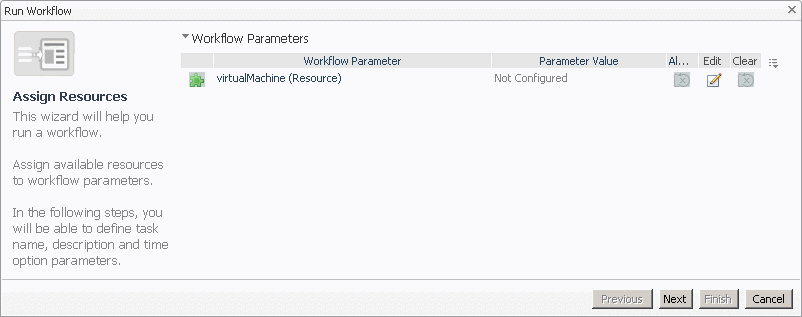
On the Hyper-V Explorer Administration tab, in the Workflows view, select the workflow that you want to run. |
|
3 |
Click Run. |
|
5 |
In the Specify Task Details page that appears in the Run Workflow dialog box, specify the task name, description, and time options, then click Finish. |
|
1 |
|
2 |
On the Hyper-V Explorer Administration tab, in the Workflows view, select the workflow that you want to delete. |
|
3 |
Click Delete. |
|
1 |
|
2 |
On the Hyper-V Explorer Administration tab, in the Workflows view, select the workflow that you want to export to a file. |
|
3 |
Click Export. |
|
1 |
|
2 |
On the Hyper-V Explorer Administration tab, in the Workflows view, select the workflow that you want to import from a file. |
|
3 |
Click Import. |