Using the Agent Installer Wizard
Foglight for Cassandra provides a graphic, intuitive method for creating and configuring agents, which can be used instead of Foglight’s default method for creating agents and editing their properties using the Agent Status dashboard. Foglight for Cassandra allows running a wizard that provides a common entry point for adding database instances and then configuring these instances for monitoring.
To run the instance installation wizard:
- On the navigation panel, click Databases.
- Click the Cassandra box in the Databases View, and then click Monitor.

- The Agent Installer Wizard dialog box appears.
- The first card - Agent Deployment – has two fields:
- Agent Name – Provide a name for the agent that will be created. This is not canonical and should be representative of the database instance that this agent will monitor.
- Agent Manager - Choose the agent manager on which the agent should run. Considerations for this may include physical or virtual locality to the monitored instance, allocated resources, or grouping with other agents of the same type or monitored environment. If the agent package has not been deployed to this Agent Manager yet, it will be installed when the first agent of this type is created.
- The second card – Agent Properties – requires a basic set of parameters for connecting to and monitoring the database instance. A full explanation of these properties is available in KB 4228008.
- The third card – Agent Summary – displays a review of the configuration that will be created and an option allowing the agent to be activated after creation. If the configuration looks good, click the Finish button to start the process.
- When the process completes, a results screen will appear showing the results of agent creation. If the agent was not created, follow the instructions on the results screen. If successful, the database instance should appear in the Databases table within a few minutes.
Note: If the agent was created successfully but data is not appearing, go to the Dashboards | Administration | Agents | Agent Status page and click the icon in the Log File column for the agent you created. In most cases, the reason for the failure will be obvious. You can also refer to the Foglight for Cassandra Installation and Troubleshooting document for common errors and solutions. If the solution requires reconfiguring the agent properties, follow steps 3-7 of the Using the Agent Status Dashboard section.
Using the Agent Status Dashboard
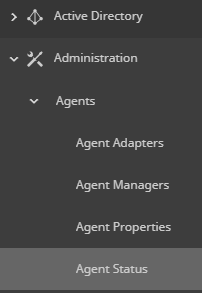
The Agent Status page can be used to create new agents and configure and manage existing agents. To access the page from the navigation pane, select: Dashboards | Administration | Agents | Agent Status.
Use the following steps to create a new agent instance:
- If the Cassandra agent package has never been deployed to the FglAM that will be used to host the agent, this must be done before an agent has been created. You can use the Deploy Agent Package button on the Agent Status or Agent Managers page to perform this.

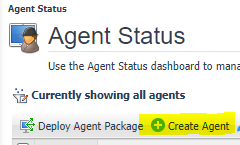
- Click the Create Agent button

and follow the instructions for the cards:
- Host Selector - Choose the Agent Manager on which the agent should run. Considerations for this may include physical or virtual locality to the monitored instance, allocated resources, or grouping with other agents of the same type or monitored environment.
- Agent Type and Instance Name – Select the CassandraAgent type. Then, select the Specify Name radio button and provide a name for the agent that will be created. This is not canonical and should be representative of the database instance that this agent will monitor.
- Summary – Click Finish.
- Once the agent has been created, click the checkbox next to the Cassandra agent.
- Click the Edit Properties button.
- Select Modify the default properties for this agent.
- Edit the agent properties for the Cassandra agent instance:
- DB Connection
- JMX Connections
- Collection Periods
- Options
- Click the Activate button.
To modify the properties for an existing agent, skip to step 3 and Deactivate, then Reactivate the agents after changing the configuration.