
Atmos Adapter Configuration
This section will provide you details on how to configure a storage endpoints connection string to utilize the Atmos Adapter. Please refer to the StoragePoint Reference Guide for information on managing Storage Endpoints.
On the Application Management page, click Storage and Backup Endpoints.
Click Create New Endpoint or click the name of an existing storage endpoint that you want to edit.
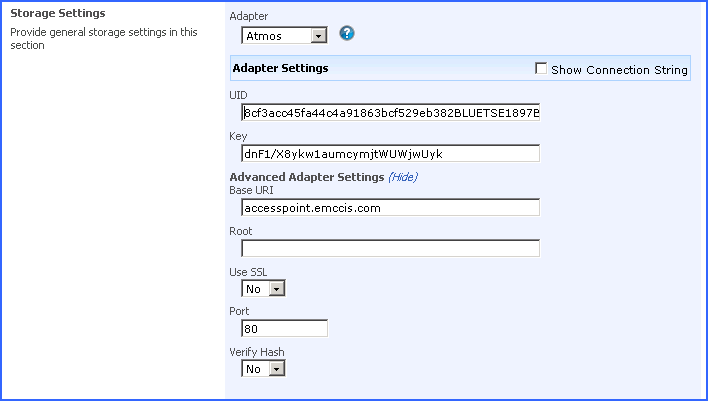
Click the Show link next to the Advanced Adapter Settings to see the additional fields.
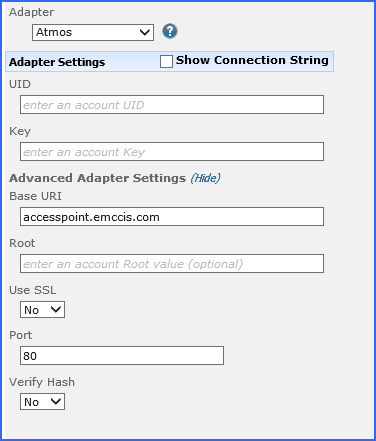
Atmos Adapter Connection String Parameters
|
Setting |
Value/Options |
|---|---|
|
Name |
Enter the unique name of the Storage or Backup Endpoint. |
|
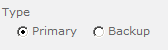
Type See Backup Services Settings in the Reference Guide for more information on how Backup Endpoints are used. |
Primary this endpoint will be available for externalization when creating storage profiles. Backup this endpoint will be in the Backup Services dropdown on the profile page. The selection is locked down when saving. |
|
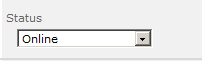
Status |
Online Storage Endpoint should be available to associate to a Storage Profile and accept BLOBs. (default) Offline (Read Only) A storage endpoint can be configured, but not made available for externalizing content. The BLOBs already on the endpoint are still read only. |
|
|
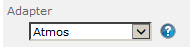
Select the adapter for the endpoint that is being created. |
|
|
The username to use when connecting to the server. This is equivalent to the Token ID provided with your Atmos online account. |
|
|
The base64 encoded shared secret to use when signing requests to the server. |
|
|
IP address or host name that represents the Atmos instance or specific node to be used. Default = accesspoint.emccis.com. |
|
|
The starting folder/container within your Atmos namespace under which all folders and files will be created. |
|
|
(yes/no) Determines whether or not the adapter negotiates an SSL connection for all data (and metadata) transfers. See Appendix A for details on adding a trust relationship. Default = No. |
|
|
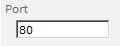
The port on the server to communicate with. Default = 80 (443 if UseSSL is Yes). |
|
|
(yes/no) Includes a check-sum operation after each blob transfer. Allows the adapter to detect and log data integrity errors immediately. Default = No. |
|
|
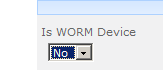
If the endpoint is on a WORM (Write Once, Read Many) device, Unused BLOB Cleanup will ignore this endpoint. |
|
|
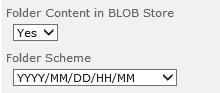
No Externalized content BLOBs are not placed in folders (default). Yes Externalized content BLOBs are placed in folders. If Folder Content in BLOB Store is Yes then you can select a date/time folder scheme from the dropdown. YYYY/MM/DD/HH/MM is the default. |
|
|
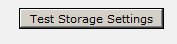
The Test Storage Settings button can be used at this point, or after completing the endpoint configuration, to verify that the endpoint is accessible. For some adapters, testing the connection will create the folder if it doesn't already exist. |
|
|
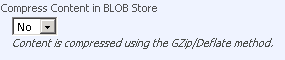
No Externalized content BLOBs are not compressed (default). Yes Externalized content BLOBs are compressed. |
|
|
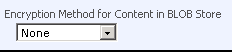
None Encryption will not be applied to externalized BLOBs (default). AES (128 bit) 128 bit AES encryption will be applied to externalized BLOBs. AES (256 bit) 256 bit AES encryption will be applied to externalized BLOBs. |
|
|
Enter a passphrase to use when generating the encryption key. Using a passphrase will help you re-create the encryption key if necessary. You can generate a random key by leaving the box blank and clicking the Generate Key button. The encryption key passphrase will be hidden. |
|
|
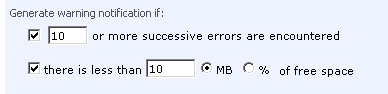
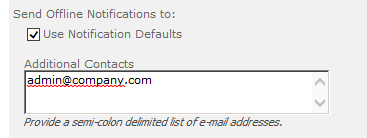
A warning email can be sent if it encounters errors. |
|
|
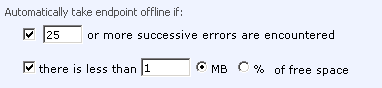
An online storage endpoint can be automatically taken offline if it encounters errors. If a storage endpoint is taken offline automatically, BLOBs that were intended to be written to that endpoint will go to the content database. |
|
|
Default email addresses for system error and offline notification can be entered. Check the box to include the list of Default Notification Contacts specified on the General Settings page. |


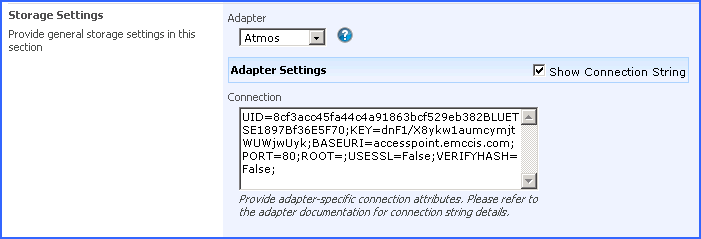
Example Storage Endpoint using Atmos Adapter
Click the Show Connection String checkbox to edit the connection string. Otherwise, fill in the connection fields shown for the adapter selected. Notice that the connection string parameters are name/value pairs separated by semi-colons when editing using the Show Connection String option.
|
|
NOTE: Adapter parameters are not case-sensitive. |

|
|
NOTE: You should always use a passphrase when generating encryption keys. The passphrase gives you a means of re-creating keys should they become unrecoverable or corrupt. It is very important to remember or record the passphrase outside of Metalogix StoragePoint. Otherwise, encrypted content could become irretrievable in the event of a database failure. |
If you choose to externalize content you should test the storage profile settings by clicking the Test Storage Settings button. A message under the button will indicate whether or not the test was successful. If the test fails the message will include the error that was the root cause of the failure.
|
|
NOTE: When testing access to an endpoint from within Central Administration, the Identity of the Application Pool hosting the Central Administration Site is the one that is being used for the test. If there are different Identities used for other Web Applications in the Farm then those identities will also need access but cannot be tested from within Central Admin itself. See BLOB Store Security and Metalogix StoragePoint Required Privileges in the Metalogix StoragePoint Reference Guide. |
Appendix: Using SSL with EMC Atmos
In order for the StoragePoint EMC Atmos adapter to use SSL to communicate with Atmos, the Atmos instances certificate must be added to the SharePoint certificate store. The following steps describe how to do this:
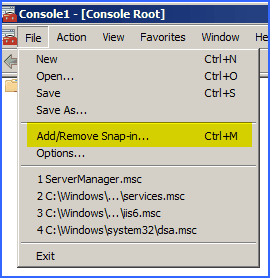
1.Click Start->Run. Enter mmc.exe and press Enter.
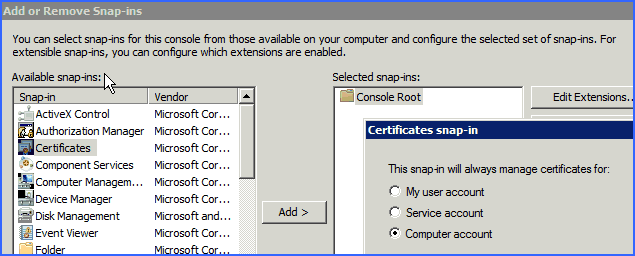
2.On the File menu, click Add/Remove Snap-In.
3.Click Certificates on the left, then click Add. A new window opens; select Computer Account and click Next.
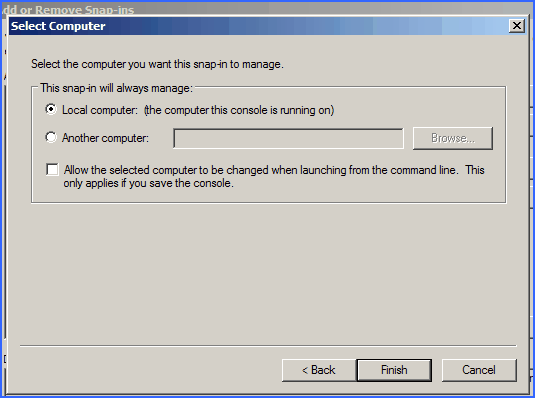
4.Select Local Computer and click Finish.
5.Click OK.
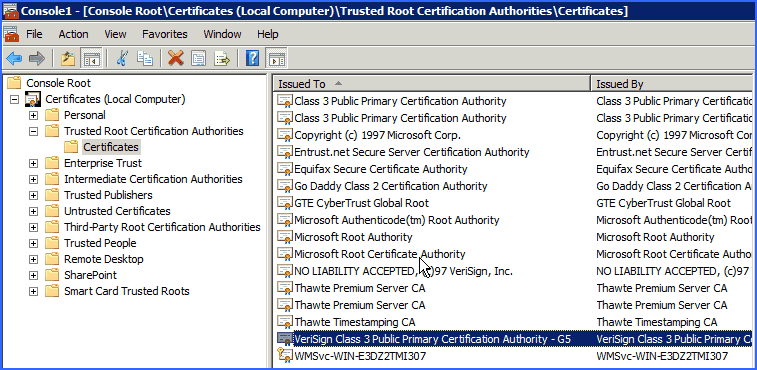
6.Expand Certificates (Local Computer)->Trusted Root Certification Authorities->Certificates. Find the root certificate. For AT&T this is the Verisign "G5" certificate:
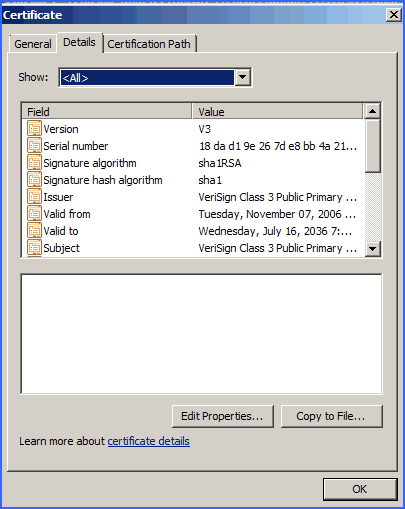
7.Open the certificate. On the Details tab, click Copy To File
8.The Certificate Export Wizard opens. Click Next. The default "DER" format is fine. Save to the desktop as something like verisign-G5-root.cer. Click Next.
9.Click Finish to complete the export. Click OK on the message. Click OK to close the certificate window.
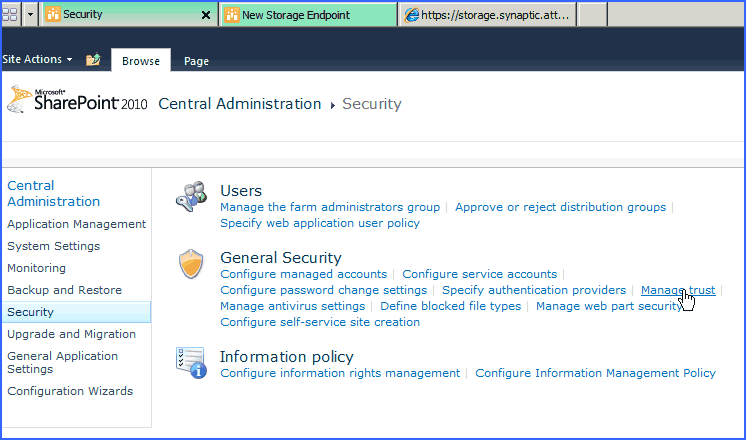
10.Open the SharePoint Central Administration. Click Security from the navigation on the left. Select Manage Trust from the General Security section.
11.You will probably only see one certificate here, "local". Click "New."
12.Give it a name like Verisign G5 Root. Pick the file you exported to your desktop. Leave "Provide Trust Relationship" blank.
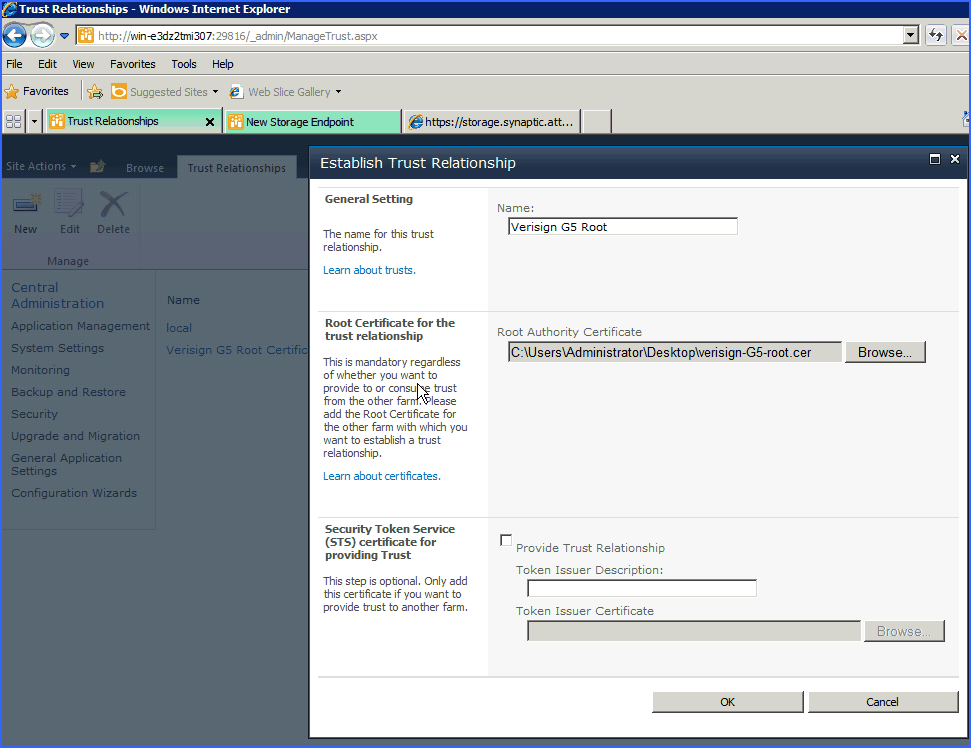
13.Click OK.
The Use SSL option can now be configured and used with the StoragePoint EMC Atmos adapter.
- Herramientas de autoservicio
- Base de conocimientos
- Notificaciones y alertas
- Soporte de productos
- Descargas de software
- Documentación técnica
- Foros de usuarios
- Tutoriales en video
- Aviso de actualizaciones de páginas web (RSS)
- Comuníquese con nosotros
- Obtenga asistencia con las licencias
- Soporte Técnico
- Ver todos