To run the Default Installation option in the Installation wizard:
Once the PowerShell commands are successfully executed, navigate to the folder where you saved the Migrator Pro for Exchange Installation files, then right-click on the Migrator Pro for Exchange Install file and select to Run as Administrator.
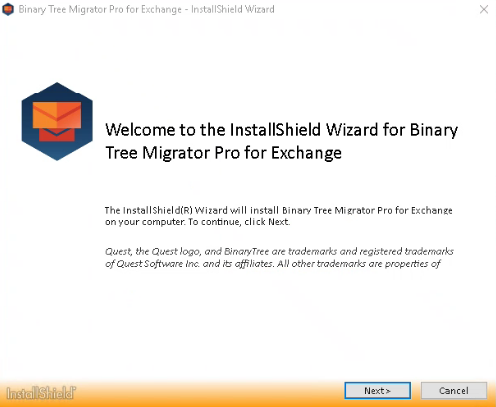
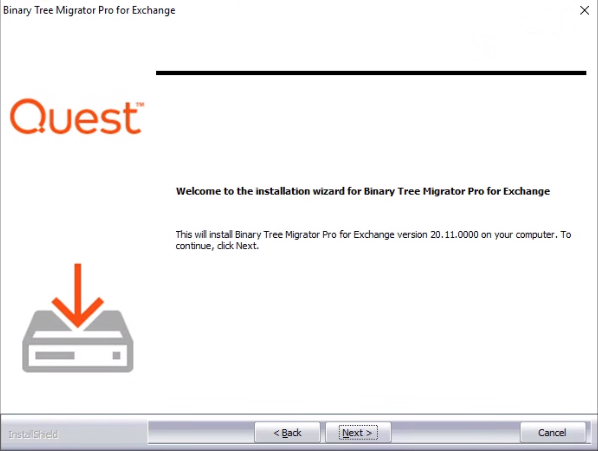
Click Run on the security warning, and then click Next on the Welcome screen:
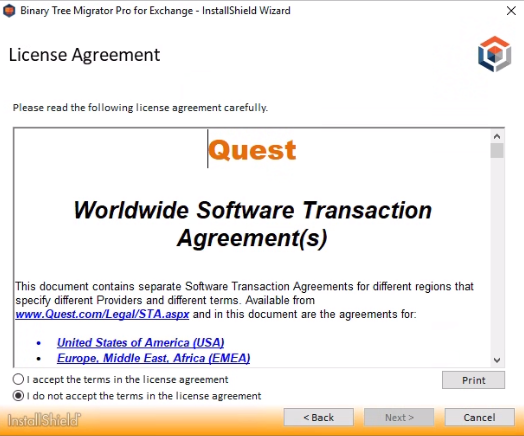
The wizard then prompts you to review and accept the Migrator Pro for Exchange license and maintenance agreement. To accept the agreement, select the I accept… radio button and click Next.
If you accept the license terms the wizard then prompts you to choose between Default Installation and Advanced Installation. Click on the Default Installation option.
|
|
If the Migrator Pro for Exchange Installer detects a previous version of Migrator Pro for Exchange, it will skip this screen that offers the Default Installation option, and will perform an upgrade using the Advanced Installation process. Even if a prior Migrator Pro for Exchange version has been uninstalled, the Installer will still perform the installation as an upgrade (by an Advanced Installation) if it finds this entry remaining in the Windows registry: HK_Local_Machine\Software\Binary Tree\E2E If you have uninstalled a prior Migrator Pro for Exchange version and now want to run the Default Installation option for the new version, you must first remove that entry from the registry. |
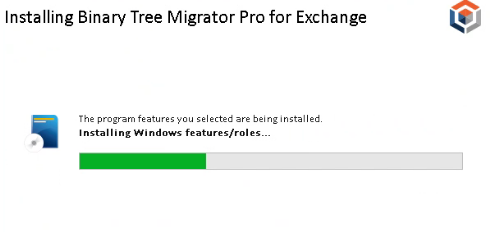
The wizard then scans your environment to gather the information it needs, and to determine whether you need to install any of several required accessory applications. A progress meter shows the wizard’s progress:
These accessory components are required for the Migrator Pro for Exchange installation:
Windows features IIS and .NET Framework 4.8 full
SQL Server 2017 Express
[local]\SQLEXPRESS installs as a named instance using the format servername\SQLExpress
Installs in Mixed mode with install account as SA, and local SA password is Password1
Silverlight 5
Microsoft Online Sign-on assistant
Azure AD PowerShell module
If you already have these accessory apps installed, you can just skip ahead to the next step below. Otherwise, the Migrator Pro for Exchange installer will prompt you to authorize the installation of the ones you need. In that case, click the Install button to accept. If you have to install Microsoft .NET 4.8 Framework, you may also be prompted to accept Microsoft’s license agreement. If so, mark the checkbox for I have read and accept…, and click Install.
The installation of accessory applications may take several minutes. Some of the newly installed components may then require a system reboot, in which case the wizard will also prompt you to authorize the reboot. Click Yes to authorize the reboot. If you do have to reboot, the wizard will automatically resume at the next screen in this process (next step below).
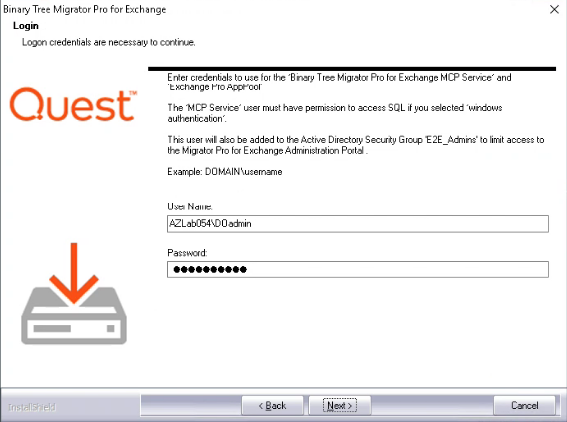
The wizard then prompts you for the login credentials Migrator Pro for Exchange should use for its MCP Service and the Migrator Pro for Exchange AppPool. Enter the credentials and click Next.
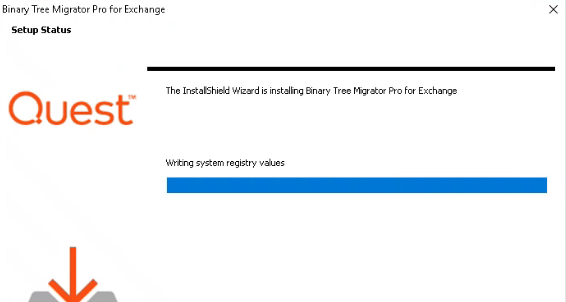
The installation resumes when you click Next, and a progress meter shows the progress, and notifies you when the installation is complete:
Click the Finish button to close this portion of the wizard. Another progress meter shows the process progress through this last phase of the installation, and the wizard then notifies you when the process is complete:
Click this Finish button to close the Migrator Pro for Exchange Installer.
Now that the physical installation is complete, see section 3 below to configure Migrator Pro for Exchange for your environment and purposes. The first time you run the Migrator Pro for Exchange Admin Portal after this installation, Migrator Pro for Exchange will prompt you to define your target forest.
To run the Advanced Installation option in the Installation wizard (for either a fresh installation or an upgrade):
Once the PowerShell commands are successfully executed, navigate to the folder where you saved the Migrator Pro for Exchange Installation files, then right-click on the Migrator Pro for Exchange Install file and select to Run as Administrator.
Click Run on the security warning, and then click Next on the Welcome screen:
The wizard then prompts you to review and accept the Migrator Pro for Exchange license and maintenance agreement. To accept the agreement, select the I accept… radio button and click Next.
If you accept the license terms the next prompt asks you to choose between Default Installation and Advanced Installation. Click on the Advanced Installation option.
|
|
If the Migrator Pro for Exchange Installer detects a previous version of Migrator Pro for Exchange, it will skip this screen that offers the Default Installation option, and will perform an upgrade using the Advanced Installation process. |
The wizard then scans your environment to gather the information it needs for installation, and to determine whether you also need to install any required accessory applications. A progress meter shows the progress:
These accessory components are required for the Migrator Pro for Exchange installation:
Windows features IIS and .NET Framework 4.8 full
Silverlight 5
Microsoft Online Sign-on assistant
Azure AD PowerShell module
If you already have these accessory apps installed, you can just skip ahead to the next step below. Otherwise, the Migrator Pro for Exchange installer will prompt you to authorize the installation of the ones you need. In that case, click the Install button to accept. If you have to install Microsoft .NET 4.8 Framework, you may also be prompted to accept Microsoft’s license agreement. If so, mark the checkbox for I have read and accept…, and click Install.
The installation of accessory applications may take several minutes. Some of the newly installed components may then require a system reboot, in which case the wizard will also prompt you to authorize the reboot. Click Yes to authorize the reboot. If you do have to reboot, the wizard will automatically resume at the next screen in this process (next step below).
On the installation wizard Welcome screen, click Next.
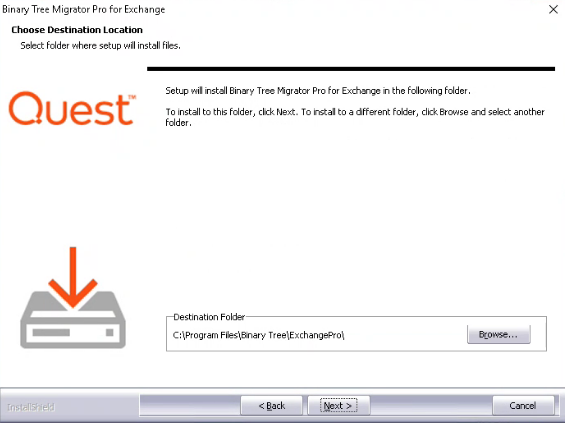
On the Destination Location screen, select the destination folder for the installation and then click Next.
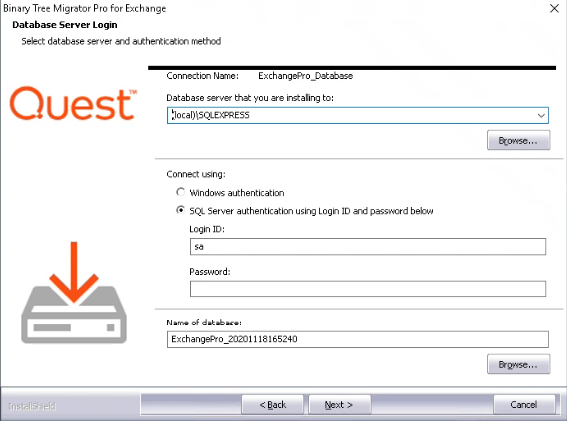
On the Database Server Login screen, select or browse to the Migrator Pro for Exchange database server you are installing to, select the connection authentication method, and enter the Name of database (or Browse to it and select it). Then click Next.
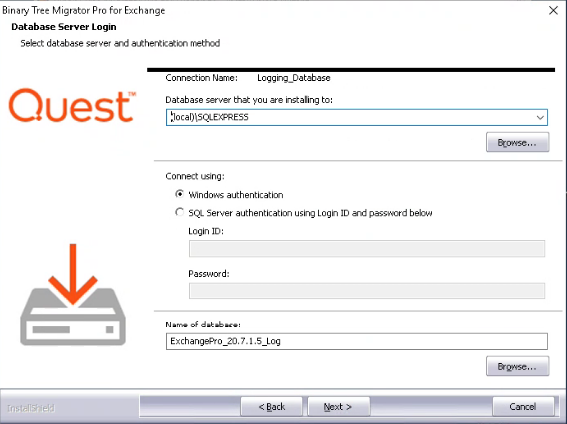
The Database Server Login screen appears again, this time for the Migrator Pro for Exchange Logging Database. Select or browse to the logging database server you are installing to, select the connection authentication method, and enter the Name of database (or Browse to it and select it). Then click Next.
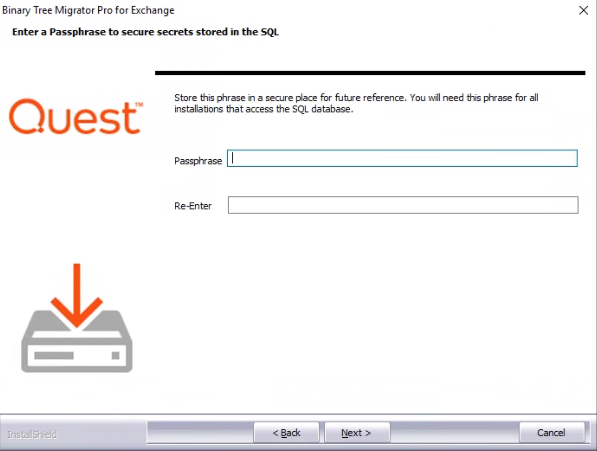
On the Passphrase screen, enter a passphrase to secure secrets stored in the SQL database. Then click Next. Store this phrase in a secure place for future reference. This phrase will be needed for all installations that access the SQL database.
On the Login screen, enter the User Name and Password to use for the Binary Tree Migrator Pro for Exchange MCP Service and Migrator Pro for Exchange AppPool and then click Next.
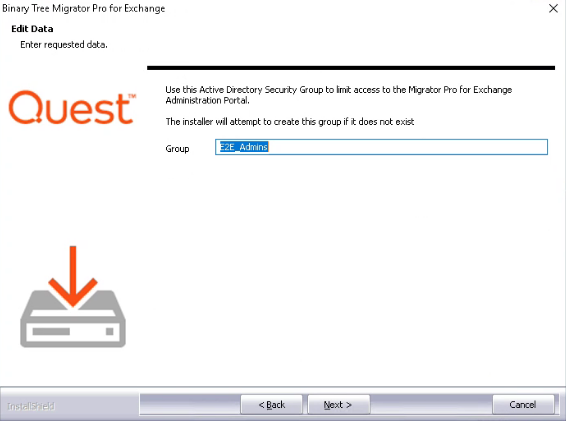
On the Migrator Pro for Exchange Administrative Group screen, enter an Active Directory Security Group to limit access to the Migrator Pro for Exchange Admin Portal, and then click Next. Note that E2E_Admins is the default group but a different group name can be entered.
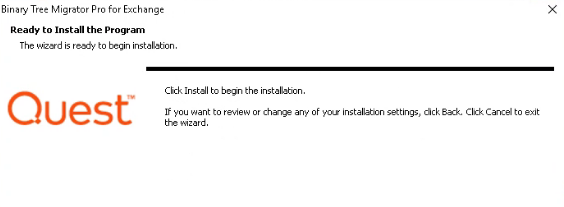
On the Ready to Install the Program screen, click Install.
The installation process may take a few minutes, and the window shows a progress meter while you wait.
Click Cancel if you want to cancel. The installer will first check to determine if the server has adequate disk space, and will alert you if there is not enough space available for installation.
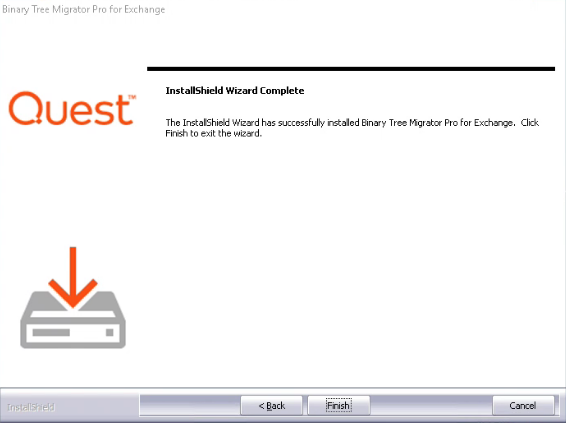
When installation is complete, the wizard Complete screen appears. Click Finish to close the installer program and return to the Migrator Pro for Exchange Installer.
And click Finish again to close the Installer.
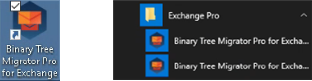
When the installation completes, the wizard creates a shortcut icon on the Desktop to launch Migrator Pro for Exchange. This entry is also added to the Windows Start menu along with entries for the Migrator Pro for Exchange Worker.
Now that the physical installation is complete, see section 3 below to configure Migrator Pro for Exchange for your environment and purposes. The first time you run the Migrator Pro for Exchange Admin Portal after this installation, Migrator Pro for Exchange will prompt you to define your target forest.
To uninstall Migrator Pro for Exchange, go to Programs and Features from the Windows Control Panel:
Click Start, and then click Control Panel.
Click Programs and Features, and then select Migrator Pro for Exchange from the list.
Click Uninstall. Uninstalling Migrator Pro for Exchange also uninstalls Migrator Pro for Exchange Worker that is installed on the Migrator Pro for Exchange console.
|
|
If other Migrator Pro for Exchange Workers have been setup on other machines, they may need to also be uninstalled. |
Click Yes.
Click Finish.
The first time you run the Migrator Pro for Exchange Admin Portal after installing the software (in section 2 above), Migrator Pro for Exchange will prompt you to define your target forest. Your target forest can reside in a local Exchange environment, or may be a tenant forest in Office 365.
Use the New Forest wizard to define your target forest.
Double-click the Migrator Pro for Exchange shortcut on the Desktop, or Migrator Pro for Exchange in the Windows Start menu.
The Admin Portal opens, and Migrator Pro for Exchange starts its New Forest wizard with the Migrator Pro for Exchange License screen:
|
|
Click Browse to locate your license file (*.lic) or copy and paste the license key and click Add License. Then click Next. Migrator Pro for Exchange then validates the license file and displays the license details. Click Next. Migrator Pro for Exchange then begins a series of screens for you to define your target forest. |
|
|
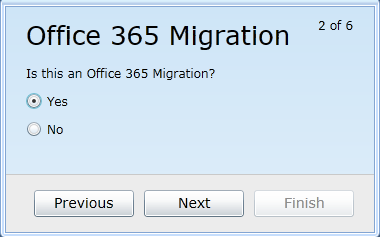
This screen asks whether your target forest is a local Exchange forest, or a tenant forest in Office 365. If you are migrating to an Office 365 target forest: Click the Yes option, then click Next, and continue this procedure in section 3.1.1 below. If you are migrating to an on-premises Exchange forest: Click the No option, then click Next, and continue this procedure in section 3.1.2 below. | |
|
|
If you are migrating to Office 365 but you don’t configure the O365 forest now, you can configure an on-premises Exchange forest first, and then the O365 forest later, and Migrator Pro for Exchange will automatically switch the two. That is, Migrator Pro for Exchange will correctly configure the on-premises forest as the source and the O365 forest as the target. | |