Prints out a list of certificates and the aliases that refer to them.
Refer to the example output below:
Remove a certificate referred to by an alias.
Issuer: CN=CA, DC=ca, DC=local
Valid from: Sun Jan 06 23:07:06 CST 2019 until: Wed Apr 06 23:07:06 CST 2022
Trust this certificate? [no]: yes
Certificate was added to keystore
|
NOTE: If your FMS host doesn't have Internet connection, VM Resizing recommendations will not work properly. Ensure that the proxy is enabled and the settings are configured under Administration > Proxy Configuration. |
Click Optimizer on the top of the Cloud Manager dashboard to navigate to the Optimizer tab.
|
3 |
|
4 |
|
5 |
The Optimizer - Azure view includes the following elements:
|
• |
Group selector: The group selector is located at the top of the Optimizer - Azure view and allows you to select the Azure environment that you want to optimize. |
|
• |
Settings. The Settings dialog box is used to change the time period and properties that are used for calculation. For more information, see Settings. |
|
• |
Recalculate. Click the button to recalculate the data. Click Recalculate on the Recalculate Confirmation dialog box to start recalculating. |
|
• |
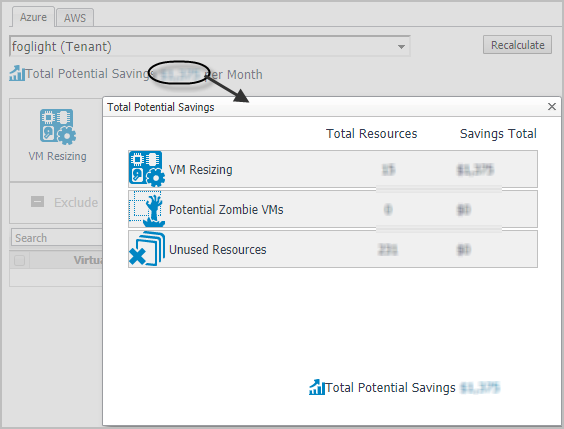
Total Potential Savings. Shows the potential savings per month. Click the savings and a Total Potential Savings dialog box opens. It displays the total resources and total savings for VM resizing, potential zombie VMs, and unused resources. |
|
• |
VM Resizing. Shows virtual machine name, utilization and recommendations for both CPU and memory resources. |
|
• |
Potential Zombie VMs table. Shows virtual machine name, regions, CPU, memory, disk throughput, network, current month Billing, and last month billings of the zombie virtual machines based on calculation settings. |
|
• |
Unused Resources table. Detects and shows those unused resources. For example, a virtual machine has been deleted, but its Disk/Network Interface/Public IP/Network Security Group/Storage Account are still remained in Azure. |
|
• |
The Exclude button. Select an object from the Virtual Machine table and click Exclude. Then this object is added to the list of excluded objects under a specific category. |
|
• |
The Show Excluded Items button. If you want to see the excluded objects, click Show Excluded Items. The Settings dialog box appears. For more information, see Settings. |
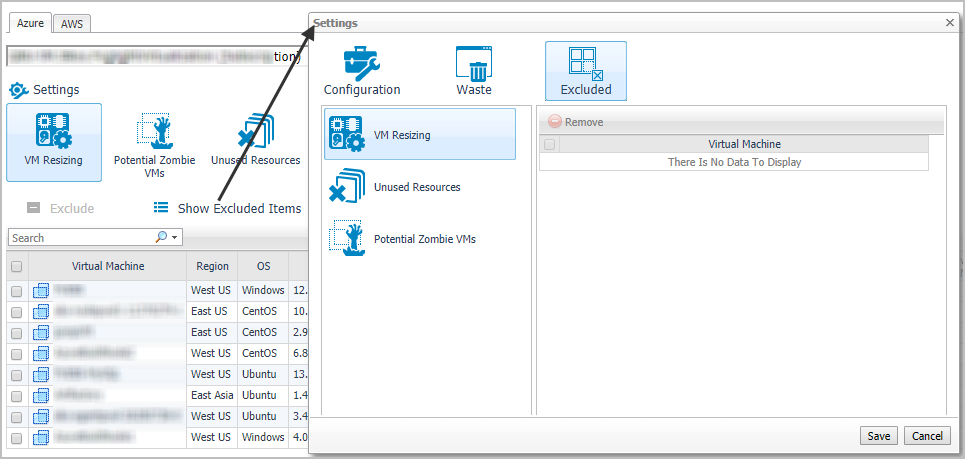
Use the Settings menu to define the default optimization settings for your environment. The Settings Dialog box provides information about the following components:

