Prints out a list of certificates and the aliases that refer to them.
Refer to the example output below:
Remove a certificate referred to by an alias.
Issuer: CN=CA, DC=ca, DC=local
Valid from: Sun Jan 06 23:07:06 CST 2019 until: Wed Apr 06 23:07:06 CST 2022
Trust this certificate? [no]: yes
Certificate was added to keystore
|
NOTE: If your FMS host doesn't have Internet connection, VM Resizing recommendations will not work properly. Ensure that the proxy is enabled and the settings are configured under Administration > Proxy Configuration. |
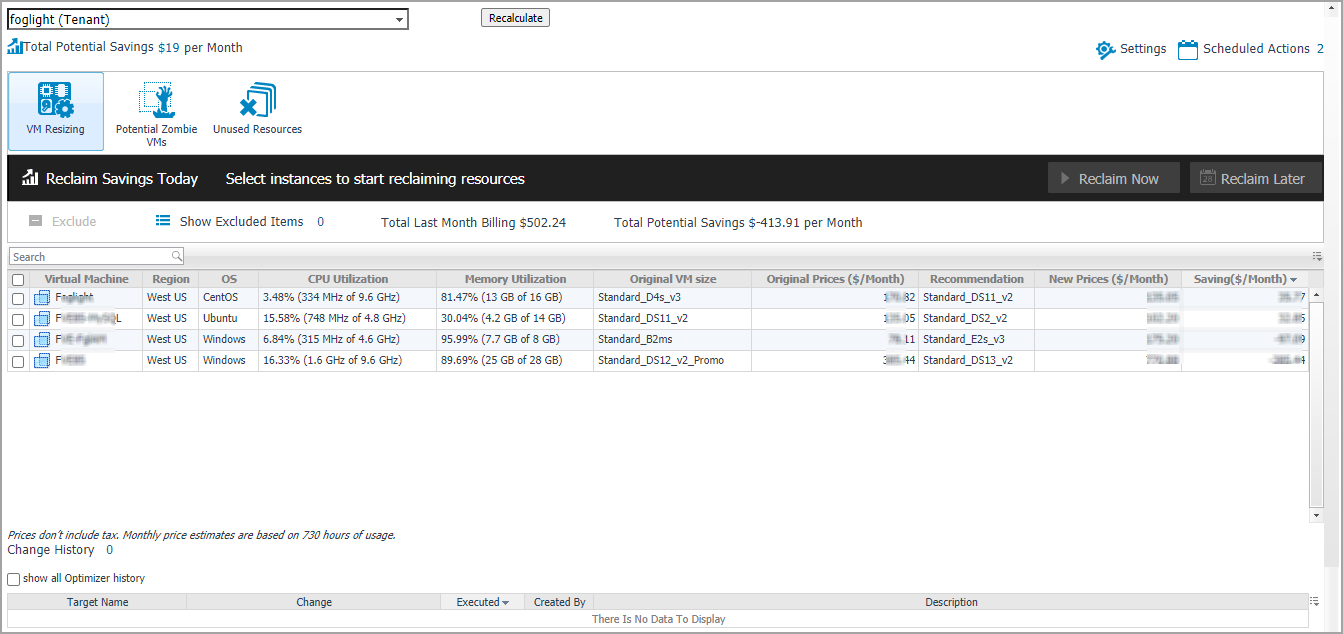
Click Optimizer on the top of the Cloud Manager dashboard to navigate to the Optimizer tab.
|
3 |
|
4 |
|
5 |
The Optimizer - Azure view includes the following elements:
|
• |
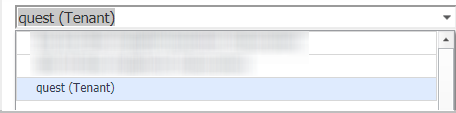
Group selector: The group selector is located at the top of the Optimizer - Azure view and allows you to select the Azure environment that you want to optimize. |
|
• |
Recalculate. Click the button to recalculate the data. Click Recalculate on the Recalculate Confirmation dialog box to start recalculating. |
|
• |
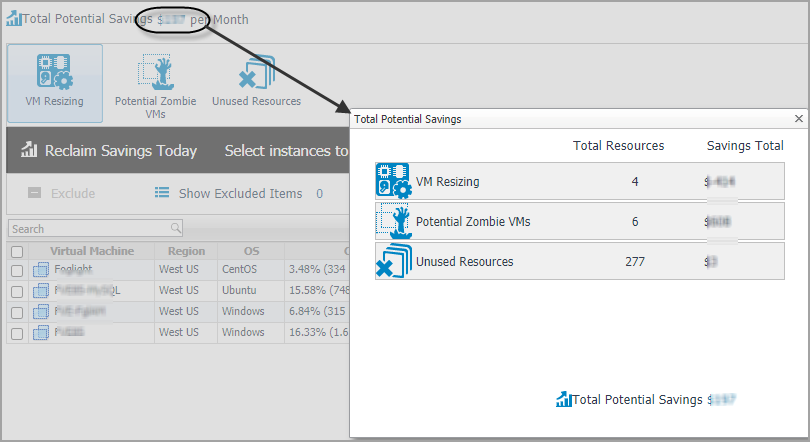
Total Potential Savings. Shows the potential savings per month. Click the savings and a Total Potential Savings dialog box opens. It displays the total resources and total savings for VM resizing, potential zombie VMs, and unused resources. |
|
• |
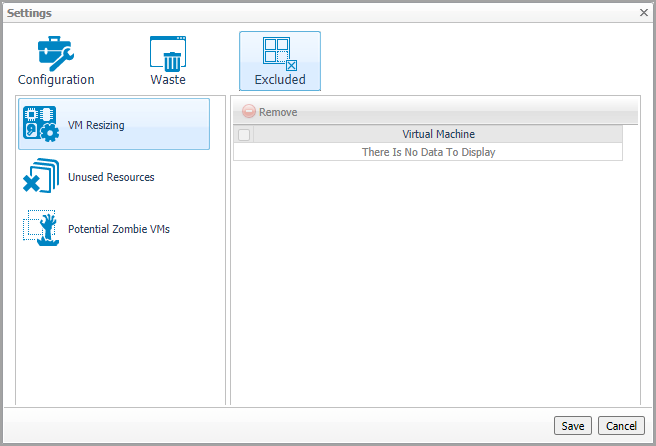
Settings. The Settings dialog box is used to change the time period and properties that are used for calculation. For more information, see Settings. |
|
• |
Scheduled Actions. The Scheduled Actions dialog shows the list of operations scheduled to be run at a particular time in the future, and allows you to edit or remove any scheduled actions. To view only the actions specific to Foglight Resource Optimizer, select the show only Optimizer actions checkbox. When the checkbox is not selected, the dialog shows all actions scheduled for your virtual environment. |
|
• |
VM Resizing. Shows virtual machine name, utilization and recommendations for both CPU and memory resources. |
|
• |
Potential Zombie VMs table. Shows virtual machine name, regions, CPU, memory, disk throughput, network, current month Billing, and last month billings of the zombie virtual machines based on calculation settings. |
|
• |
Unused Resources table. Detects and shows those unused resources. For example, a virtual machine has been deleted, but its Disk/Network Interface/Public IP/Network Security Group/Storage Account are still remained in Azure. |
|
• |
Reclaiming Savings bar. The Reclaiming Savings bar enables the system administrator to select instances from the list and review the resources that can be reclaimed. |
|
• |
The Exclude button. Select an object from the Virtual Machine table and click Exclude. Then this object is added to the list of excluded objects under a specific category. |
|
NOTE: The Reclaim Now and Reclaim Later buttons and the Exclude link are enabled only after selecting an instance from the table. |
|
• |
The Show Excluded Items button. If you want to see the excluded objects, click Show Excluded Items. The Settings dialog box appears. For more information, see Settings. |
|
• |
Change History view. The Change History embedded view shows the changes that have been implemented in the environment during the History Period [x] Day(s), the object that was affected, and the result of the operation. |
|
• |
Target Name. Virtual machine that was affected by the change. |
|
• |
Change. Type of change. |
|
• |
Executed. Date and time when the change was executed. |
|
• |
Created By. User who scheduled the change. |
|
• |
Description. Operation result: Completed, In progress, or Failed (and an explanation why the job has failed). |
Use the Settings menu to define the default optimization settings for your environment. The Settings Dialog box provides information about the following components: