
6.2 Installing Directory Sync Pro and Active Directory Pro on a Domino Server
Download the installer executable file from the FTP site and save it on the Binary Tree Windows Server.
-
Double-click the executable to begin installing Directory Sync Pro for Notes. The Welcome screen appears. Click Next to continue.
-
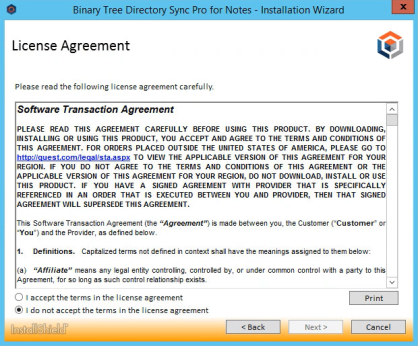
The License Agreement screen appears. To accept the terms of the license agreement and continue with the install, select “I accept the terms in the license agreement” and click Next.
-
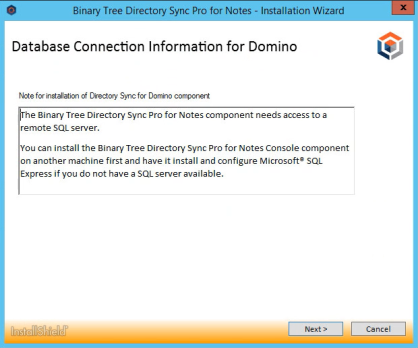
If this is a first-time installation, click Next on following screen:
-
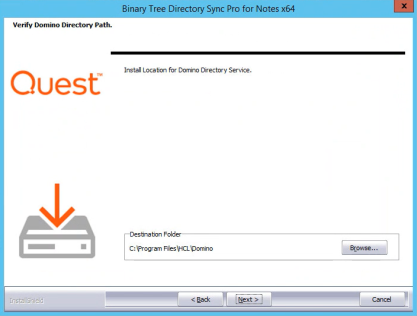
Click Browse to select where Directory Sync Pro will be installed on the Domino server.
-
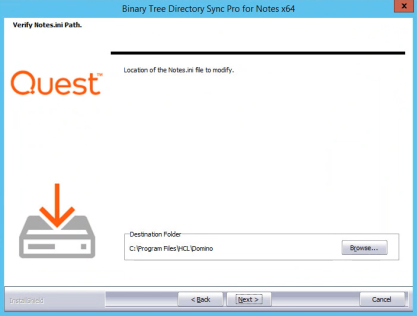
Select the location of your Notes.ini file.
-
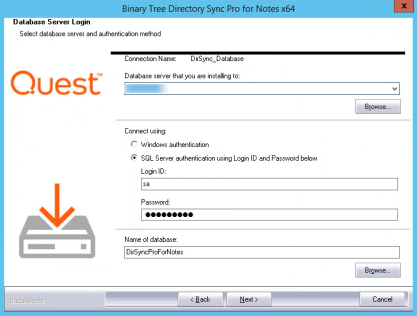
The Database Server Login screen appears. Enter the SQL Database Server location, credential information, and database name. Click Next to continue. If you chose to install SQL Server Express, the installer sets the “sa” account with the default password “Password1”.
-
The Database Server Login screen appears again, this time for the logging database. Enter the SQL Database Server location for the logging database, credential information, and database name. Click Next to continue.
-
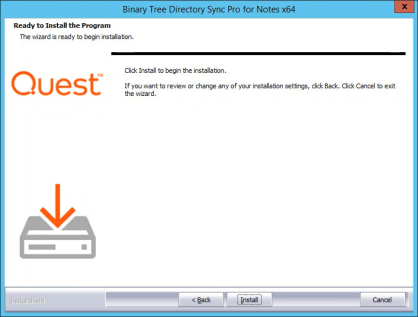
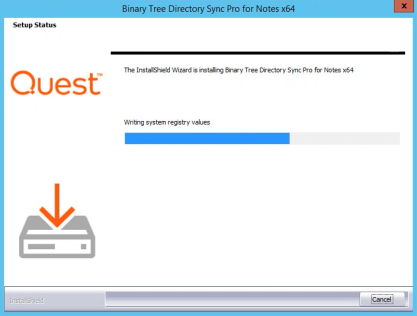
Click Install to begin the installation of Directory Sync Pro on the Domino server.
-
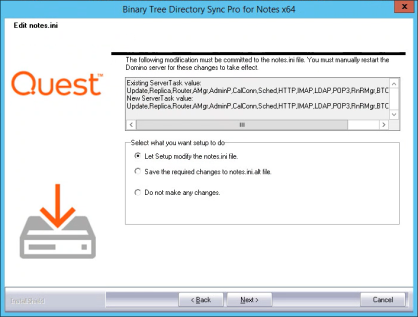
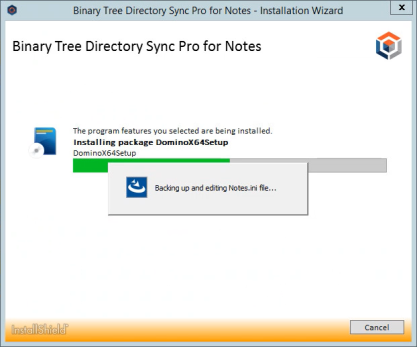
Select Let Setup modify the notes.ini file and click Next.
-
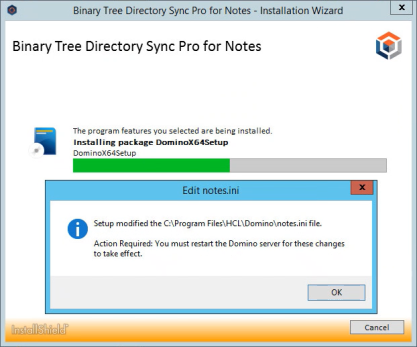
Click OK to restart the Domino server.
-
Click Finish
-
The installation is complete. Click Finish to close the wizard.

Section 7. Upgrading Directory Sync Pro
Directory Sync Pro can be upgraded to a new version without uninstalling the existing version. The install wizard will detect the necessary changes and manage the upgrade.
7.1 Supported Upgrade Path
Upgrades are supported to the latest GA (Generally Available Release) from two GA versions prior. GA releases are listed on our website. If you are upgrading to a CSR (Customer Specific Release), please contact Quest Support for clarification on whether the upgrade is supported.
If upgrading from a release older than two releases prior to the current GA, it is highly recommended that Quest Support is contacted to discuss upgrade options for your specific environment. Some implementations which are more complex or have custom configurations may require a dedicated resource to assist in the upgrade process. If the upgrade goes beyond the scope of product support, this issue will be escalated to our Professional Services to assist at a billable rate.
Please contact Quest Support if you have questions or need clarification on the Directory Synchronization upgrade process.
7.2 Upgrade Process
Directory Sync Pro can be upgraded to a new version without uninstalling the existing version. The installation wizard will detect the necessary changes and manage the upgrade.
|
|
The PowerShell commands that are installed and stored in the SQL database should not be modified as they may be lost during an upgrade. |

Careful consideration should be taken when:
-
Upgrading in a production environment
-
Upgrading an older release of Directory Sync Pro to the latest release
Recommendations:
-
Truncating the log or reducing the log size as much as possible before upgrading is recommended. This will reduce the amount of time needed to rebuild the log table index during the upgrade process.
-
The examination of the Log SQL database during an upgrade may take longer than expected. Please allow the process to complete and the upgrade installation to proceed.
-
A SQL backup of the DirSyncPro and DirSyncProLog databases should be completed prior to an upgrade.
-
A file level backup of the Directory Sync Pro configuration files on the Domino and Windows servers (nBTDirSync.EXE.Config and BinaryTree.DirSync.Exchange.exe.Config).
-
A backup of all Directory Sync Pro sync profiles and overrides. This can be completed through the Directory Sync Pro console by selecting the sync profiles and exporting these to disk along with doing the same for the overrides.
-
Verify any customizations for SQL configuration. These will be overwritten by an upgrade and would have to be replaced after an upgrade.
-
Download the install executable file of the new version from the Quest support site and save it on the server.
-
Check the Directory Sync Pro console to verify there are no sync's running. Allow any running sync’s to complete before continuing.
-
Edit (Manage) the profiles and note the schedule for them if they are not manual (Settings | General | Schedule).
-
Edit (Manage) the profiles and set their schedule to Manual (or set to Suspended) and save the change.
-
Optional: Export the profiles and overrides.
-
Optional: Export the logs for the profiles.
-
Shut down the Directory Sync Pro Domino server (not the Windows host). Note: this may impact Integration for Notes if the same server is used.
-
Stop the Directory Sync Pro service on the Windows console server.
-
Optional: Open SQL Management Studio and connect to the SQL server and complete a SQL backup of the DirSyncPro and DirSyncProLog databases. A backup to local disk is sufficient.
-
Optional: Clear the logs in the DirSyncProLogs database through SQL Management Studio. Use a New Query to execute Truncate table BT_log2.
-
Optional: Create a machine snapshot for the Directory Sync Pro servers if possible to allow for a simple backout. If this isn't possible then the backout would be a SQL restore with an un-install of Directory Sync Pro and re-install of the current version.
-
Make a backup copy of the nBTDirSync.EXE.Config (e.g. C:\Program Files\HCL\Domino) and BinaryTree.DirSync.Exchange.exe.config (e.g. C:\Program Files\Binary Tree\DirSync). A file system copy of the two files to a separate folder (e.g. My Documents) is sufficient.
-
Run the downloaded installer executable file on the Windows console server. The install wizard will appear and proceed through the standard installation steps. The defaults can be accepted as these will use the current installation configuration.
-
Run the downloaded installer executable file on the Domino server. The install wizard will appear and proceed through the standard installation steps. The defaults can be accepted as these will use the current installation configuration.
-
Restart the Domino server host and check that Domino does start up.
-
Verify the Directory Sync Pro version, this can be checked in Programs and Features or by using Tell BTDirsync Version in the Domino console.
-
Restart the Windows Console server. Verify that the Directory Sync Pro service starts up and check the version in Programs and Features.
-
Check the nBTDirSync.EXE.Config and BinaryTree.DirSync.Exchange.exe.config files. Ensure that these are the same as the backup copies, if not then replace the files from the backup.
-
Open the Directory Sync Pro Console. Verify the Nodes (upper right 'hamburger' menu). The upgrade may have added a new node, check that the Online node is the Active node. If it is not select the Online node and Activate it.
-
Edit (Manage) the profiles and set them back to being scheduled if required with the run times noted above and save the change.
-
Verify that the profiles do process and complete the expected sync’s, this will show in the Directory Sync Pro console and can also be validated in the profile logs.