-
Titel
Archive to Google Cloud -
Beschreibung
This article is a step by step guide to setting up Archive jobs to Google Cloud with Rapid Recovery versions 6.3 and 6.4. -
Lösung
1. Create a new project.
- You can start a New Project or use an existing one. You can create a default first project by simply creating your account.
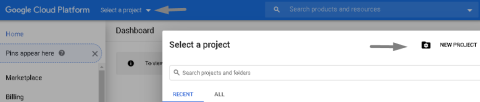
- Fill in the "Project Name" field and select your organization from the "Location" field. Click "Create."

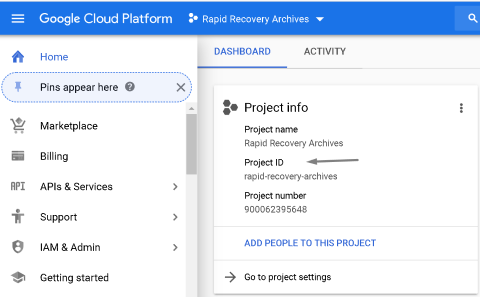
2. Copy the Project ID.
- Go to your Google Cloud Platform dashboard and look for your Project Info. Copy the value of your Project ID.
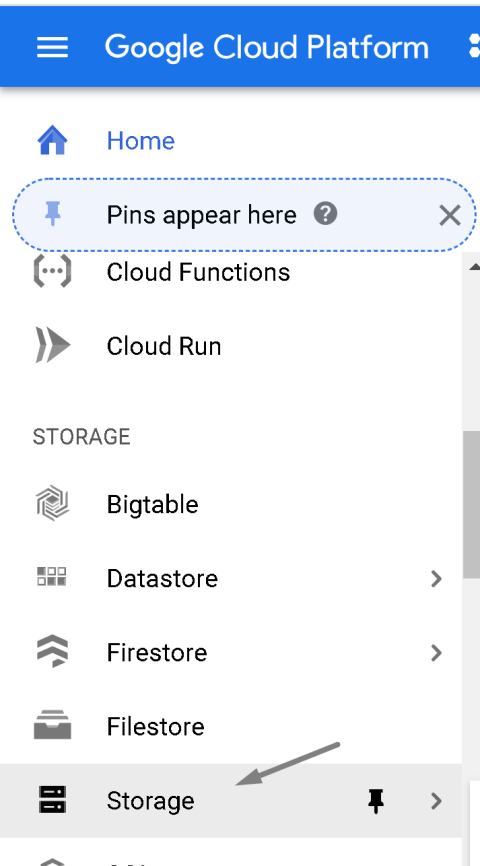
3. Create a storage Bucket.
- Go to the Google dashboard menu. Under the STORAGE section, click on "Storage." Click the "+Create Bucket" button.
- Fill in the "Name your bucket" field. Click "Continue". Select the appropriate storage options based on your requirements. For the "Choose how to control access to objects" option, chose "Uniform" Access Control since we do not need to customize access to individual objects within a bucket. Leave the Advanced Options as default and then click on "Create."

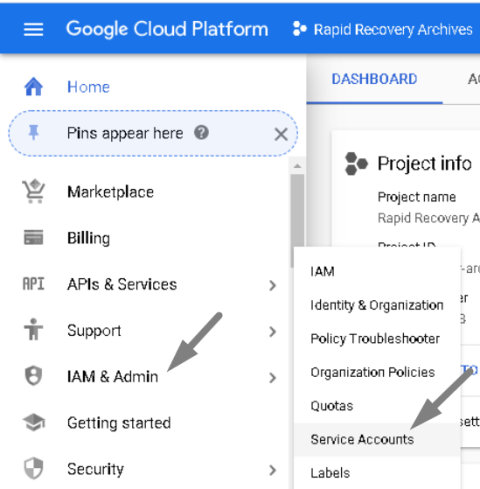
4. Go to the Google dashboard menu, hover the cursor over IAM & Admin, and select Service Accounts. Click on "+Create a Service Account."
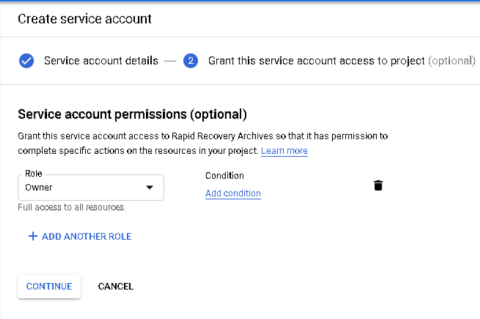
- Fill in the new service account details. Click "Create."

- Set the service account permissions. From "Select a role" dropdown, select "Owner" for full access to all resources. Click "Continue."
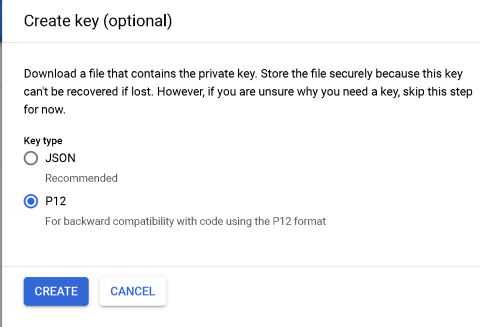
- Skip "Grant users access to this service account." Under Create Key, Keys, click on "+Create Key."
- Select the 'P12" radio button. Click "Create."
- Copy the secret key password; you will not be able to see it after you close the current window. Keep the P12 private key file safe since you will need it to access your cloud resources. Click "Done."
5. Once you have the service account, copy the Service account email. You can also get the details for an existing service account and create and download a new Key.

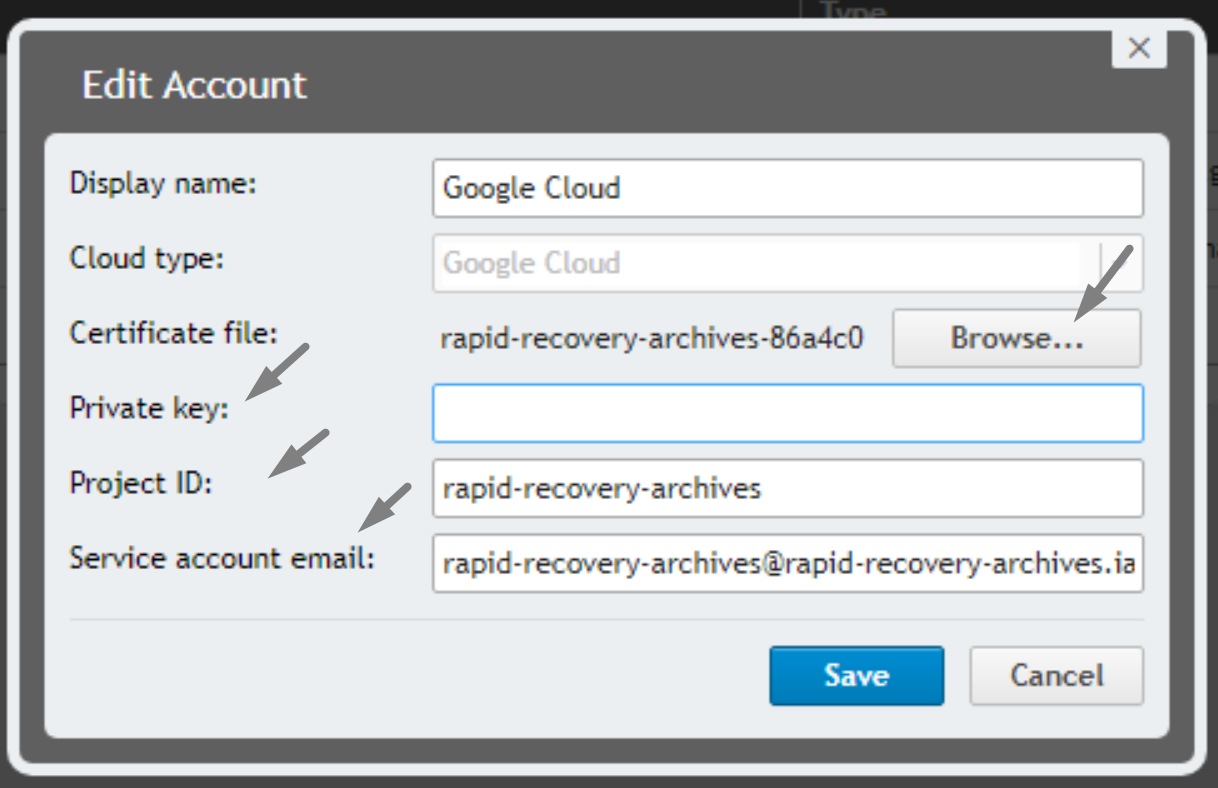
6. Go to the Core server, select Cloud Accounts, and click on "+Add New Account." Fill in the fields according to the information gathered in the previous steps.
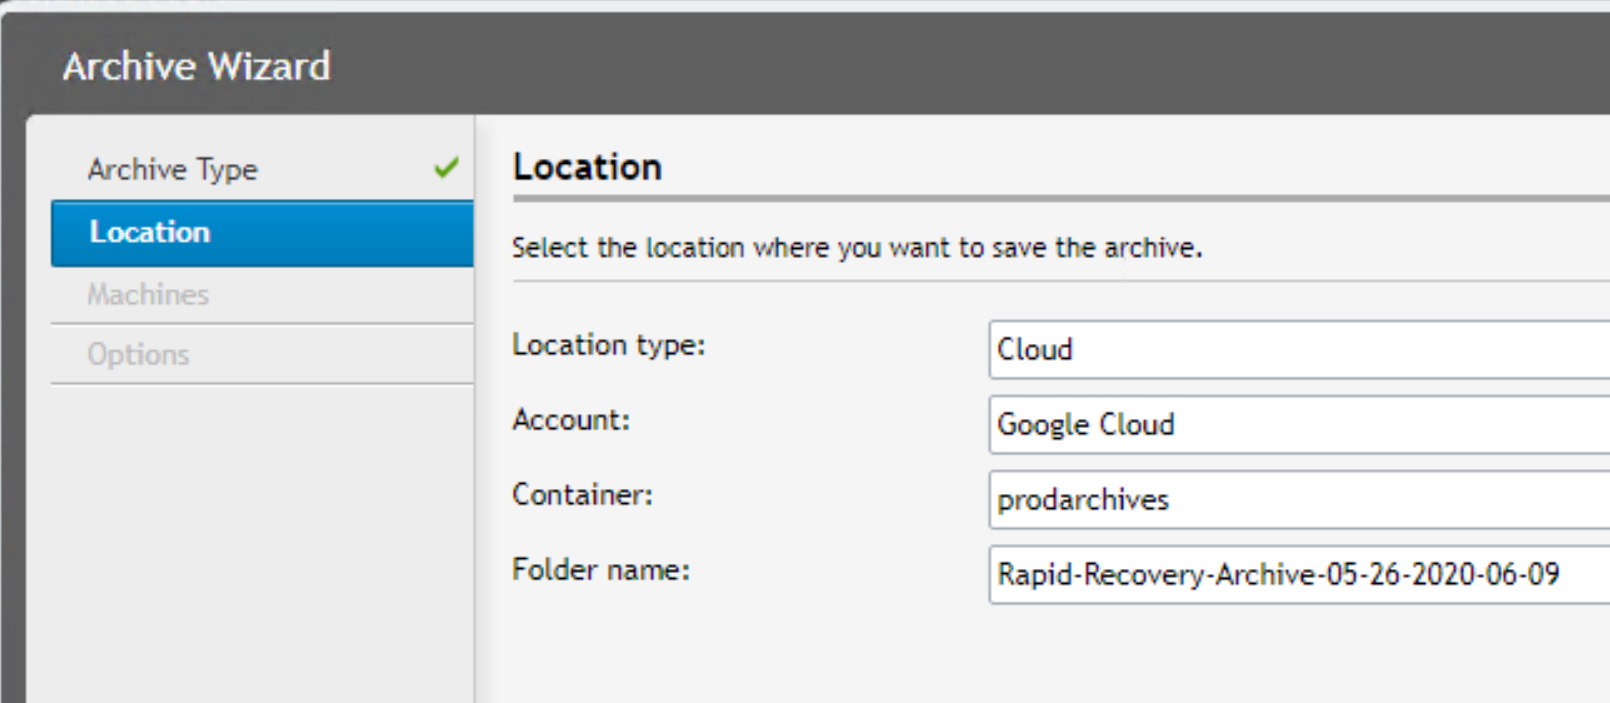
7. Go to the Core server More menu and select Archives, click on "+Add" under Archives for a one time job, or click on '+Add" under Scheduled Archives for a scheduled archive. Select the new Cloud Account. The Container field should show the new storage bucket. Rename the Folder name field and complete the wizard.