Microsoft 365 Multi-Geo addresses data residency requirements set by local laws and policies by allowing organizations to control where their data is stored. Administrators can provision and store data at rest in either the central location or satellite locations, including end user’s Exchange Online Mailboxes, OneDrive for Business, Team and SharePoint Online data.
This quick start guide describes how-to setup Synchronization between your Multi-Geo Microsoft 365 tenants. To set up On Demand Migration Directory Synchronization between your tenants, source objects must be either matched to existing objects or created as new objects in the target environment.
In this guide:
This chapter describes how to set up the On Demand Migration Directory Sync, setup the sync template and configure the Directory Sync workflow.
In this chapter:
Adding Microsoft 365 Tenants to On Demand
This section describes how to add Microsoft 365 tenants and configure a Migration project using On Demand Migration. During project setup, an Office 365 Global Administrator account is initially required to add each tenant to the project.
Follow these steps to add each Microsoft 365 tenant for On Demand Migration. If there is an existing tenant from another project, it can be reused.
- Log in to Quest On Demand.
- Navigate to Tenants.
- Click the Add Tenant.
- On Demand supports both Commercial and GCC High tenants. For the purpose of this guide, choose Add Commercial or GCC Tenant and click OK.
- Log in to Microsoft 365 with a Global Administrator account for the source tenant.
- Accept the requested Application Permissions.
- Click Finish.
- Repeat steps 2 – 8 for the target tenant.
Setting up the Directory Sync Environments
Follow these steps to setup the Directory Sync Environments.
- Log in to Quest On Demand.
- Navigate to Migration.
- Create a new migration project by clicking Create Project.
- Provide a migration project name and select the source and target tenant in the project wizard and click Save and Continue.
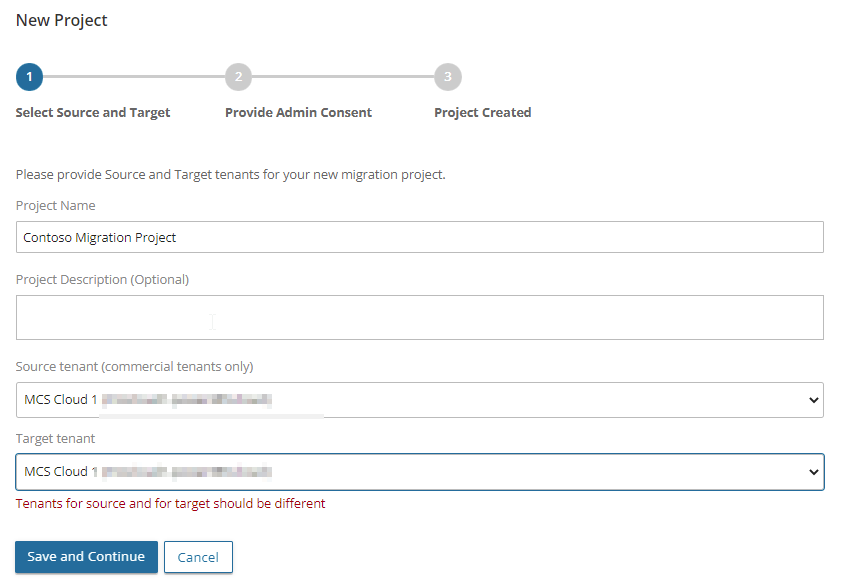
- Click Save and Continue again and click Finish and Close.
- Click on Directory Sync from the Project Dashboard.
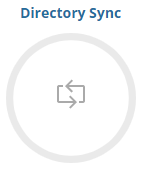
- Once the On Demand Migration Active Directory module is loaded, click on the Directory Sync icon in the main dash view.

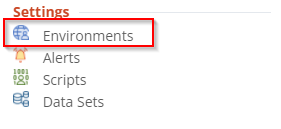
- Click Environments in the left navigation menu to display the environment page.
- Click New to open the environment wizard.
- Select Cloud and click Next.

- Type the name of the cloud environment and click Next.
- Click on Add Commercial or GCC tenant.

- Enter the tenant Admin Credential and accept the consents.

- Click Next.
- Configure the cloud environment filter group and click Next.
- Select the option Include Objects Synchronized with a Local Active Directory via Microsoft Entra Connect if you wish to include Hybrid Objects. For the purpose of this guide, we will leave this option unchecked and click Next.
- Review the environment summary and click Finish.
- Repeat Steps 7-15 for the target tenant.
Configuring the Directory Sync Template
This section provides a step-by-step guide on how to configure the Directory Sync Template.
- Log in to Quest On Demand.
- Navigate to Migration, and open your project.
- Click the Directory Sync icon.
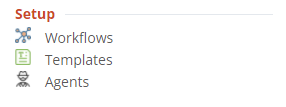
- Click the Templates link via the hamburger menu.
- Click New and bring up the Template Wizard.
- Enter the name and description for the template and click Next.
- Select Cloud for source environment type and click Next.
- Select Cloud for target environment type and click Next.
- Configure the Users Synchronization options and click Next. For the purpose of this guide, use the default options.
- Configure the Groups Synchronization options and click Next. For the purpose of this guide, use the default options.
- Configure the Office 365 Groups and Teams Synchronization options, click Next. For the purpose of this guide, use the default options.
- Configure the Contacts Synchronization options and click Next. For the purpose of this guide, use the default options.
- Specify the default user password and click Next.
- Click New on the mapping template to include the PreferredDataLocation(PDL) attribute to synchronize Multi-Geo enabled User objects. Include the MailboxRegion attribute to synchronize Multi-Geo enabled Unified Groups.
- PreferredDataLocation – User Objects
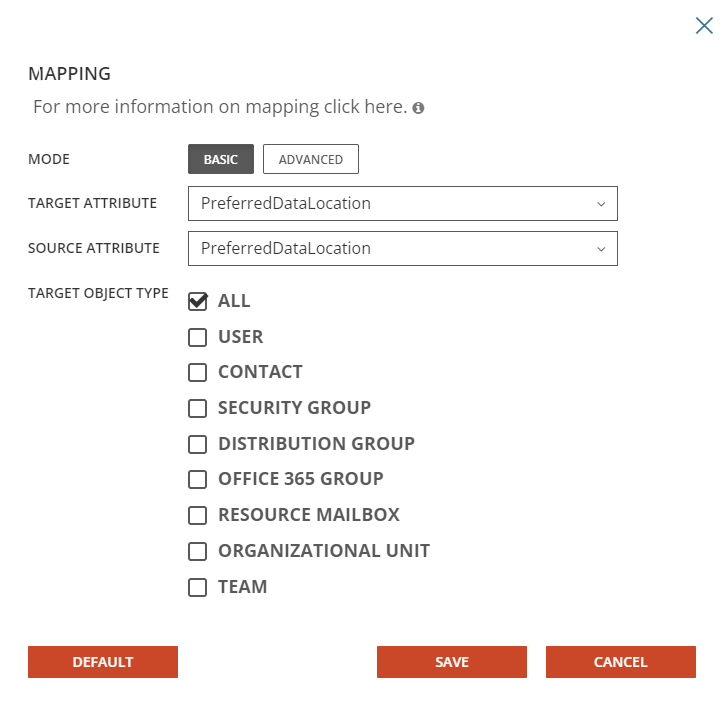
- MailboxRegion – Unified Groups

- Review the template summary and click Finish.
Configuring the Directory Sync Workflow
This section provides a step-by-step guide on how to deploy and configure the Directory Sync Workflow.
- Log in to Quest On Demand.
- Navigate to Migration, and open your project.
- Click the Directory Sync icon.
- Click on New under Workflow to open the workflow wizard.
- Enter the workflow name and click Next.
- Select the environments and click Next.
- Select One Way Sync and click Next.
- The workflow wizard will have four(4) workflow tasks pre-selected, they are Read, Match, Stage and Write. We will need to configure all 4 tasks.
- Read – Select the environments from which you wish to read the objects.
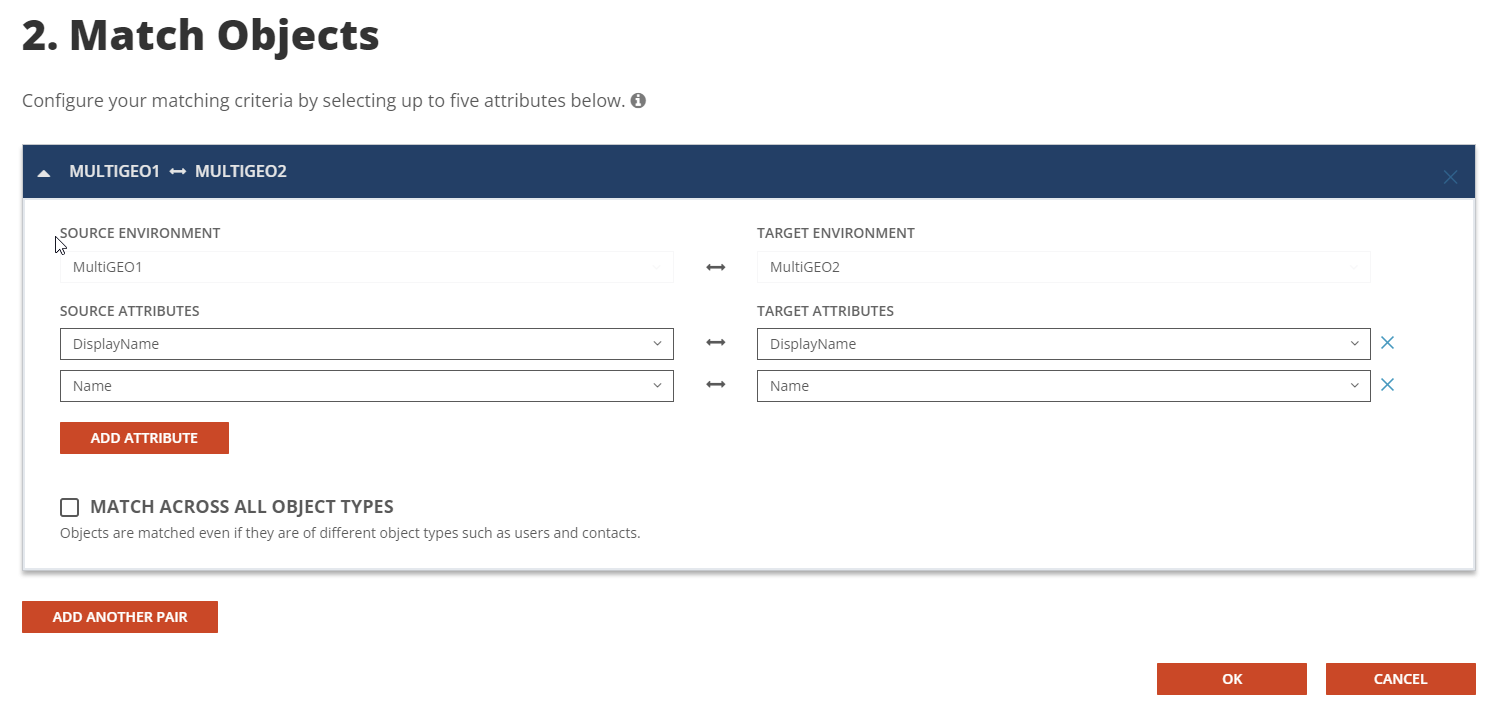
- Match – This is the step where you will decide how to match existing objects across your Microsoft Entra directories. Matching is conducted by pairing sets of attributes to find corresponding objects. Your two (2) environments may already have some attributes that can be used to find similar objects between the different directories, or you may need to populate some to ensure accurate matching. For a successful Directory Synchronization, it is most important that existing objects are correctly matched.
- For the purpose of this guide, DisplayName and Name will be used for matching.
- Stage – Configure how objects are synced using the sync template.
- Select the Sync Template, click Next.
- Select the source environment, click Next.
- Select the target environment, click Next.
- Choose the target domain name, click Next.
- Configure any Stage Data filters. It is highly recommended to setup a filter to limit the scope when performing a test on the first sync as part of the validation. click Next.
- Review the stage data summary and click Finish.
- Write – Specify the environment you want the changes to be applied to and click Next.
- Configure the Sync Interval. For the purpose of this guide, select Manually and click Next.
- Configure the Sync Alert. For the purpose of this guide we do not want to setup any alerts. Click Skip.
- Review the workflow summary and click Finish.
This chapter describes how to configure multi-geo enabled objects.
- Setup a multi-geo test user in the source tenant, we will configure the object in Japan Azure Region.
- Create a user in the source tenant (example, ODMADMEU1), and set the PreferredDataLocation(PDL) value to “JPN”.
Get-MsolUser -SearchString ODMADMEU1 | set-MsolUser -PreferredDatalocation JPN |
- Verify the Microsoft Entra ID User’s PDL is set to “JPN”

- Verify the user mailbox region is set to “JPN”.
get-mailbox ODMADMEU1 | Format-List DisplayName, Database, MailboxRegion |

- Setup a multi-geo test Team in the source tenant, we will configure the object in Europe Azure Region.
- Set the Team’s Unified Group (example, ODMADGEPGrp) PreferredDataLocation(PDL) to “EUR”.
Set-UnifiedGroup -Identity ODMADGEOGrp -MailboxRegion EUR |
- Verify the unified group mailbox region is set to “EUR”.

To find out how to enable Multi-Geo capabilities in your Microsoft 365 Tenant, see the Microsoft article Microsoft 365 Multi-Geo for more details.
