Setting up Metalogix StoragePoint
Metalogix StoragePoint is entirely managed within SharePoint Central Administration on the Application Management page. Once there, the farm-wide storage profile defaults can be configured, and storage profile(s) can be managed.
The general high-level steps to follow when setting up Metalogix StoragePoint to run within the SharePoint farm are as follows:
1.Configure the Metalogix StoragePoint System Cache
This step will establish the temporary location for BLOBs during Asynchronous operations. If a cloud-based storage platform is being used or any of the additional capabilities associated with asynchronous operations, then this is a required step.
a.Click System Cache from the StoragePoint menu.
b.Use the chart below to enter the minimum configuration settings for system cache.
|
Setting |
Value/Options |
|
Endpoint Name |
Read-only field for the name of the storage endpoint. |
|
|
Select FileSystem unless you are confident that another storage device is available for configuration. |
|
|
Enter an adapter-specific connection string in this box; a UNC path to a folder available on the network. |
c.Click Save at the bottom of the screen.
2.Configure the Storage and Backup Endpoints
This step will create the storage location(s) (endpoints) to which content will be externalized.
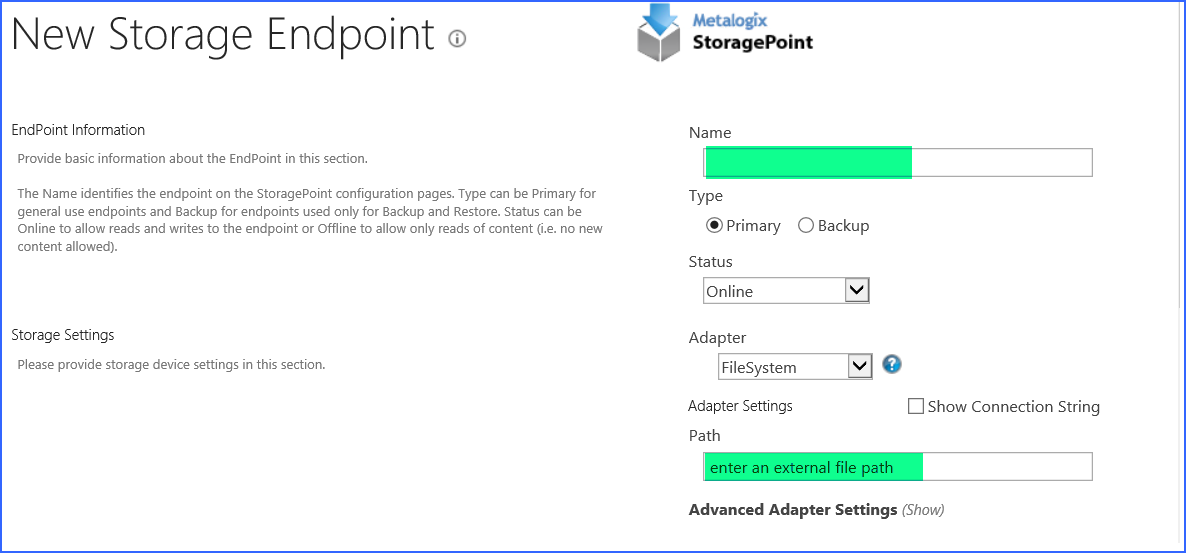
a.Click Storage and backup endpoints from the StoragePoint menu.
b.Click the Create New Endpoint link.
c.Use the chart below to enter the minimum configuration settings for the endpoint.
|
Setting |
Value/Options |
|
Name |
Enter the unique name of the Storage or Backup Endpoint. |
|
Type |
Primary this endpoint will be available for externalization when creating storage profiles. Backup this endpoint will be in the Backup Services dropdown on the profile page. The selection is locked down when saving. |
|
|
Select FileSystem unless you are confident that another storage device is available for configuration. |
|
|
Enter an adapter-specific connection string in this box; a UNC path to a folder available on the network. |
d.Click Save at the bottom of the screen.
3.Create one or more Storage Profiles.
This step will create the storage profile(s) that will dictate how BLOBs are externalized. Profiles can be scoped by web application, content database, and/or site collection (EBS Only).
a.Click Storage Profiles from the StoragePoint menu.
b.Enter a unique Name for the Storage Profile.
c.In the Profile Scope section of the page, select the scope of the storage profile Web Application.
d.Click the Change link next to your scope selection.
e.Web Application you will be presented with a web application selection dialog.
f.Click the name of the web application for which you want to create a storage profile. You will return to the profile page.
g.Use the charts below to enter the minimum configuration settings for the profile.
|
Storage Setting |
Value/Options |
|
|
Asynchronous for greater endpoint filtering options. |
h.Click Add Endpoint to select an existing endpoint.
|
Endpoint |
Select the endpoint that was created in task 2. |
i.Click OK to complete the Endpoint configuration for this profile.
j.Click the Save button to save the storage profile.
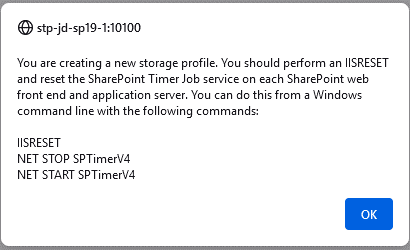
k.You will see a window about performing an IISRESET when creating a new storage profile. Click OK and be sure to perform the commands shown, after the save is complete.
The page will be locked until the operation is complete. This operation can take several minutes. There may also be a page for entering the database master key encryption, and a page may display showing service accounts that should be checked for permissions, if a FileSystem endpoint was used. You will be returned to the Storage Profiles page with the newly-created storage profile showing up in the list.
It is recommended that you also go through the Evaluation Guide to better understand how StoragePoint can be further configured and best utilized.


 Select Primary


