
Import new clients
You can use an import file to add a large number of pre-configured client computers. The import TXT file format and considerations are described below:
|
Column name |
Value |
Description |
Example |
|---|---|---|---|
|
Name |
string |
Computer name |
AMXWIN10 |
|
MBXID |
integer |
Mailbox identifier. Instead of this column you can you can use OwnerName column |
6 |
|
DestinationFolder |
string |
Folder in the target mailbox which will be the root folder for the whole PST tree structure. If you intend to import more than one PST file to the same destination mailbox, you can create unique root folders for each PST file by entering the special tags described below: a.%PSTNAME% - the folder name is the display name of the PST file. b.%PSTFILENAME% - the folder name is the file name (without extension) of the PST file |
%PSTFILENAME% |
|
OwnerName |
string |
If you do not know the mailbox identifier (MBXID), you can specify the email address or alias |
timashford@democorp.com |
|
SearchStart |
datetime |
Date and time when the Gatherer should start searching for PST files |
21/1/2010 4:00:00 PM |
|
SearchInterval |
integer |
Frequency of the search (days) |
1 |
|
SearchDuration |
integer |
Duration of searching (minutes) |
20 |
|
UploadStart |
datetime |
Date and time when the Gatherer should start uploading of PST files |
25/1/2010 4:00:00 PM |
|
UploadInterval |
integer |
Frequency of the upload (days) |
1 |
|
UploadDuration |
integer |
Duration of searching (days) |
30 |
a.The first line must contain the columns which are used in the file. The file need not contain all columns.
b.The column Name is mandatory
c.Column names are not case sensitive.
d.Column names and values must be separated by either a semicolon (;) or a pipe (|). Only one type of the separator should be used in the whole import file.
e.The data types must be correctly formatted:
·String - any string that does not contain separator. The string cab be empty.
·Integer -only numeric values.
·DateTime - the format of the date depends on the regional settings of the computer where the application is running.
To import new client computers with an import file:
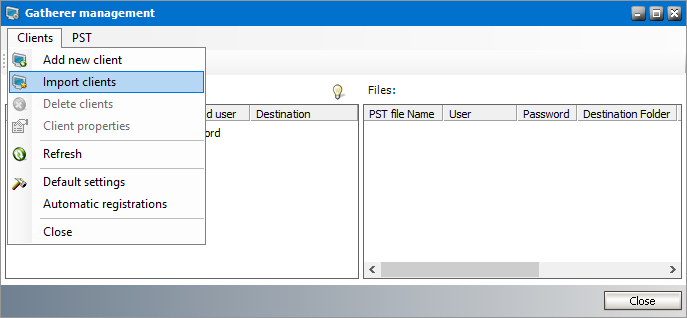
1.From the PST Importer menu click PST Gathering and then click Clients and PST files. The Gatherer management window opens.
2.From the main menu click Clients and then select Import clients or click the Import clients icon in the tool bar.
3.In the Import PST Clients window click Import and locate the import file you have created.
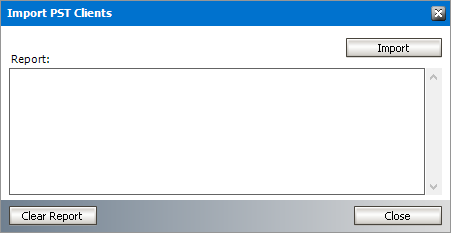
4.Check the displayed report and the Clients list for imported clients.
5.Click Clear Report to erase the report contents and then click Close to exit the Import PST Clients window.
Remove a client
When a client computer is removed, PST files cannot be uploaded from that client computer. To remove a client computer:
1.From the PST Importer menu click PST Gathering and then click Clients and PST files. The Gatherer management window opens.
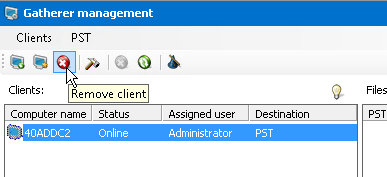
2.Select the client computer and then you can remove the client in one of two ways:
a.Click the Remove Client icon on the toolbar.
b.From the menu click Clients and then select Delete client.
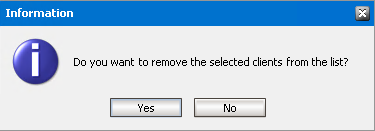
3.In the Information window that opens, click Yes to confirm.
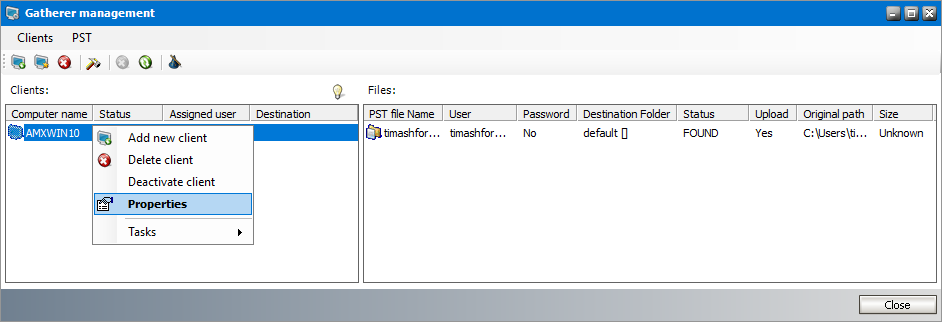
Modify client properties
1.From the PST Importer menu click PST Gathering and then click Clients and PST files. The Gatherer management window opens.
2.In the Clients list select a client computer. Open the Properties window in one of three ways:
·Double-click a client computer in the Clients list.
·From the main menu click Clients and then select Client Properties.
·Right-click a client computer in the Clients list and select Properties from the context menu.
3.From the Properties window select the Ownership tab.

Customize the properties as described below:
a.Detect user from folder path - if PST files are stored on a network share or a disk and each user has their own folder, then only this location will be searched on that client computer and the PST files will be assigned to each user on the basis of the folder name. You can use the following wildcards to detect assignees:
·%ALIAS%
·%DISPLAYNAME%
·%LOGONNAME%
·%EMAILADRESS%
For example, if user folders are created on the basis of their email address on a network share called Archive, then you can use the folder path \\Alias\%EMAILADRESS% to search for PST files in these folders and assign each PST file to a unique user mailbox.
b.You can customize other settings in the Ownership, Search and Upload tabs as described in the Setup PST Gathering topic.
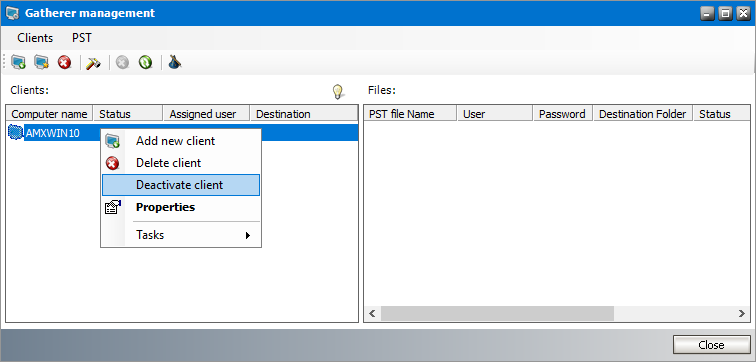
Deactivate a client
If you want to temporarily prevent a client computer from automatically uploading PST files you can deactivate the client instead of removing it. If a client is deactivated, manual uploading and importing of PST files can still be performed. Manual uploading is an independent process from automated uploading.
To deactivate a client computer:
1.From the PST Importer menu click PST Gathering and then click Clients and PST files. The Gatherer management window opens.
2.Right-click the client that you want to deactivate and select Deactivate client from the context menu.
3.A deactivated client is displayed with a red mark in the icon.
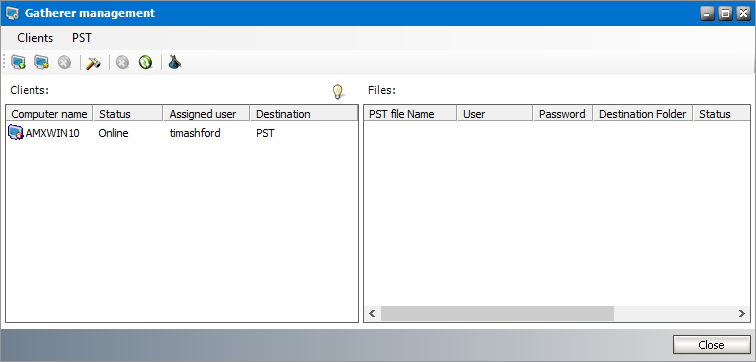
|
|
NOTE: A deactivated client computer can be activated again. Right-click a deactivated client in the Clients list and select Activate client from the context menu. |
