
Section 9. Modify the Notes.ini File
8.2 Create Mail Router Mailbox
If the mail router mailbox (btexchange.box) does not already exist, create it on the server using the mail router Mail Router Mailbox mailbox.ntf template also found in the Domino Coex server’s Data Directory server:
-
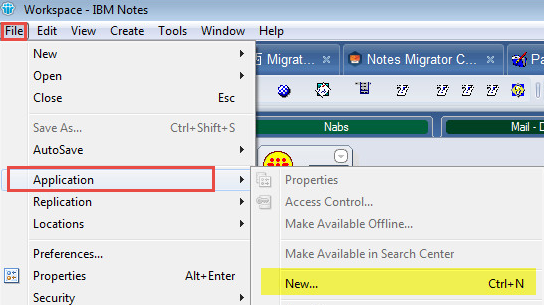
Launch IBM Notes
-
Click File | Application | New
-
In the New Application dialog box:
-
Select the Domino Coex server in the Server field
-
Enter BT Exchange Mailbox in the Title field
-
The File Name is auto-populated based on the Title name; we recommend keeping it as is
-
Click Show advanced templates
-
Select the Mail Router Mailbox (mailbox.ntf) template to create a new mail router mailbox
-
Click OK
-

Section 9. Modify the Notes.ini File
The Notes.ini file can be updated either by editing it manually or by issuing an appropriate set config command on the Domino Server’s Console. When editing Notes.ini parameters, the total length of the Keyword=Value string cannot exceed 256 characters.
9.1 Sample Notes.ini FreeBusy Parameters
A sample of required Notes.ini FreeBusy values is shown below. Some variables need to be configured to match your environment.
Copy the variables below into your existing Domino Coex Notes.ini file. For all of the highlighted lines, enter the value that corresponds with the Domino settings defined on the table on the next page.
|
;*************************** Begin CMTc Section **************************** ; \\\\\\\\\///////// ;************************** Start FreeBusy Section *************************** BTCOEX_APPROVED_CALLERS=____________________ BTCOEX_BYPASS_REQUESTOR=1 BTCOEX_DEFAULT_FB_ACCESS_ACCOUNT=____________________ BTCOEX_WS_NAME=BTAvailability BTCOEX_DOMINO_DOMAINS=____________________ BTCOEX_EXCHANGE_DOMAINS=____________________ BTCOEX_NSF=btws.nsf BTCOEX_FOREIGN_WS_URL=____________________ BTCOEX_SERVICE_TYPE=COEX |
The chart below lists each parameter from the Notes.ini sample above. The administrator should use the chart to determine the values to enter to update in the Notes.ini sample. More information on these parameters can be found in the INI File Parameters appendix.
|
|
| |||
|
INI Variable Name |
Description |
Required Value or Ex. |
||
|
BTCOEX_APPROVED_CALLERS |
Specifies the IP addresses that need to connect to the Domino Coexistence server; this field is optional |
<comma-separated IP addresses> |
||
|
BTCOEX_BYPASS_REQUESTOR |
If set to “1”, Exchange requests will use the credentials supplied by the BTCOEX_DEFAULT_FB_ACCESS_ACCOUNT parameter. This is useful when Exchange is not supplying the user ID because it is set to OrgWideFB. |
1 |
||
|
BTCOEX_DEFAULT_FB_ACCESS_ACCOUNT |
This is the SMTP Address of the FreeBusy Proxy Account (see section 5.5 FreeBusy Person Document) |
<bt.freebusy@contoso.com> |
||
|
BTCOEX_WS_NAME |
Should match the virtual directory used by btrouter on the Windows coexistence server; BTAvailability is the default value |
BTAvailability |
||
|
BTCOEX_DOMINO_DOMAINS |
Comma-separated list of Domino domains |
<comma-separated IP addresses> |
||
|
BTCOEX_EXCHANGE_DOMAINS |
These are the domains used in the Foreign Domain document |
<“BTEx” (for on-prem Exchange) “MSO365” (for Office365)> |
||
|
BTCOEX_NSF |
This is the name of BT FreeBusy webservices database |
btws.nsf |
||
|
BTCOEX_FOREIGN_WS_URL |
Address used to contact the Windows coexistence server |
<http://autodiscover.domino.contoso.com/btavailability/availability.asmx> |
||
|
BTCOEX_SERVICE_TYPE |
The BTCOEX_SERVICE_TYPE parameter specifies the Web Service format used by the Binary Tree IIS apps to translate to the correct version of the EWS format. |
COEX |
||

9.2 How to update the Notes.ini file
To make changes to the Notes.ini file, follow these steps:
-
Shutdown BTFreebusy by issuing the following command at the Domino Coex server console:
|
Domino Coex Server Console |
|
tell btfreebusy quit |
-
Shut down the Domino Coex server by issuing the following command:
|
Domino Coex Server Console |
|
quit |
-
When the Domino server has completed its shutdown:
-
Open the INI file in a basic text editor (e.g. Notepad)
-
Make the modifications and save the text file
-
|
|
|
-
Restart the Domino Coex server
Section 10. Start FreeBusy on Domino Coex Server
After installing the FreeBusy software and updating the Notes.ini file, the Domino Coex server needs to be restarted.
Refer to the Ongoing Administration section for more information on FreeBusy Domino server commands.
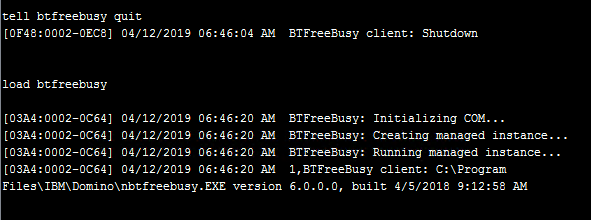
If the Domino server was not shutdown when the Notes.ini was updated, restart FreeBusy. To do this, issue the following commands at the Domino Coex server console to start and stop the FreeBusy task:
|
Domino Coex Server Console |
|
tell btfreebusy quit load btfreebusy |
The example below, shows a quit followed by a successful BTFreeBusy load.
Section 11. Install FreeBusy for Windows
To install Integration for Notes Free/Busy on the Windows Coex server, follow the instructions below:
-
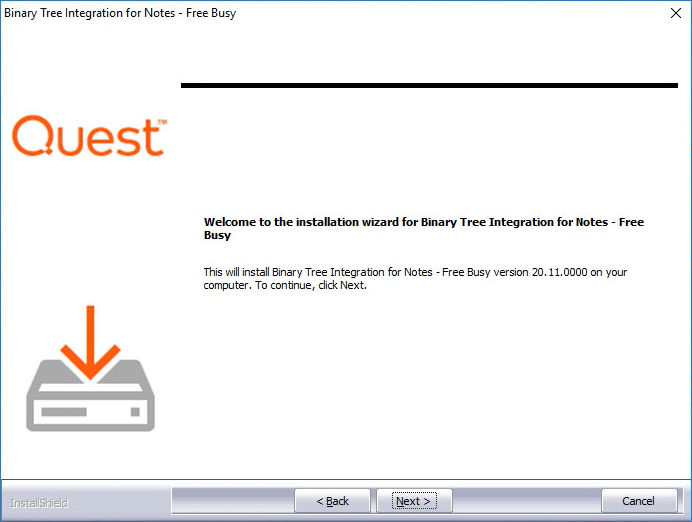
Run the Notes Integration FreeBusy.exe as Administrator
-
On the installation wizard screen, click Next:
-
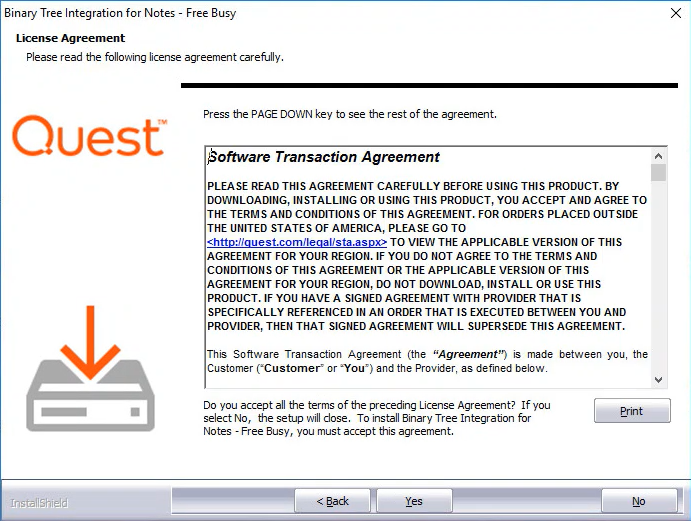
Review the Software License Agreement and if you agree, click Yes to continue:
-
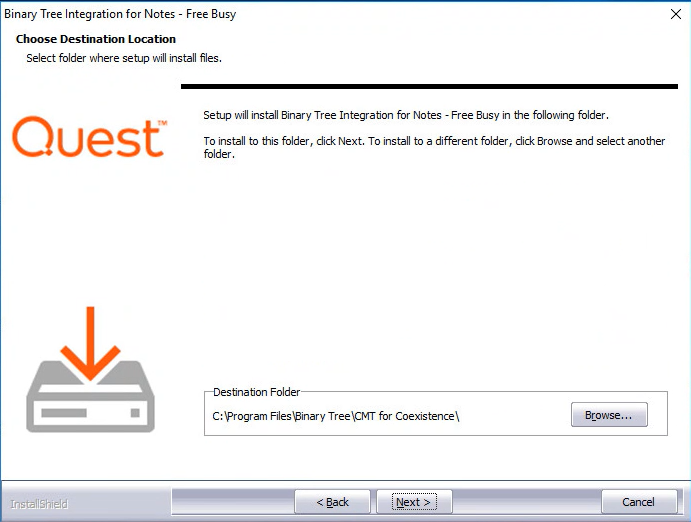
On the Choose Destination Location screen, accept the default destination location or browse to the desired location; click Next:
-
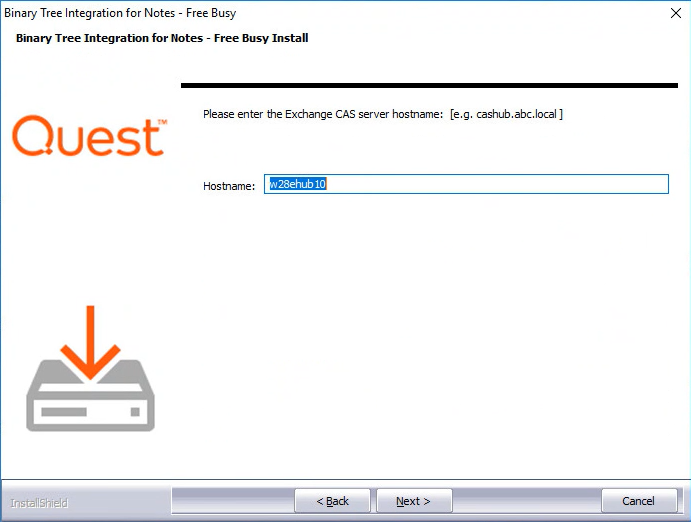
On the first screen, enter the Fully Qualified Domain Name (FDQN) of the Exchange CAS server hostname and click Next:
-
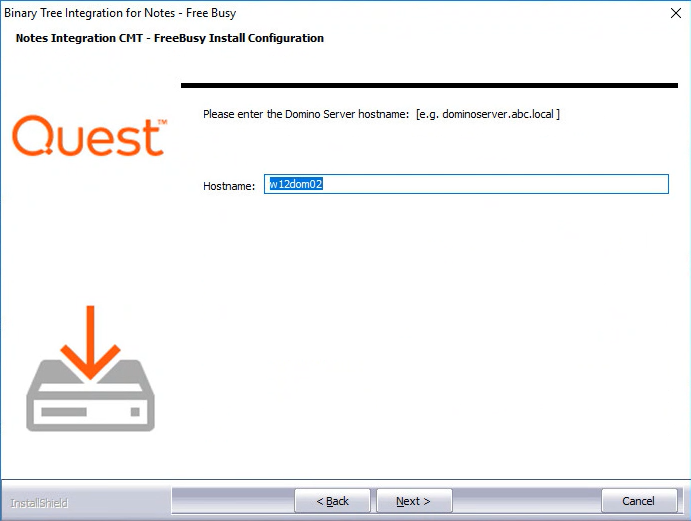
Enter the DNS name of the Domino Server and click Next:
-
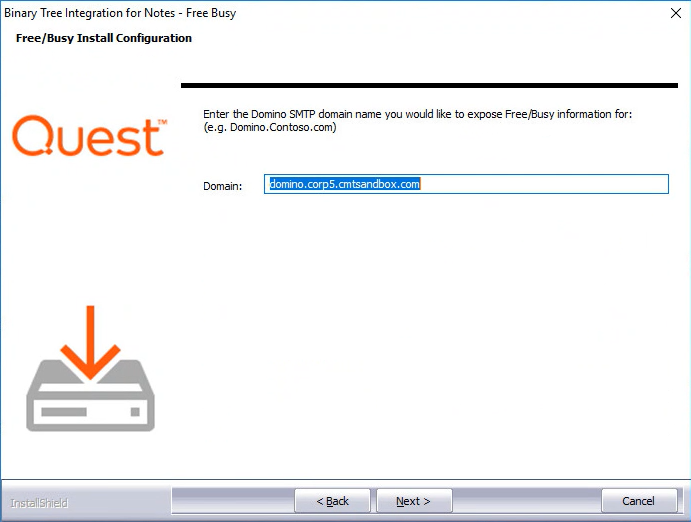
On the third Free/Busy Install Configuration screen, enter the Domino SMTP domain name you want to expose Free/Busy information for and click Next:
-
On the Additional setup is required screen, copy the command and run it in an Exchange Management Shell then click Next.
This command sets the Availability Address Space in Exchange so Free/Busy requests are sent to Domino:
-
On the Ready to Install the Program screen, click Install to begin the installation:
-
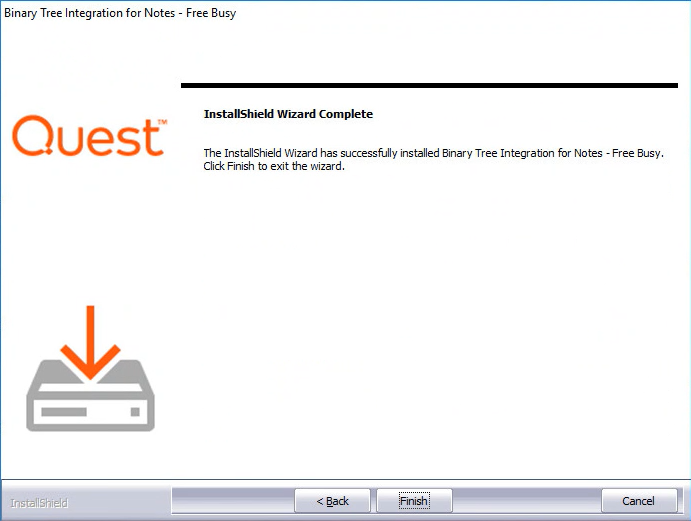
When installation is complete, the Wizard Complete screen appears; click Finish to exit the wizard:
-
Open a command prompt and run the following command: iisreset


Proper verification of the FreeBusy installation, can prevent future issues from occurring during coexistence. Verify Autodiscover, BTAvailability and BTRouter and then complete the validation matrix at the end of this section.
Section 10. Start FreeBusy on Domino Coex Server
9.2 How to update the Notes.ini file
To make changes to the Notes.ini file, follow these steps:
-
Shutdown BTFreebusy by issuing the following command at the Domino Coex server console:
|
Domino Coex Server Console |
|
tell btfreebusy quit |
-
Shut down the Domino Coex server by issuing the following command:
|
Domino Coex Server Console |
|
quit |
-
When the Domino server has completed its shutdown:
-
Open the INI file in a basic text editor (e.g. Notepad)
-
Make the modifications and save the text file
-
|
|
|
-
Restart the Domino Coex server
Section 10. Start FreeBusy on Domino Coex Server
After installing the FreeBusy software and updating the Notes.ini file, the Domino Coex server needs to be restarted.
Refer to the Ongoing Administration section for more information on FreeBusy Domino server commands.
If the Domino server was not shutdown when the Notes.ini was updated, restart FreeBusy. To do this, issue the following commands at the Domino Coex server console to start and stop the FreeBusy task:
|
Domino Coex Server Console |
|
tell btfreebusy quit load btfreebusy |
The example below, shows a quit followed by a successful BTFreeBusy load.
Section 11. Install FreeBusy for Windows
To install Integration for Notes Free/Busy on the Windows Coex server, follow the instructions below:
-
Run the Notes Integration FreeBusy.exe as Administrator
-
On the installation wizard screen, click Next:
-
Review the Software License Agreement and if you agree, click Yes to continue:
-
On the Choose Destination Location screen, accept the default destination location or browse to the desired location; click Next:
-
On the first screen, enter the Fully Qualified Domain Name (FDQN) of the Exchange CAS server hostname and click Next:
-
Enter the DNS name of the Domino Server and click Next:
-
On the third Free/Busy Install Configuration screen, enter the Domino SMTP domain name you want to expose Free/Busy information for and click Next:
-
On the Additional setup is required screen, copy the command and run it in an Exchange Management Shell then click Next.
This command sets the Availability Address Space in Exchange so Free/Busy requests are sent to Domino:
-
On the Ready to Install the Program screen, click Install to begin the installation:
-
When installation is complete, the Wizard Complete screen appears; click Finish to exit the wizard:
-
Open a command prompt and run the following command: iisreset
Proper verification of the FreeBusy installation, can prevent future issues from occurring during coexistence. Verify Autodiscover, BTAvailability and BTRouter and then complete the validation matrix at the end of this section.