To change the settings of an existing retention category:
1.Double-click the selected retention category to open the Retention category properties window or right-click and select Properties from the context menu.
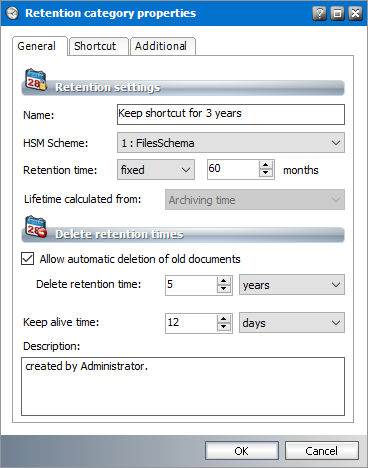
2.On the respective tabs specify your new settings for the retention category. On the General tab you can change the name, HSM Scheme, retention time, keep alive time as well as allow automatic deletion of old documents and modify related Delete retention time. Click Apply and OK.
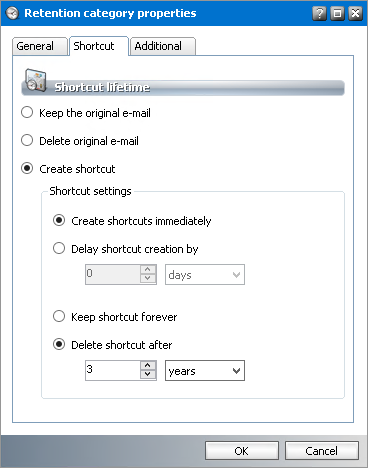
3.Shortcut settings can be modified on the Shortcut tab. Click Apply and OK to apply the new settings.
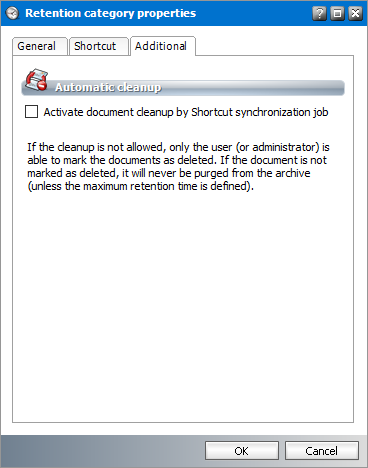
4.On the Additional tab set the shortcut synchronization behavior if the Activate document clean-up by Shortcut synchronization job checkbox is selected, emails archived via this category will be marked for deletion (or completely deleted if their retention time is 0) whenever the Shortcut synchronization job cannot find the reference to the emails in any of the users mailboxes. If the checkbox is not selected, Shortcut synchronization job will not mark them.
5.Click Apply and OK to apply your settings.
How to customize the retention categories list view
1.Right-clicking any retention category on the Retention tab
2.From the the context menu select the following:
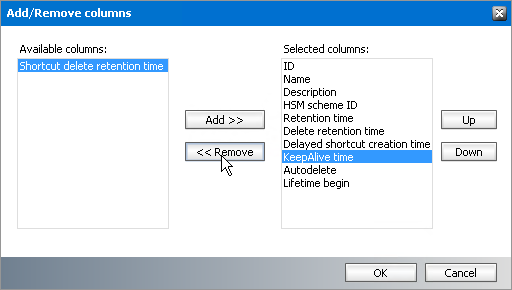
·Add/Remove columns to add or remove columns from the list view.
oTo add or remove a column, select the column from the Available columns or Selected columns list. Then click the Add/Remove button.
oTo change the order of the selected columns click the one you want to move and use the Up and Down buttons. Click OK.
·Delete category a retention category can be deleted only if nothing was archived via this retention category.
For better performance and secure load balancing, you can install several archive or retrieve servers in several locations like Geneva, Amsterdam, Paris etc. Each server location uses its own database but they could point to the same Exchange Server. When you create locations, Archive Manager knows which location to use for archiving and retrieving emails for end users.
After you have:
1.installed your Archive Manager servers
2.assigned the servers their server roles in the Tools > Options > Server settings tab
You must:
3.register the servers as Archive or Retrieve severs in the Locations tab.
|
|
NOTE: If you have only one Archive Manager server installed, you need not register it. |
Steps to add a new location
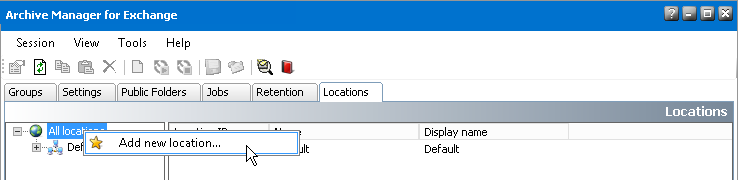
1.In Manager view click the Locations tab.
2.Expand the All locations node in the left pane of the window to see the all locations and its servers.
3.Right-click the All locations and select the Add new location option.
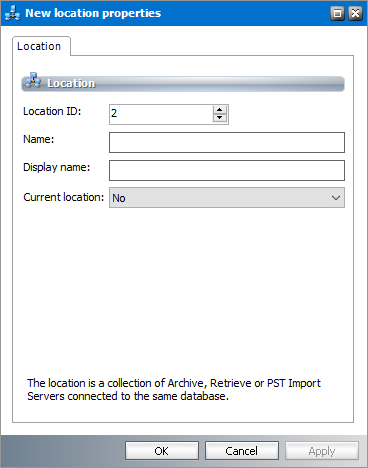
4.In the New location properties window provide the information as described below:
a.Location id - identifier of the location. You can change the value if needed.
b.Name - name of the location.
c.Display name - name of the location that appears to users who are are using Outlook Addin. It could be the same as the Name property.
d.Current location - select Yes to set the location where the Archive server is installed.
5.Click Apply, then OK.
|
|
NOTE: To edit a location, right-click the location and select Properties from the context menu. To delete a location, right-click the location and select Delete location from the context menu. Then click Yes in the confirmation dialog. To set another location as the current location, right-click the location and select Set as current location from the context menu. This option is deactivated if there is only one location defined. |
Steps to add a sever to a location
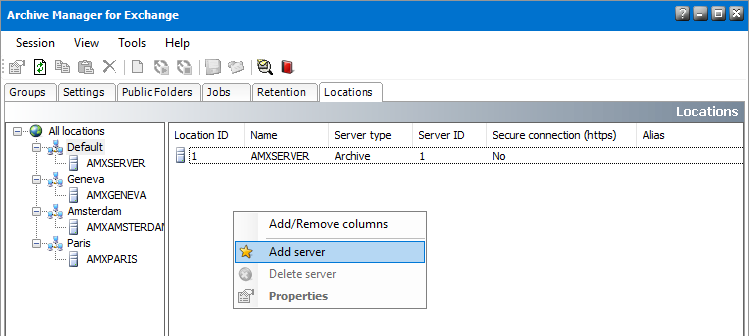
1.In Manager view open the Locations tab.
2.Expand the All locations node in the left pane of the window.
3.Select the location where you want to add the new server. Then right-click and select Add server to location from the context menu.
4.In the New location server properties window enter the information as described below:
a.Name - Name of the server.
b.Type - Choose from the following server types: Archive, Retrieve or PST Importer.
c.Alias - Enter the FQDN name of the server. Required if you use https for communication.
d.User secure connection (https) - Select this option if you use https for communication.
|
|
NOTE: If users are using Outlook Addin make sure that they can access the new location server. If users are using a proxy server, make sure that the location server is accessible through the proxy. If your environment uses https for communication and ArchiveWeb or OWA to access archived items, the following settings must be configured: ·The site bindings and SSL Settings for the location server certificate must be configured. ·The AM for Exchange service URL property for ArchiveWeb must be configured to use https. See the ArchiveWeb Guide for more information. ·The Archive ManagerExchangePamWS URL property for OWA must be configured to use https. See the OWA Guide for more information. ·In the Location server properties window, the Alias must be specified and the Use secure connection (https) checkbox must be selected. |
5.Click Apply, then OK. The new server will appear in the right pane of the Locations tab.
|
|
NOTE: To delete the server from the list, right-click the server in the left pane and select Delete server from the location from the context menu. |
Status view is displayed by clicking Status on the View menu. By clicking on different nodes in the left pane of the Status view you will display information on current version of Archive Manager for Exchange, logged-on users, status of services, database, HSM Store etc.
By clicking on the Application Server node in the left pane you will display some detailed information about the current version, as shown below:
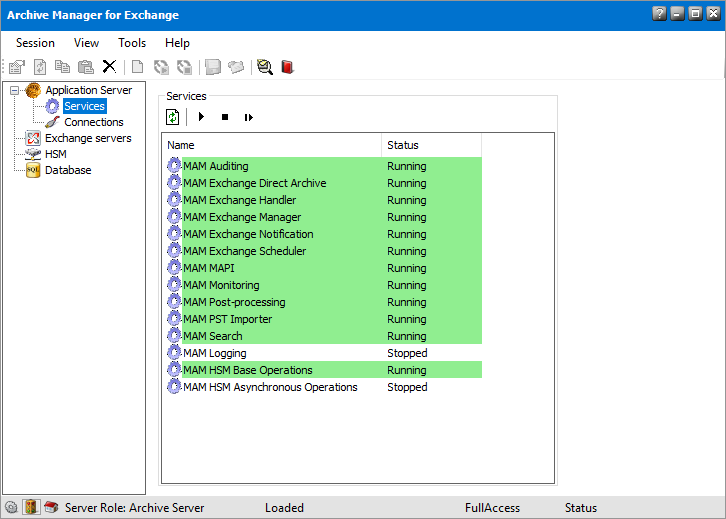
By clicking on the Services node in the left pane you will see all Archive Manager for Exchange services and their status.
Services can be restarted by clicking on the Restart button. You can use the Stop button (

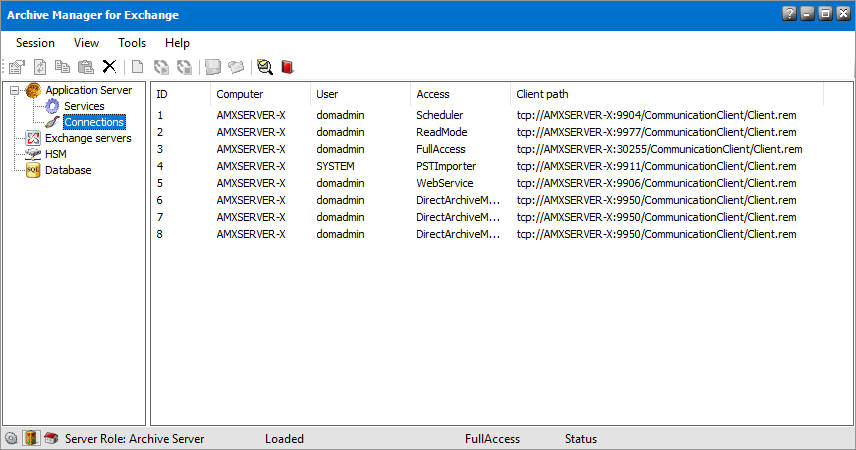
By clicking on the Connections node in the left pane you will display current connections and logins. Here you can find out access rights etc.
Archive Manager for Exchange can run on several computers in parallel and can communicate with several MS Microsoft Exchange servers.
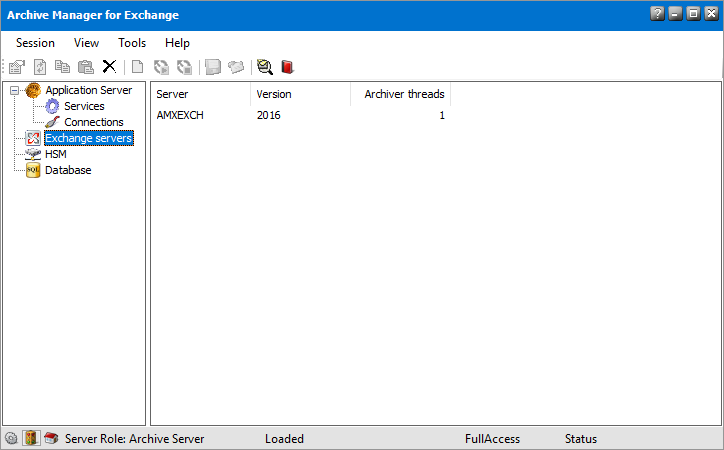
By clicking on the Microsoft Exchange servers node a list of synchronized MS Microsoft Exchange servers will be displayed, including the number of threads.
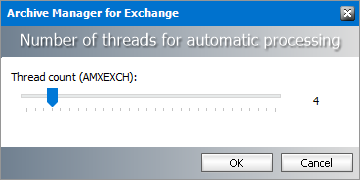
To change the number of threads, double-click a Microsoft Exchange server. In the Threads window simply set the number of threads to be processed in one cycle. The higher the number, the less number of cycles you have it however slows down the system. An optimal number is from 15 to 20.
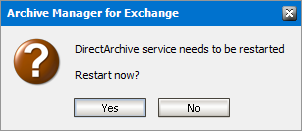
If you, for instance, set the number of threads to 4 and click OK.
Click Yes to restart the service. Then by clicking on the Connections node, 4 entries will be displayed (see the following figure).
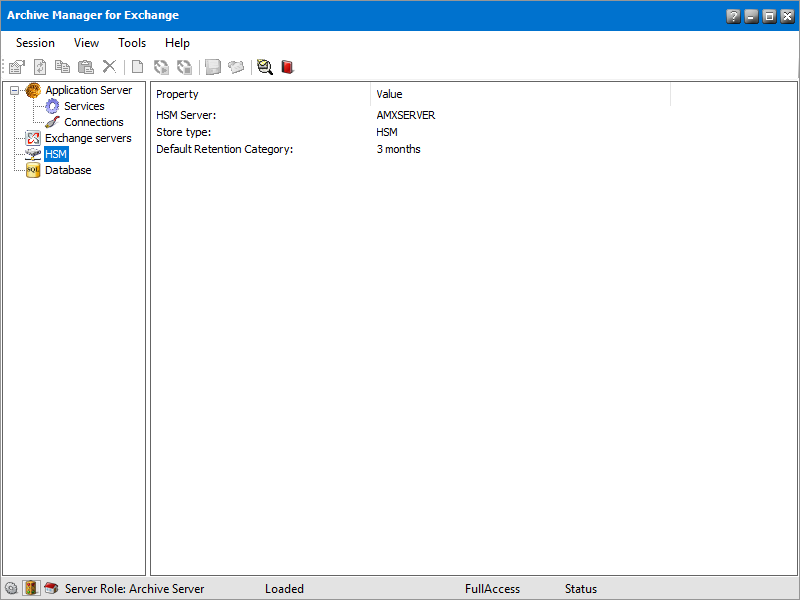
By clicking on the HSM node you will retrieve some information on your HSM store type, HSM/Archive Manager Server and the ID of the default Retention Category. This is for informative purposes only.
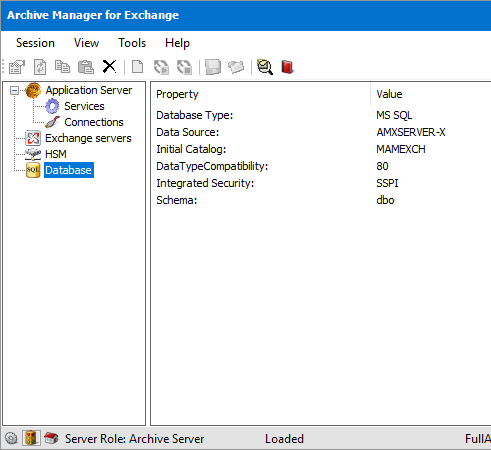
By clicking on the Database node some information about the database in use will be displayed. This information is taken from the DB Config tool.
Archive view has been designed for shortcut repairing, for manual archiving/restoring (Mailboxes and Public folders tabs) and for browsing purposes. Even restoring of lost items is possible in this view (Archive and Mailboxes tabs).
In this chapter
Before you start archiving
All mailboxes that you plan to archive must be synchronized with Archive Manager for Exchange Server. Emails received by mailboxes that were not synchronized cannot be archived.
Synchronization can be automated with the Address Book Manager and can run in the background. For more information see Synchronizing Address Book Manager. When mailboxes are synchronized you can start archiving mailboxes.
|
|
NOTE: The archiving services are configured to run automatically (service type set to "Automatic" in Start > Settings > Control panel > Administrative tools > Services) and some of them run with the super-user account credentials. If some services are not started, it is necessary to start them manually using the Start.bat file. The default location is C:Program Files (x86)\ Quest\MAM4Exchange\Tools. If it does not help, review the event log entries in Start > Control panel > Administrative tools > Event viewer. The most common problem of not starting services is the incorrectly configured identity. Run an update or repair using the the Archive Manager for Exchange setup file, or correct the service identities manually using Start > Programs > Administrative Tools > Computer Management. |