Issue
Sometimes it might be necessary to configure PST Flight Deck with HTTPS/SSL. This article will cover how to do this – from the perspective of a new install, if you are upgrading an exiting FD installation a slightly modified procedure has to be followed, please contact Quadrotech Field Enablement in such a case.
Solution
To setup PST Flight Deck with HTTPS, you will definitely need the following things (apart from some general network stuffs like opening the port, firewall rule, etc.):
Getting a Web Server Certificate
In most cases the company already has a certificate – and hence the step to create one can be jumped, instead select the exiting certificate.
1. Open the Internet Information Services (IIS) Manager.
2. Select the computer name under Connections (in the left hand side).
3. Select the Features View and double click on the Server Certificates feature.
4. You will find options to create a Certificate request, Complete Certificate Request, Create Domain Certificate and Create Self-Signed Certificate under the Actions pane (in the right hand side).
5. Click on Create Self-Signed Certificate….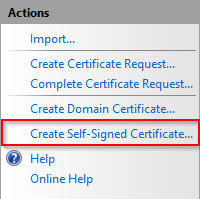
6. Specify a friendly name for the certificate and click on OK.
7. Your self-signed certificate will be created and ready to use.
Configuring the SSL port for a website
1. Open the Internet Information Services (IIS) Manager.
2. Select the Default Web Site under Connections (in the left hand side).
3. Click on Bindings under the Actions pane (in the right hand side).
4. Now, click on Add.
5. Select the type as https and enter the Port – default will be 443.
6. You cannot click on the OK button till you select the SSL certificate for the site.
7. If you haven’t installed any server certificate, you won’t see any certificate listed in the drop down box. To get a server certificate, please follow the above steps under “Getting a Web Server certificate“.
Or select an exiting Certificate.
8. Click on OK.
Verifying the SSL Binding
In the Actions pane, under Browse Web Site, click the link associated with the binding you just created.
Internet Explorer (IE) will display an error page because the self-signed certificate was issued by your computer, not by a trusted Certificate Authority (CA). IE will trust the certificate if you add it to the list of Trusted Root Certification Authorities in the certificates store it on the local computer or in Group Policy for the domain. (ensure you use server name or DNS alias to test – not Localhost)
Click Continue to this website (not recommended).
Exporting the certificate and importing it on the user workstation
In case you are using an exiting certificate this is not necessary, as it will already be rolled out.
1. Open the Internet Information Services (IIS) Manager.
2. Select the computer name under Connections (in the left hand side).
3. Select the Features View and double click on the Server Certificates feature.
4. Select the certificate you want to export and then click on Export under the Actions pane (in the right hand side).
5. Select the path you want to export the certificate to and fill in the password, then click on OK.
6. Copy the certificate on the user workstation you want to install the certificate to.
7. Import the certificate. You have to add it to the list of Trusted Root Certification Authorities in the certificates store it on the local computer.
Installing PST Flight Deck
You will be prompted for the PST Flight Deck Server name when installing PST Flight Deck (installation wizard):
Specify the name of your PST Flight Deck Server and select “Use HTPPS instead of HTTP“. The PST Flight Deck server name must be the same like the name of the server within the certificate (the certificate was issues by).
Configuring SLL for BITS upload (if required)
You need to configure SSL settings if you require SSL for BITS Upload. Click the site node in the tree view to go back to the site’s home page. Double-click the SSL Settings feature in the middle pane.
You can combine web services to run SSL and BITS to run HTTP – just don’t select the “require SSL”.

Select Require SSL and click on Apply.
Test with the BITSTESTER program on a user workstation to make sure it works.
Testing the https communication
Open the browser on the PST Flight Deck Server and try to reach the PST Flight Deck services on the following links:
https://FDServerName/PSTFlightdeckWS/DiscoveryScanner.asmx
https://FDServerName/PSTFlightdeckWS/AdvancedClient.svc
https://FDServerName/PSTFlightdeckWS/PostProcess.svc
https://FDServerName/PSTFlightdeckWS/ContentScanner.asmx
Here are the examples of the valid responses:
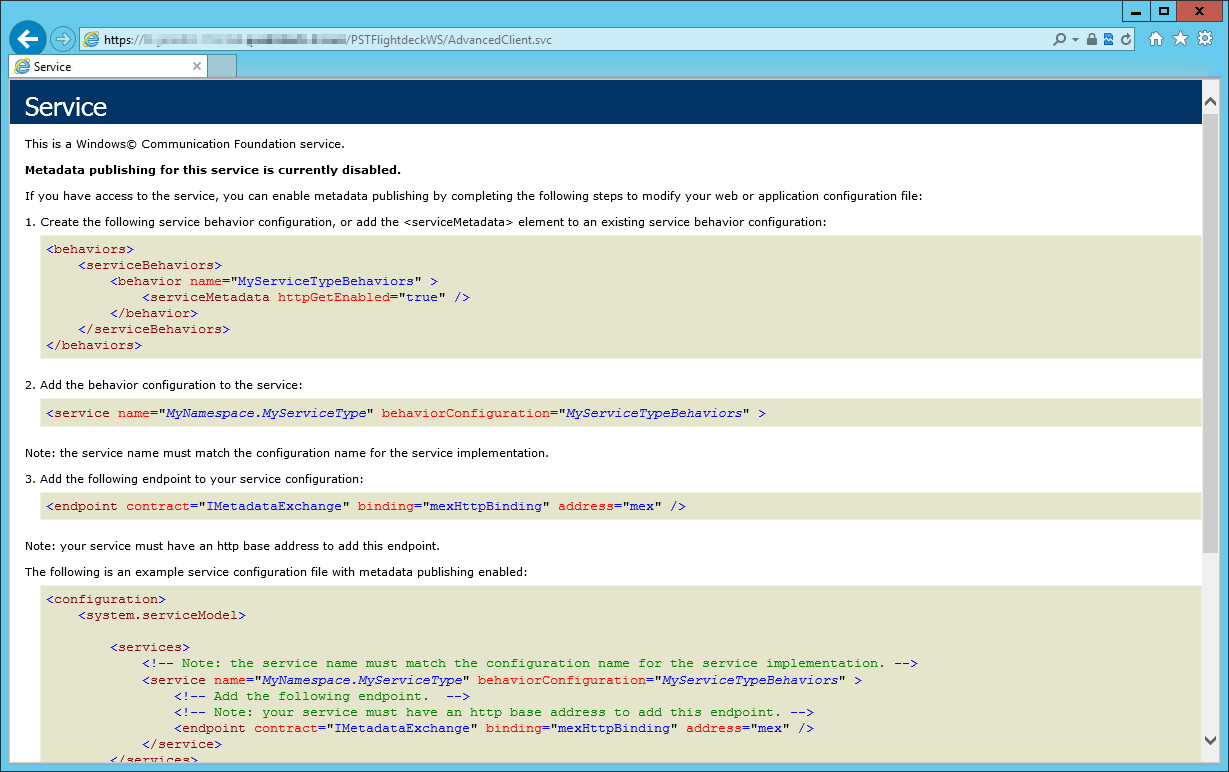
Now repeat the same from the browser on the user workstation (the certificate was installed on). You should get the same responses.
Installing Migration Agent
You will be prompted for the Web service server name when installing the Migration Agent (installation wizard):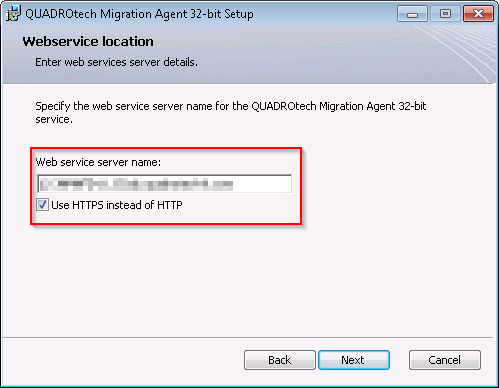
Specify the name of your PST Flight Deck Server and select “Use HTPPS instead of HTTP“. Again, the PST Flight Deck server name must be the same like the name of the server within the certificate (the certificate was issues by).
When deploying Migration Agent using packaging then you need to specify the switch [USE_HTTPS=”1?]. Here is an example:
msiexec /i MigrationAgent_version.msi [WEBSERVICESERVERNAME FDServerName] [REGISTERFILESCANNER=”1?] [USE_HTTPS=”1?]
Executing End-To-End Test
Now you can configure PST Flight Deck and execute an end to end test. There are 2 configuration changes required (linked to HTTPS):
1. Specifying “Bits Upload Url” using HTTPS address (Settings -> Locations)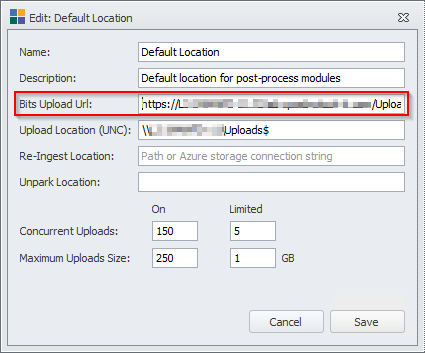
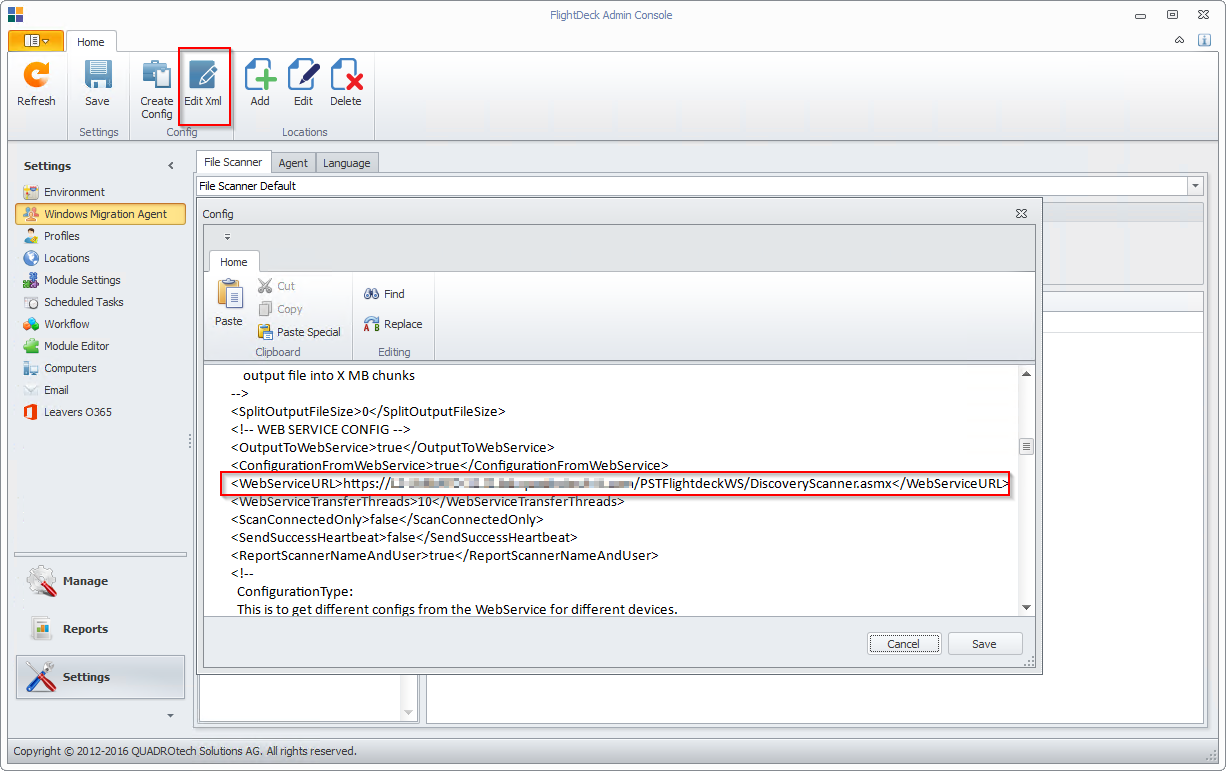
2. Modifying File Scanner config file to support HTTPS (Settings -> Windows Migration Agent -> tab File Scanner -> “Edit Xml”)