StoragePoint Management Shell will make the StoragePoint-specific PowerShell cmdlets available. For more information on the cmdlets, please see the following page on the website.
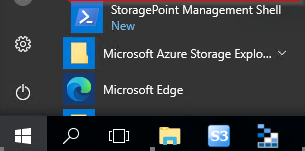
For Windows Server 2016 or later, go to the Start menu>Metalogix>StoragePoint>StoragePoint Management Shell.
For Windows Server 2012 or 2012 R2, go to Search and type StoragePoint Management Shell.
This option allows the database to be renamed, or specify another server or StoragePoint database to be used.
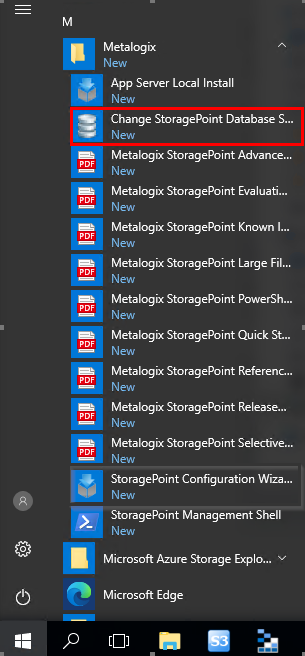
For Windows Server 2016 or later, go to the Start menu>Metalogix>StoragePoint>Tools>Change StoragePoint Database Server
For Windows Server 2012 or 2012 R2, go to Search and type Change StoragePoint Database Server.
|
|
NOTE: Using this on a farm that is already in use is similar to restoring a StoragePoint database. Some restoration of endpoint information will be needed, as well as a recall and externalization of all content that is under StoragePoint control. |
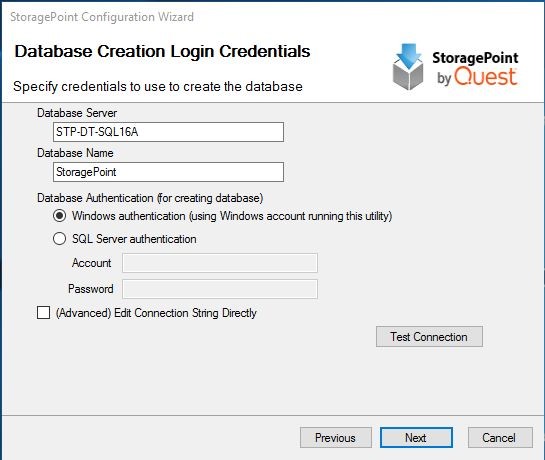
Provide the name of the database server where the StoragePoint configuration database will be installed. The database name and SA credentials can be modified if the currently logged on user does not have database and object create privileges on the specified SQL Server instance.
Click Test Connection to make sure the supplied values are valid.
Click Next.
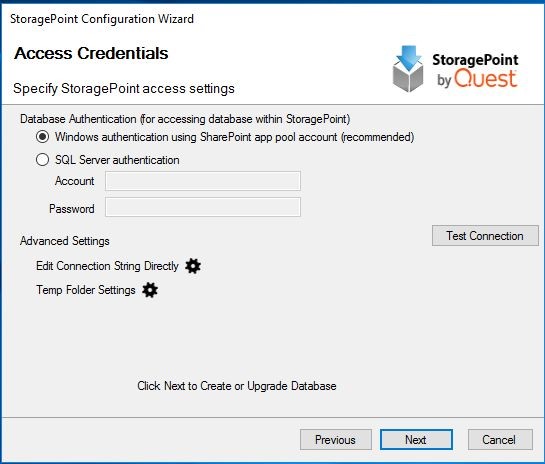
Provide the credentials that will be used to access the StoragePoint configuration database. We recommend using the default setting, which will access the database via the app pool account(s) that the SharePoint web application(s) run under. Click Test Connection to test the connection based on selected authentication method.
Advanced Settings
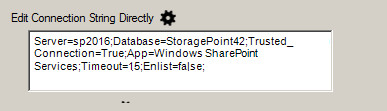
Edit Connection String Directly
Use the optional text filed to manually edit the SQL database connection string.
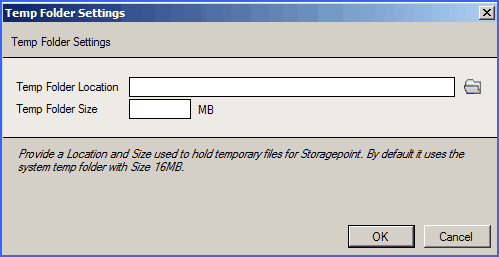
Temp Folder Settings
Use the optional Temp Folder Settings to allocate a location and size limit for temporary storage of StoragePoint files. This setting can be edited on General Settings.
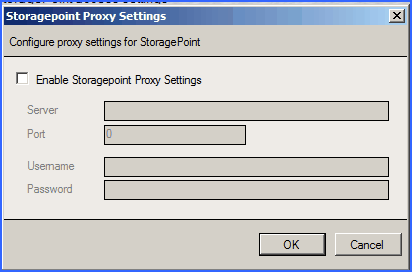
StoragePoint Proxy Settings
Use the optional StoragePoint Proxy Settings dialog to configure proxy settings for connecting to the license server. This setting can be edited on General Settings.
This section will walk through the process of removing an existing StoragePoint installation. For installation steps, see the StoragePoint Quick Start Guide.
|
|
CAUTION: Removing StoragePoint from a farm where content is externalized will leave that content irretrievable. Therefore, recall content for all active Storage Profiles and deactivate the EBS Provider, if applicable, before removing StoragePoint from the SharePoint farm. See the Deactivating the EBS Provider section of the Reference Guide for more information. |
|
|
NOTE: StoragePoint must be present to allow for continued management of Large File content through SharePoint. Please see Large File Support in the Reference Guide for more information. |
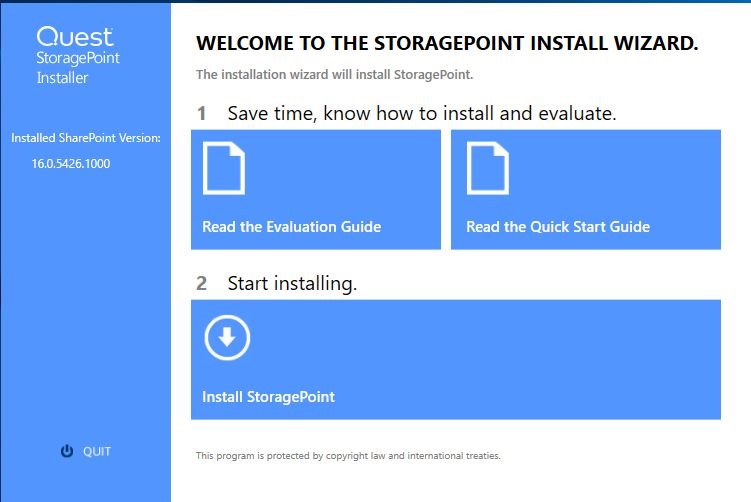
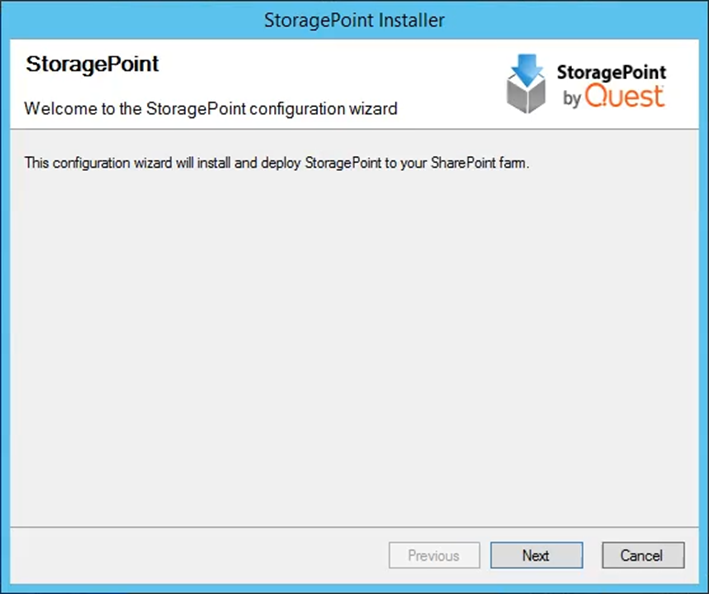
1.Launch the StoragePoint Installer. Click Start Installing.
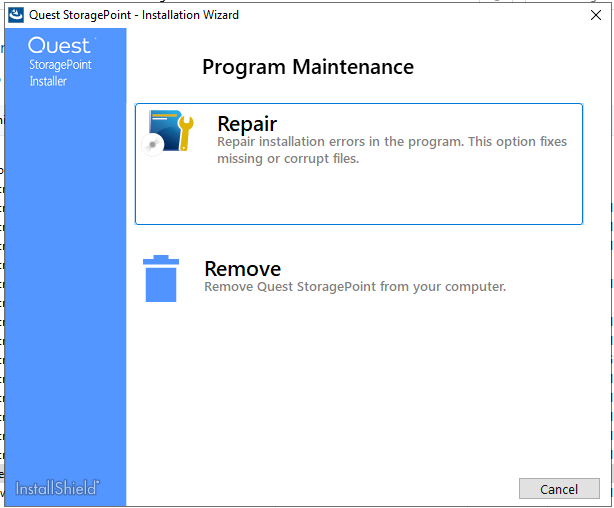
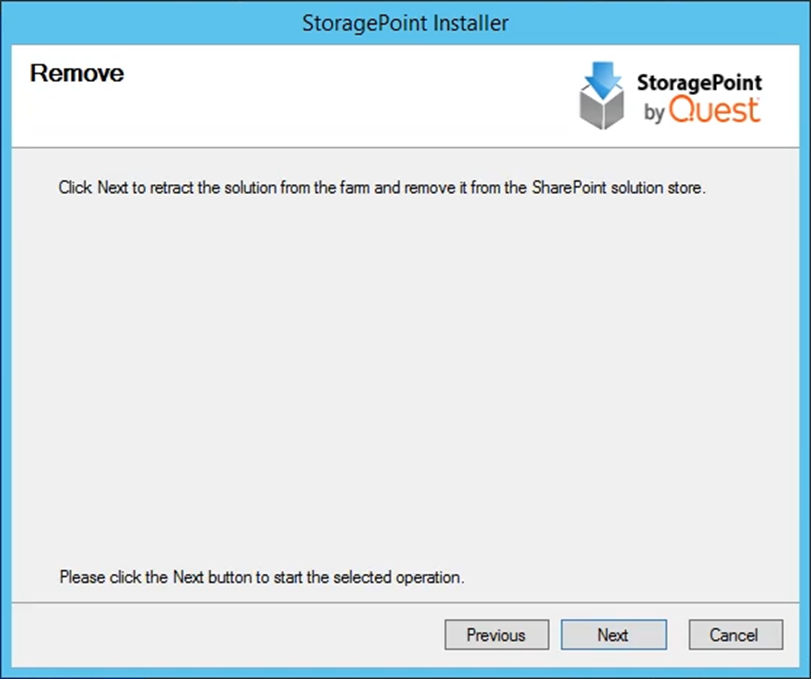
2.Click Remove.
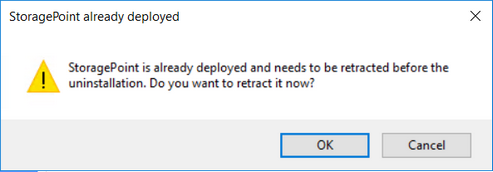
3.Click OK to begin the StoragePoint retraction.
4.The configuration wizard opens. Click Next.
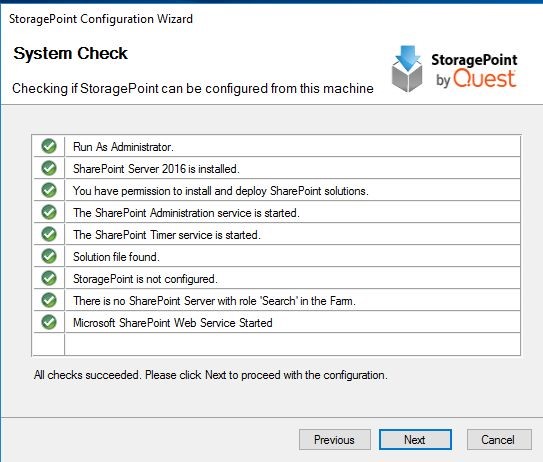
5.The installer will now perform a series of system checks to make sure the system is ready for StoragePoint to be modified. If all system checks pass click Next.
|
|
NOTE: If a system check fails it will be denoted with a red X and the install will not be able to continue until the issue(s) are resolved. The installer will also check whether the most recent supported SharePoint CU is installed. |
|
|
NOTE: 'App Management service application is created.' and 'Some SP web application(s) are not provided with App Calatog Site' options are only displayed for SharePoint 2019 and Subscription Edition. |
6.Click Next.
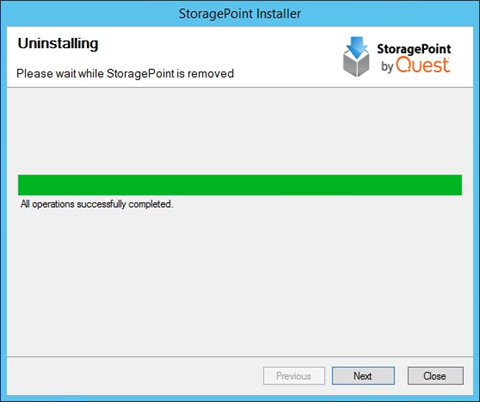
The solution file will now be removed from all servers in the farm. This process can take upwards of 5 minutes depending on the size of the farm.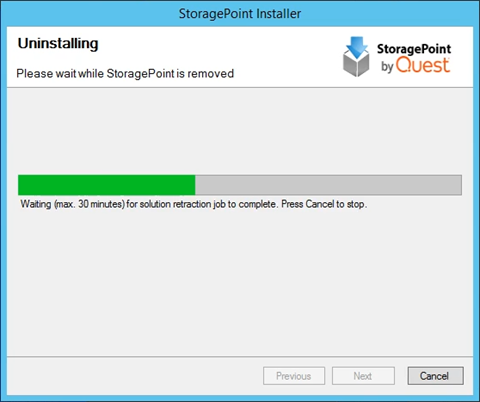
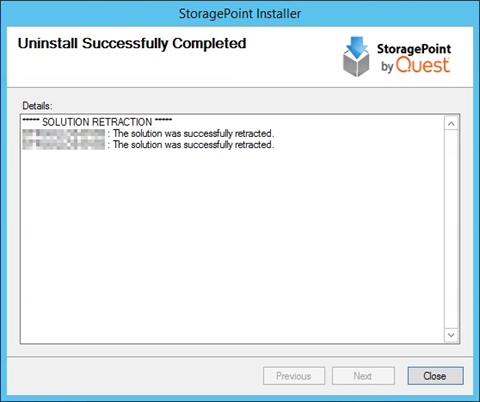
7.Upon completion of the uninstall process the progress status will change to All operations successfully completed. Click Next.
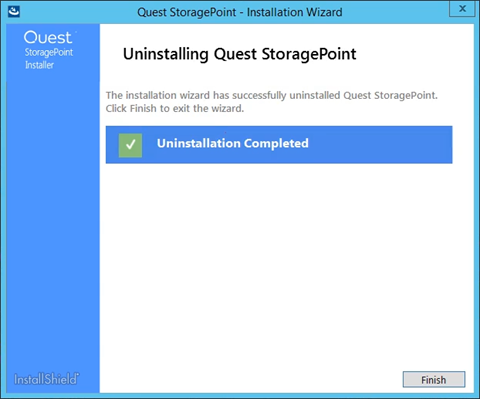
8.The uninstall process is complete. Click Close.
9.The Installation wizard will complete the uninstall. Click Finish.
If the deployment of the solution needs more time than the default 15 minutes, a setting can be added to the setup configuration file to add more time. This may be necessary for larger farms or servers with less than optimal performance, but still operational for hosting SharePoint.
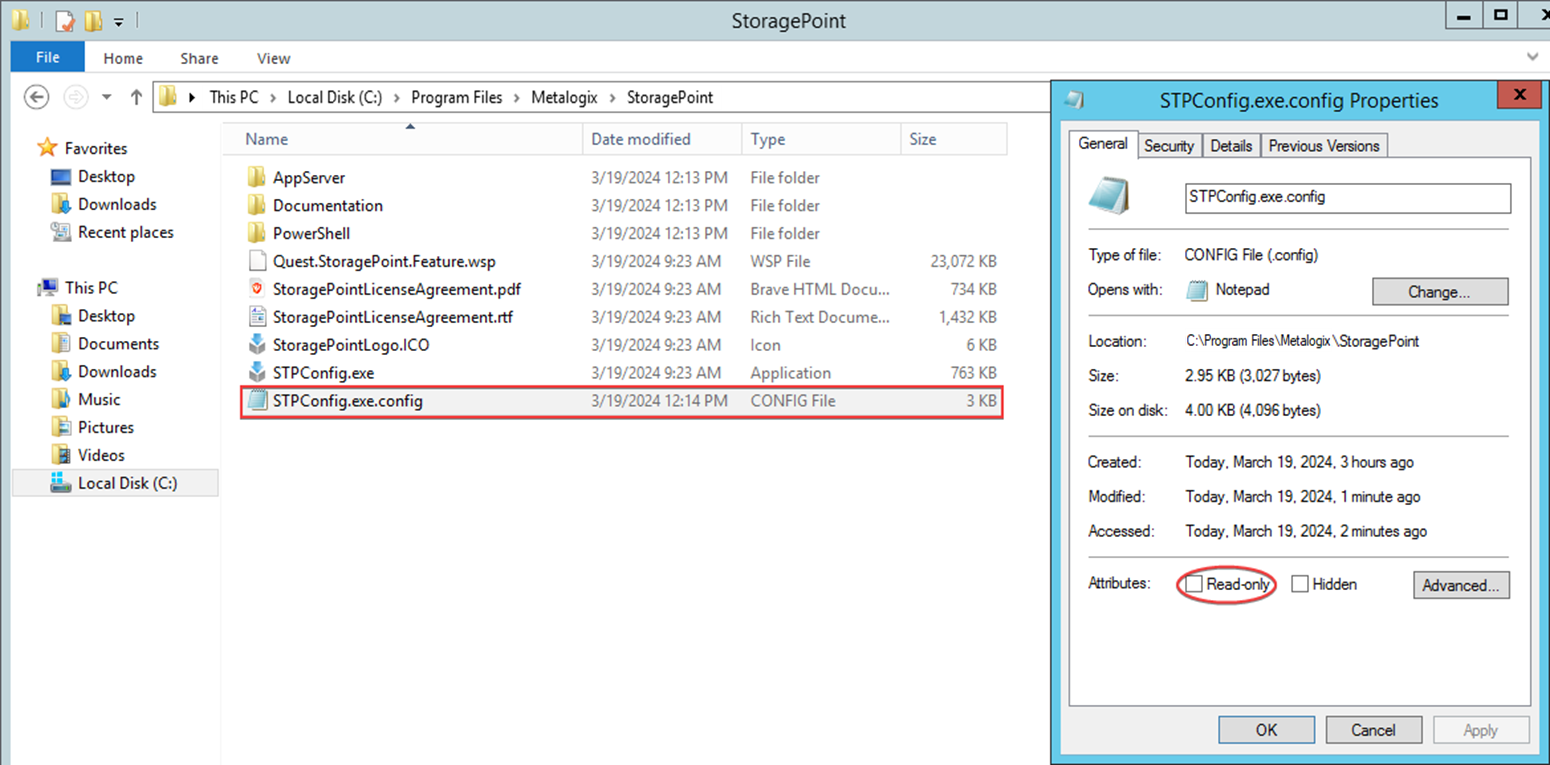
1.Launch the StoragePoint Installer. This will place files in the StoragePoint installation path specified during the installer.
2.Go to the location of the files and update the properties on Setup.exe.config to enable write.
3.Open the file in Notepad and add the following: <add key="LongOperationTimeout" value="9000000"/>, where 9000000 is the amount of time in milliseconds to wait for solution deployment to complete. Save the file. Mark the file as Read Only.
4.Continue with the StoragePoint configuration wizard. The new timeout setting will be visible during deployment.