Migrator Pro for Active Directory SQL Re-permission
Use the Migrator Pro for Active Directory SQL Re-permission utility to update a SQL Server’s Source AD Windows Authentication Group Login permissions and their associated database users for the Target domain to which the user and group objects have been migrated.
Prior to re-permissioning SQL servers, accounts must be migrated and Mapping Files created using Migrator Pro for Active Directory.
- Download the Binary Tree SQL Repermission.msi file from the FTP location provided.
- Run the installer on the Migrator Pro for Active Directory Server or any machine that will have access to the SQL Server instance and databases to be re-permissioned.
-
The Welcome screen appears. Click Next to continue.
-
The "Ready to Install the Program" screen appears. Click Install to begin the installation.
-
When the installation completes, the "InstallShield Wizard Completed" message appears. Click Finish to close the wizard.
- Copy the map.usr and map.gg files created using Migrator Pro for Active Directory to a folder on the same machine.
-
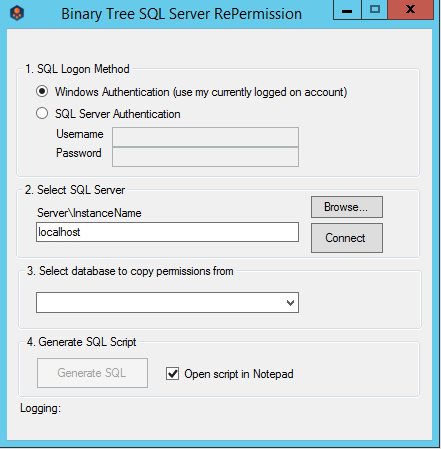
Launch the SQL Repermission utility from the Apps screen or the Start menu.
- Select the SQL Logon Method. If SQL Server Authentication is selected, enter the Username and Password. If Windows Authentication will be used, you must be logged onto the machine with an account that has access to the SQL Server instance and databases to be re-permissioned.
-
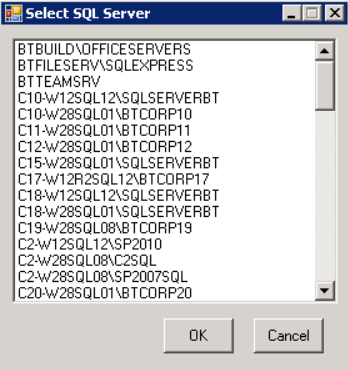
Click on Browse to select the SQL Server instance to be re-permissioned.
-
Select the SQL server instance from the list and click on OK.
-
Click on the Connect button. If connection is successful, the Logging message should read “SQL Server Connected” and there should be databases available to pick from in the drop-down list.
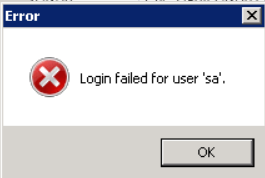
Note: If the login information is incorrect, the following error will be received. The credentials to connect to the SQL server instance should be corrected, and then the Connect should be retried.
-
Once successfully connected to the SQL Server instance, in the drop down select either <ALL> or a specific database that needs to be re-permissioned.
-
Click on the Generate SQL button. If the Open script in Notepad option is left checked, the results will be displayed when completed.
-
The Logging information will display the name of the SQL file created in the directory that the application is located.
-
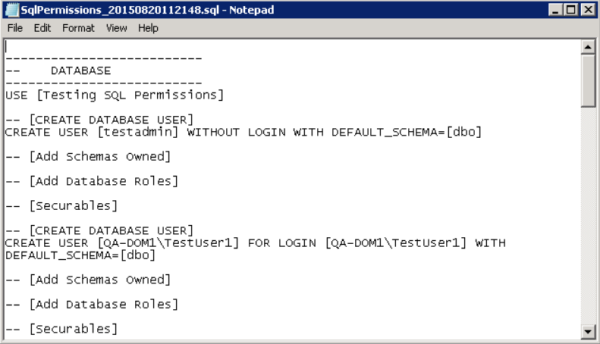
If the option to open the file in Notepad was not checked, navigate to where the file was saved and right-click and choose Open with Notepad.
-
The results of the process can be reviewed prior to actually executing it on the SQL Server instance.
-
When the SQL file has been reviewed, either open the file in SQL Server Management Studio or create a new Query in SQL Server Management Studio and copy/paste the contents of the file into the Query.
-
Execute the Query and the new target credentials will be created.