
Installing NetVault Backup
Installation overview
It includes the following topics:
On Mac OS X, the installer is packaged as a disk image (.dmg) file. The installation file for Mac OS X is named as follows: netvault-<RYYYYMMMDD>-vx.x.x.x-client-MacOSX.dmg.
When running the NetVault Backup installer, you can use the --mode option to specify the installation mode. Generally, you do not need to use this option because the installer automatically uses the default mode. If, for any reason, the default mode cannot be initialized, then the installer tries to use the alternative GUI or text modes, if available. For example, on Linux, if the GTK libraries are unavailable, the default gtk mode cannot be initialized. In such cases, the installer tries to use the xwindow mode, and if no X Server is detected, the installer defaults to text mode.
The following table lists the supported installation modes.
| |||||
| |||||
| |||||
To run the installer in unattended mode, it is necessary to use the --mode option; the installer does not automatically switch to this mode. The --mode option is also required to run the installer in text mode on machines that support GUI (for example, to perform remote installations on Linux- or UNIX-based systems).
The installer generates a log file in the system temporary directory. The file is named as follows: netvault_{GUID}_install.log, where {GUID} is unique for each installation occurrence (for example, netvault_274bffb2-a3c1-457e-7f5e-221bf60a7689_install.log).
If an installation or upgrade is unsuccessful, the installer may not generate the regular log file. Instead, the installer may leave an intermediate log file is named bitrock_installer.log or bitrock_installer_nnn.log in the system temporary directory.
The push installation method lets you install one or more software packages on remote machines. You can use this method to install or upgrade the NetVault Backup client and plug-ins on multiple machines. You can perform push installations from the NetVault Backup WebUI. The push installation method is only available to Windows-based machines. For more information about this method, see the Quest NetVault Backup Administrator's Guide.
Installing NetVault Backup in GUI mode
|
3 |
In the Language Selection dialog box, select the language for your NetVault Backup installation. |
|
• |
|
• |
|
• |
|
• |
|
• |
|
4 |
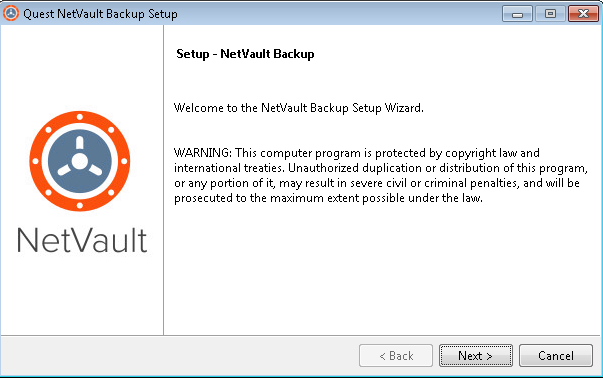
In the Welcome dialog box, review the notes, and click Next to continue. |
|
• |
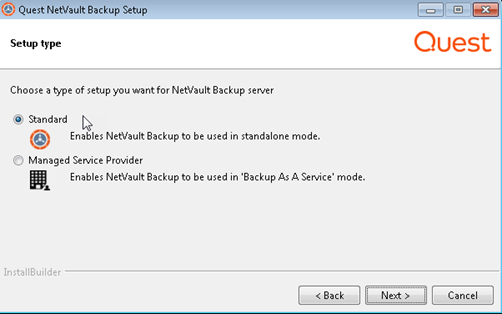
Standard: This option allows you to use the NetVault Backup Server in standalone mode. |
|
• |
Managed Service Provider: This option allows you to use NetVault Backup Server and provide backup as a service to clients or customers. |
|
6 |
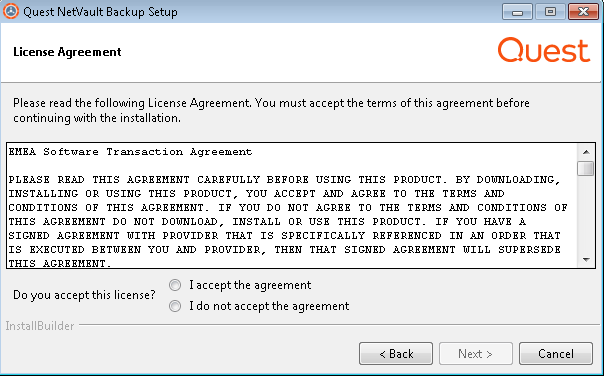
In the License Agreement dialog box, select the I accept the agreement option if you accept all the terms. |
|
7 |
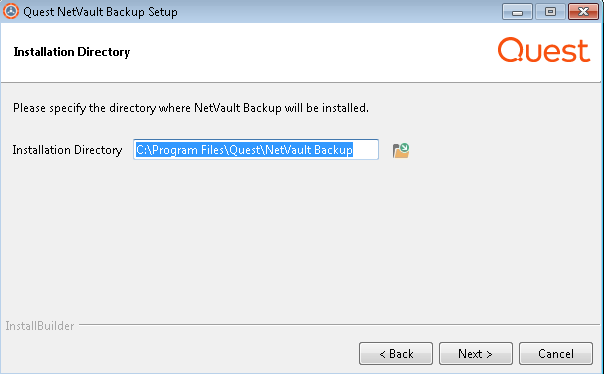
In the Installation Directory dialog box, specify the installation path. |
|
• |
On Linux: /usr/netvault |
|
• |
On Solaris: /opt/netvault |
|
• |
|
8 |
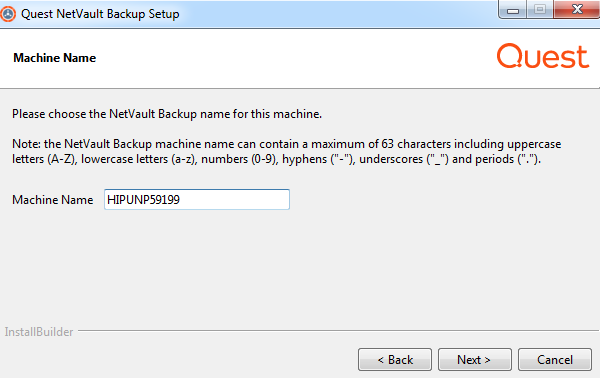
|
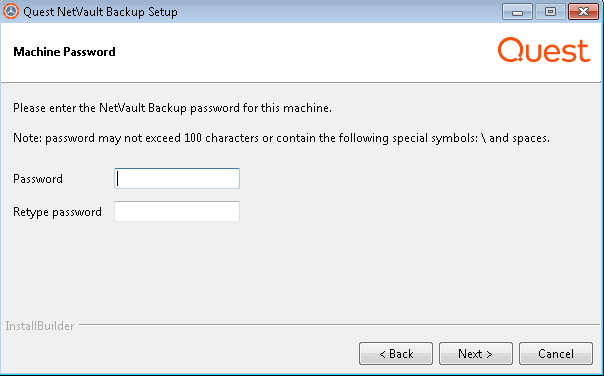
9 |
In the Machine Password dialog box, specify a password for the NetVault Backup machine. |
|
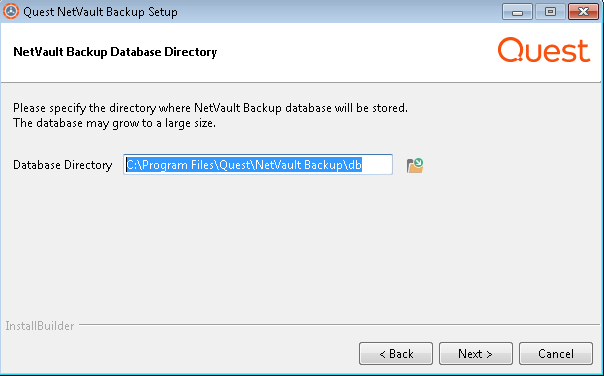
10 |
When installing the NetVault Backup Server, the NetVault Backup Database Directory dialog box is displayed next. This dialog box is not displayed during client installations. |
|
• |
On Linux: /usr/netvault/db |
|
• |
On Windows: C:\Program Files\Quest\NetVault Backup\db or C:\Program Files (x86)\Quest\NetVault Backup\db |
|
• |
Allow NetVault Backup to create PostgreSQL Linux user: By default, this option is selected. |
|
• |
Linux user name: Select this option if you want to use the already existing Linux user account. |
|
13 |
In the Ready to Install dialog box, review the installation parameters, and click Next to begin installation. |
|
15 |
After the software is successfully installed on the machine, the Setup Completion dialog box is displayed. Click Finish to close the dialog box, and exit the installer. |
Installing NetVault Backup in text mode
The text mode is available on all supported operating systems, except Windows.
|
When running the installer on Mac OS X from a remote terminal (SSH or telnet), it may be necessary to use the --mode text option. Otherwise, the installer may run in full graphic mode without showing any output in the console.
|
|
4 |
The License Agreement screen is displayed next. Press Enter to read through the agreement. |
|
• |
On Linux: /usr/netvault |
|
• |
On Solaris: /opt/netvault |
|
9 |
|
10 |
|
11 |
In the Ready to Install screen, review the installation parameters, and press Enter to begin installation. |