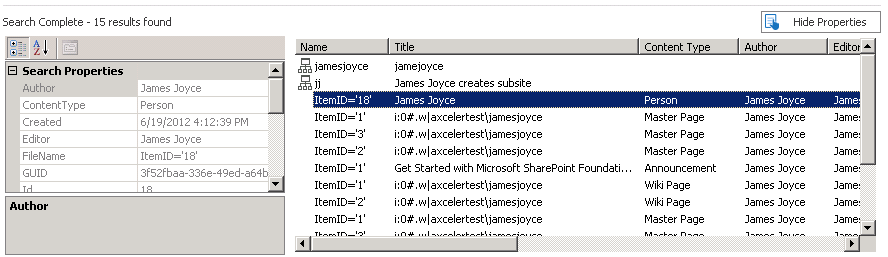
Search results display in the bottom half of the dialog. You can sort results by any available column.
To view an objects Properties:
Select an object in the results list to populate the Search Properties section.
From Search results, you can perform the same actions that are available in the explorer view for the selected object type.
To act on a search result:
Select an object in the results list, right click, and choose the appropriate option. Refer to the applicable topic in this guide for details.
If your organization uses Quest® Sensitive Content Manager (SCM), you can import a .csv file that has been exported from SCM for migration to a SharePoint document library. Once imported, you can choose to include the custom column that contains sensitivity search terms and specify a filter that will include or exclude items that contain a specified search term text string.
NOTE: Only one imported SCM report can exist Content Matrix, but it can be replaced.
For example:
You may want to exclude items that contain highly sensitive information (such as an ID number).
You may want to include only items that include an Email.
To import an SCM report:
1.In the Sensitive Content Manager application, download the report that you want to import into Content Matrix. Refer to the Sensitive Content Manager Administration Guide for complete details.
IMPORTANT: For Format, make sure you select Metalogix Essentials.
2.From the ribbon Connections tab, select Import SCM Report.
3.Specify the Report path then click [Import].
When an SCM report has been imported and the file system connection uses the same Source Path that is specified specified in the .csv file, the following Configuration check boxes will be enabled:
·on the File Options tab, Migrate matches column.
·On the Filter Options tab, Matches.
To remove imported SCM reports from Content Matrix:
1.From the ribbon Connections tab, select Import SCM Report.
2.Specify the Report Path then click [Clear mapping].
You can import an SCM report and remove imported reports using PowerShell.
To access the PowerShell cmdlets for SCM reports:
Open a PowerShell or PowerShell ISE session and add the PowerShell snap-ins for the application framework.
The following cmdlets are now available:
1.Select (from the PowerShell ISE Command Window) or enter Import-ScmReport.
2.Select or enter the applicable parameters. Use the information in the following table for guidance.
|
Parameter |
Notes |
|---|---|
|
-ScmReportPath |
The path to the SCM report (as specified in the .csv file). |
|
-v (optional) |
Enable verbose status messaging. |
|
-F (optional) |
Forcefully import the report (This will delete the existing report and replace it with a new one.) |
3.Run the cmdlet.
Example Script:
Import-ScmReport -ScmReportPath "\\sensitive content\scan results" -v
To remove an SCM report from Content Matrix:
1.Select (from the PowerShell ISE Command Window) or enter Clear-ScmReport. This will clear the imported SCM report from Content Matrix.
NOTE: If you want to enable verbose status messaging, you can also enter the -v parameter.
2.Run the cmdlet.
Example Script:
Clear-ScmReport -v
You can use Content Matrix to run a comparison action between a source File Share node, and a target SharePoint node. This allows you to run a comparison between a File Share source and an existing SharePoint target to determine if the selected locations are the same (i.e. they are synced).
To Compare source and target columns:
1.In Explorer View, navigate to the desired File System directory node against which you want to run the compare action.
2.Right-click and choose Compare Directory to display the Compare Directory to SharePoint Web/List dialog.
3.Select the SharePoint site, list or folder on which to run the compare action.
NOTE: If you would like to select a different source file system directory that the compare should be run against, click Show Explorer to show only the file system connections. Click Hide Explorer to re-display SharePoint connections.
4.Click [OK] to start the compare action.
When the action starts, a Job log will be created. The logs can be viewed (in progress or after the action is finished) by clicking [Details>>]. After the action has completed a note will be displayed in the bottom left corner of the dialog stating the number of completions, as well as any warnings or errors that may have been encountered (if there were any).
Once the action is complete the logs will display the results of the compare. You can find more details of the individual results in the Log Item Details dialog, under the Information and Details fields.