지금 지원 담당자와 채팅
지원 담당자와 채팅

Collaboration Services 3.10.1 - User Guide

Getting started with Collaboration Services Organizing objects for synchronization Resolving synchronization conflicts Managing the synchronization process Transport management Fine-tuning and maintenance Backup, restore, and troubleshooting Appendix A: Customizing the format of synchronized data Appendix B: Collaboration Services events

Namespace usage

For each original object, Collaboration Services creates a stub object in the forests that subscribe to the collection. The mail received by this stub should be redirected to the original object’s email address.

Since mailbox-enabled object can have more than one proxy address, Collaboration Services should select which of them is to be used for mail redirection from stub object.

To choose the redirection address, Collaboration Services does the following:
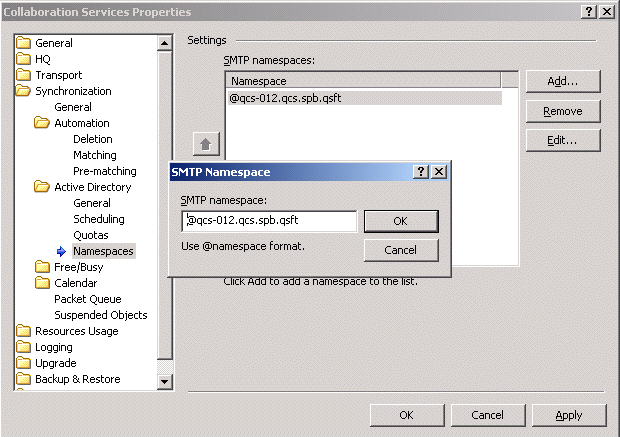
The Namespaces page of the Collaboration Services Properties dialog box allows you to add new namespaces or edit existing namespaces if your policy has changed since Collaboration Services setup.

Figure 7. Namespaces

Free/Busy information synchronization settings

Synchronized free/busy information is kept on the Exchange server that stores the free/busy public folder for the administrative group containing the Exchange server where the Collaboration Services service mailbox resides.

So, if your Exchange deployment contains multiple administrative groups, the groups must access free/busy information using either public folder referrals or free/busy folder replication. Please see the appropriate Microsoft Exchange server documentation for more information.

The free/busy information synchronization process is performed as follows:

General settings

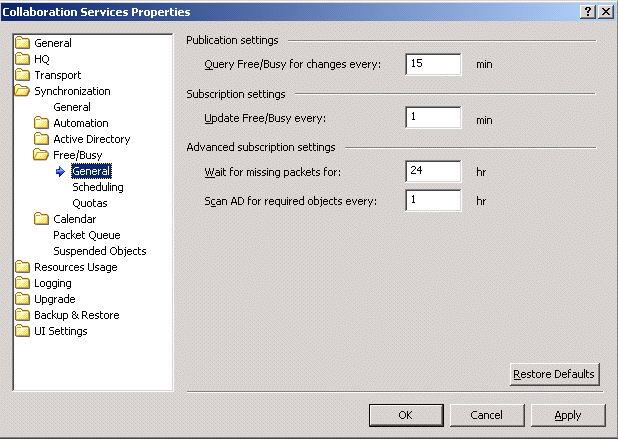
Use the General page to adjust the frequency of scanning for updates and applying changes:
Scheduling

To avoid excessive load during production hours on the Exchange server where free-busy information is kept, schedule Collaboration Services to access the free/busy folder for the least busy time periods.

1
On the Scheduling page, select the Use Free/Busy access scheduling check box.
관련 문서

The document was helpful.

평가 결과 선택

I easily found the information I needed.

평가 결과 선택