Rapid Recovery version 6.10 and newer allows the migration of recovery points from one repository to another on the same core, To do this you need to follow these steps:
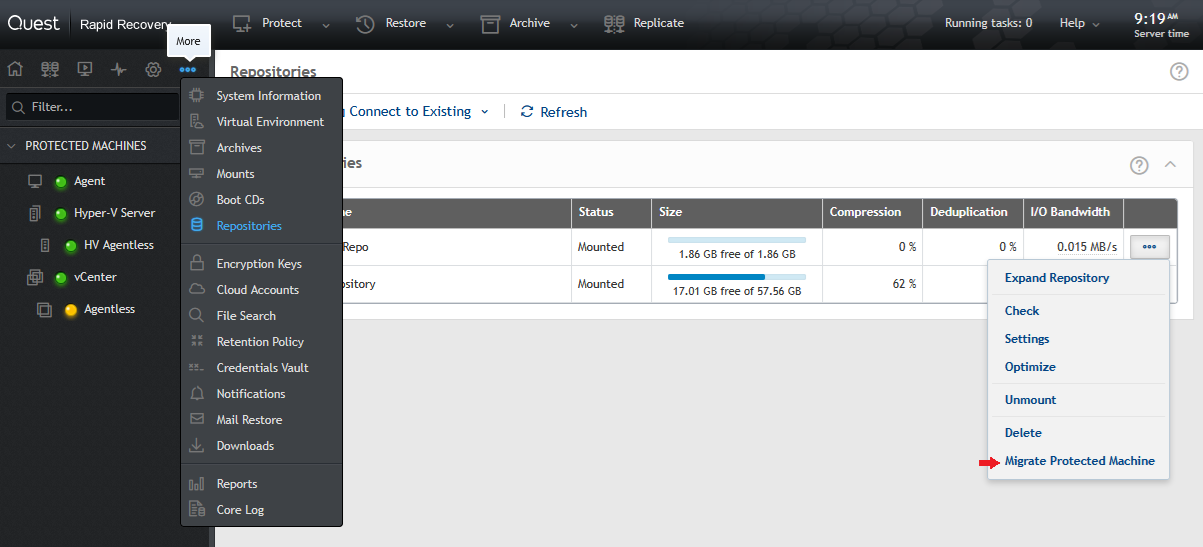
- Click on Repositories from the More menu.
- Click on the 3 dots menu on the source repository and select Migrate Protected Machine. The Migrate Machine Wizard dialogue box will open.
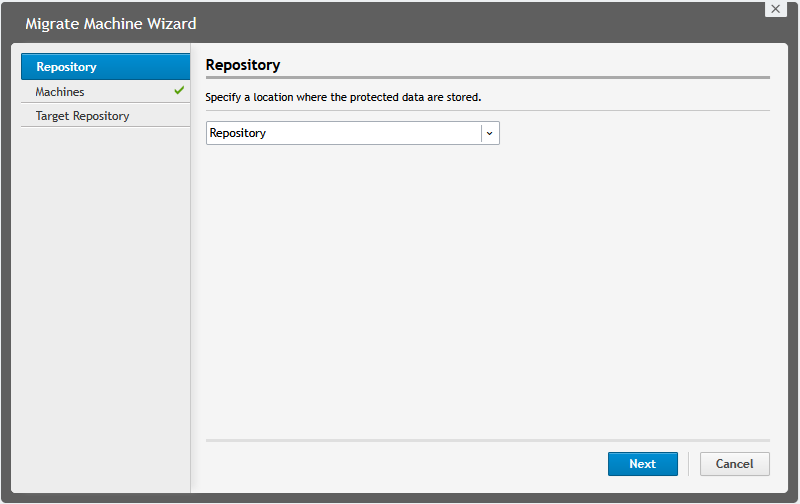
- Select the repository where the data is currently stored.
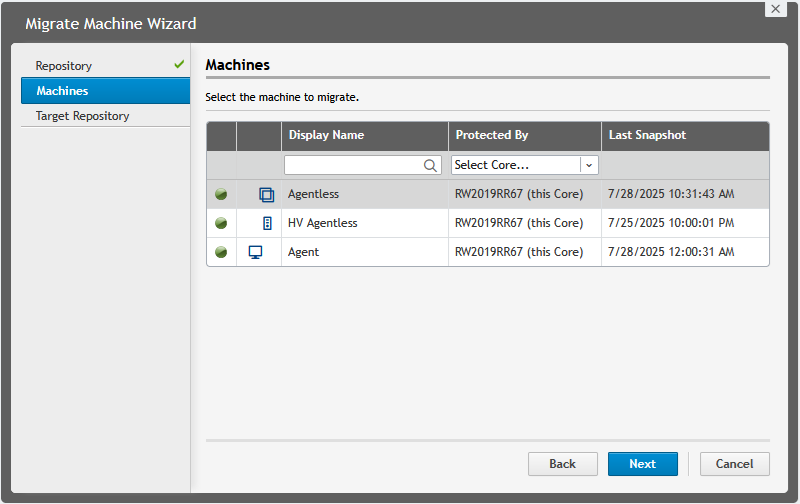
- Select the agent(s) you want to migrate, click Next.
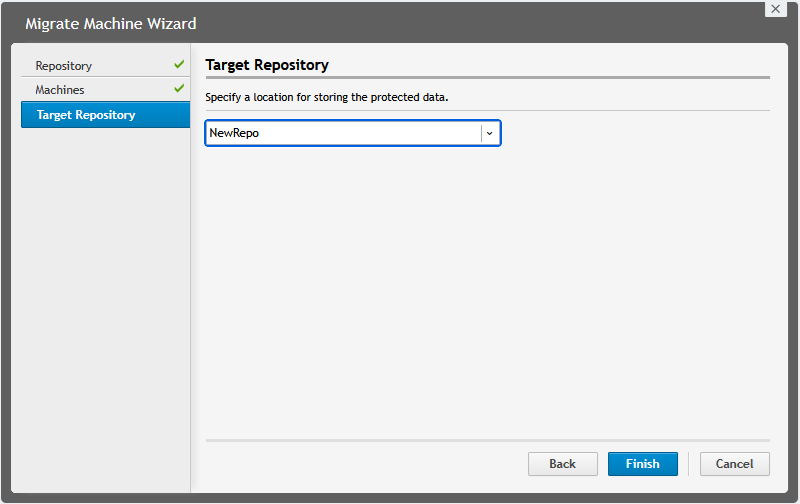
- Select the target repository and click Finish, this will start the migration process.
The migration process will then perform the following steps:
-
- Copy the recovery points of the selected protected system to the target repository.
- Perform an integrity check of the recovery points once they are in the target repository.
- If the integrity check finishes successfully, the recovery points from the old repository will be deleted.
- It will update the repository for backups for the selected system.
On older versions it can be done manually by following these steps:
- Pause backups for the Agent. This will prevent the transfer of a new recovery point while the process completes.
- On the top of the Core console, select Archive.
- The Archive wizard will appear; One-time archive is the default option which is the preferred option for this procedure.
- Select Local, Network or Cloud for the archive location.
- If using Network or cloud option, please provide the username and password to access the location. It is also a good practice to use domain\username.
- Select the Agent that will be moved to a different repository and press the [Next] button.
- The options to select archive target size, recycle action or how to handle the recovery point chain are described on the table below.

-
- Recycle actions descriptions:
- Do not reuse. Will not overwrite or clear any existing data from the location. If the location is not empty, the seed drive will fail.
- Replace this core. Will overwrite any pre-existing data pertaining to this core but leave the data for other cores intact.
- Erase completely. Will clear all data from the directory before writing the seed drive.
- Click the [Finish] button to begin the archive process.
- When the archive completes, attach it to the Core to verify its content.
- Delete the recovery points that have been archived; this will permanently delete the information from the repository.
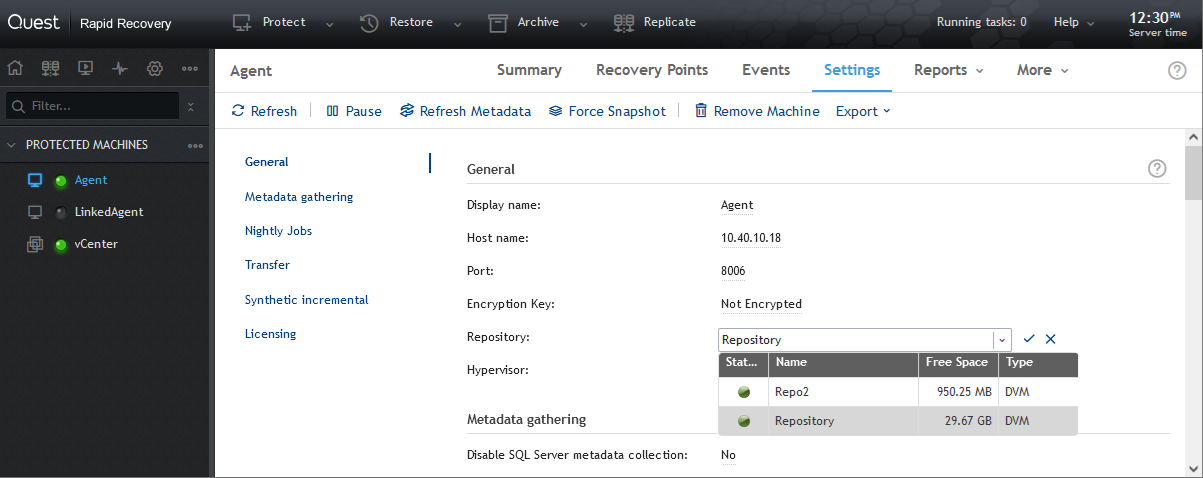
- On the Agent settings screen, select the new repository that will be used to store the recovery points. The option to select a repository will be unavailable if there are still recovery points stored on the previous repository.
- Import the archive. From the drop-down list, verify that the correct repository is selected for the imported RPs to be written too. Wait for this import job to complete. Alternatively, you can leave the archive alone and not import anything. If you need to restore from this archive, then you can simply attach the archive for a restore. This is a faster option since importing will take about as much time as creating the archive. However, a new base image will be taken.
- Resume backups when the new repository is now assigned to the protected machine.
