The information in this article applies to: File System Auditor Version 2.x and higher
HOW TO: Move the database from one server to another |
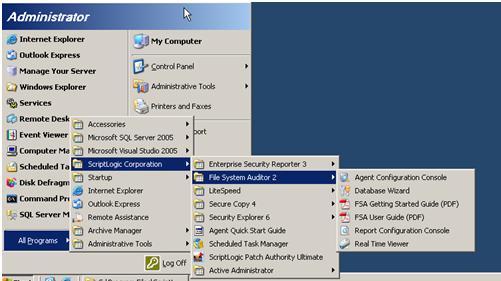
| This article describes the process of moving the File System Auditor database from one SQL Server 2005 installation to another SQL Server 2005 installation. The same steps can be followed for SQL 2008. In some cases (such as limited disk space) it may be necessary to move File System Auditor database from one SQL Server installation to another SQL Server installation located on a different server. The following steps describe how to complete this process. This task can be accomplished through the use of File System Auditor’s Database Wizard or through the use of Microsoft SQL Management Studio. The first section applies to the use of the Database Wizard. The second section applies to the use of SQL Management Studio. Before using either method it is recommended that you stop the agents on all servers that you are gathering data from in the File system - Agent Configuration Console. Not doing so could lead to a failure of being able to detach the database due to it being in use while attempting to move it. Make sure the agent is stopped not only on any server you have but on all nodes of any cluster you may be monitoring as well. If an “in use” error still occurs stopping and restarting the “SQL Server” will help end the problem as well. 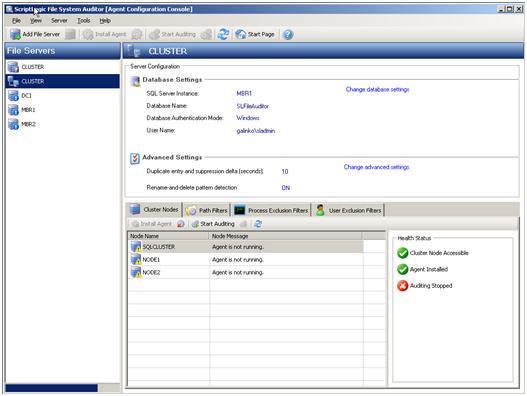 Section 1: To accomplish this task using File System Auditor’s Database Wizard perform the following: The first step is to detach the database from the current server.
![[image]](https://support.quest.com/KBArticleImages/SL2849/064302d2.jpg)
![[image]](https://support.quest.com/KBArticleImages/SL2849/e7ce94a6.jpg)
![[image]](https://support.quest.com/KBArticleImages/SL2849/6ae716f8.jpg)
The next step is to copy the database files from the Data folder of the current SQL server to the Data folder of the target SQL server. These files will be the same name as the database. Both the .ldf and .mdf files should be copied. (The default database and file names are SLFileAuditor). ![[image]](https://support.quest.com/KBArticleImages/SL2849/09e3a36a.jpg)
The next step in this process is to attach the database files to the target SQL Server.
![[image]](https://support.quest.com/KBArticleImages/SL2849/7780d911.jpg)
![[image]](https://support.quest.com/KBArticleImages/SL2849/ebad0f1f.jpg)
![[image]](https://support.quest.com/KBArticleImages/SL2849/505ad1d1.jpg)
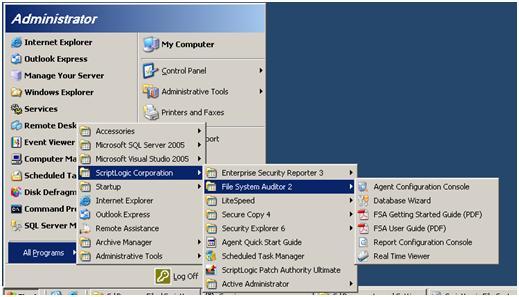
![[image]](https://support.quest.com/KBArticleImages/SL2849/69308945.jpg) Now open the File System Auditor Agent Configuration Console.
![[image]](https://support.quest.com/KBArticleImages/SL2849/9d97d2cb.jpg)
![[image]](https://support.quest.com/KBArticleImages/SL2849/4646dc9a.jpg)
![[image]](https://support.quest.com/KBArticleImages/SL2849/ca583174.jpg)
All new audit events will now write to the SQL Server database.

![[image]](https://support.quest.com/KBArticleImages/SL2849/df69b39f.jpg)
Section 2: To accomplish this task through Microsoft SQL Management Studio perform the following:
![[image]](https://support.quest.com/KBArticleImages/SL2849/eec4f991.jpg)
![[image]](https://support.quest.com/KBArticleImages/SL2849/a3d60da3.jpg)
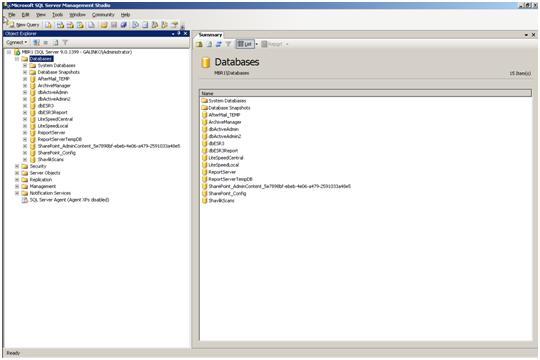
The SQL server that was just connected to should now be visible in the left window pane of Management Studio Object Explorer.
![[image]](https://support.quest.com/KBArticleImages/SL2849/a96db592.jpg) On the next screen, verify that there are no current connections to the database (if there are click the clear button to close those connections and verify the STATUS displays the message "Ready". If connections are active refer to start of this guide on how to stop agents from running in the console before proceeding. ![[image]](https://support.quest.com/KBArticleImages/SL2849/4973fe23.jpg)
![[image]](https://support.quest.com/KBArticleImages/SL2849/516142d6.jpg)
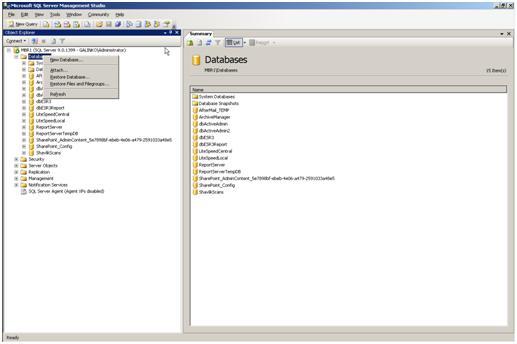
 The next step is to copy the database files from the Data folder of the current SQL server to the Data folder of the target SQL server. These files will be the same name as the database. The default database and file names are SLFileAuditor. Both the .ldf and .mdf files should be copied. Paste these files into the target MS SQL Server’s Data directory. ![[image]](https://support.quest.com/KBArticleImages/SL2849/fa0a77c4.jpg) The next step in this process is to attach the database files to the target SQL Server.
 The Attach Database dialog box should now appear. ![[image]](https://support.quest.com/KBArticleImages/SL2849/18e50919.jpg)
Navigate to the folder where the .mdf and .ldf files were copied to. (The default location is the C:\Program Files\Microsoft SQL Server\MSSQL.1\MSSQL\Data folder). Select the .mdf file and then click OK. ![[image]](https://support.quest.com/KBArticleImages/SL2849/59bf8fb9.jpg) The Attach Database dialog box should now look like the following. Note that the .ldf file was automatically located. ![[image]](https://support.quest.com/KBArticleImages/SL2849/5fe5f21c.jpg)
You should now see the Database you have attached in the left pane ![[image]](https://support.quest.com/KBArticleImages/SL2849/77242bfb.jpg)
The configuration of the target SQL Server is now complete. Now open the File System Auditor Agent Configuration Console.
![[image]](https://support.quest.com/KBArticleImages/SL2849/c8c4096a.jpg)
![[image]](https://support.quest.com/KBArticleImages/SL2849/27adcd4d.jpg)
![[image]](https://support.quest.com/KBArticleImages/SL2849/1af763b5.jpg)
All new audit events will now write to the SQL Server database.
 Create a new report and add in the new database information. ![[image]](https://support.quest.com/KBArticleImages/SL2849/7d365580.jpg)
|
