Launching the ControlPoint Governance Policy Manager
To launch the ControlPoint Governance Policy Manager:
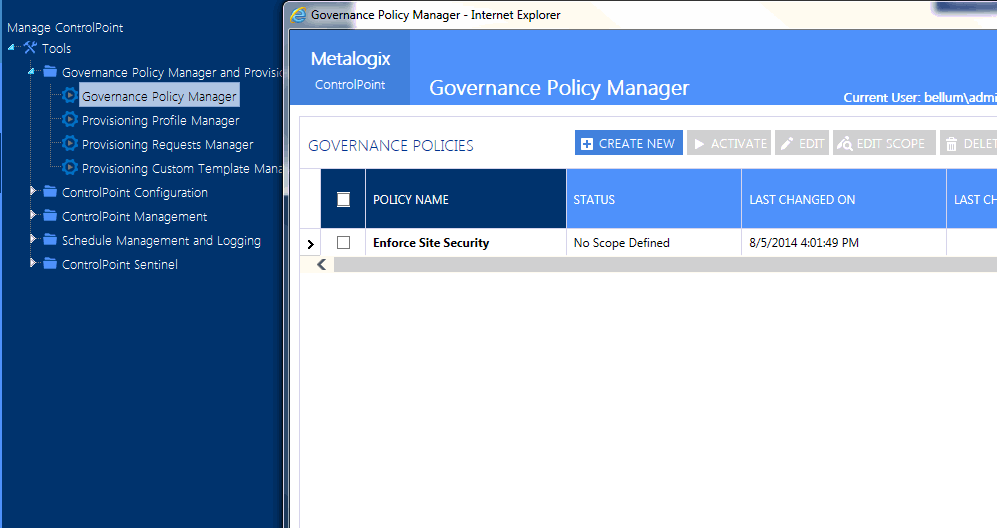
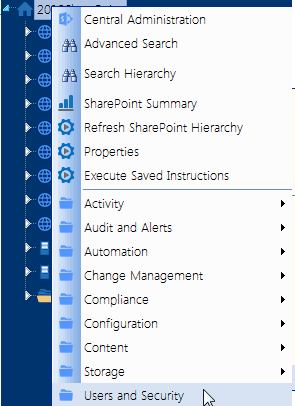
·From the SharePoint Hierarchy Farm node, choose Automation > Governance Policy Manager.
OR
·From the Manage ControlPoint panel choose Governance Policy Manager and Provisioning > Governance Policy Manager.
NOTE: All Governance Policies can be viewed/edited by all ControlPoint users (for example, other ControlPoint users can add sites that they manage to the scope of an existing policy).
Creating a Governance Policy
To create a governance policy:
From the Governance Policy Manager main page, click [Create New].
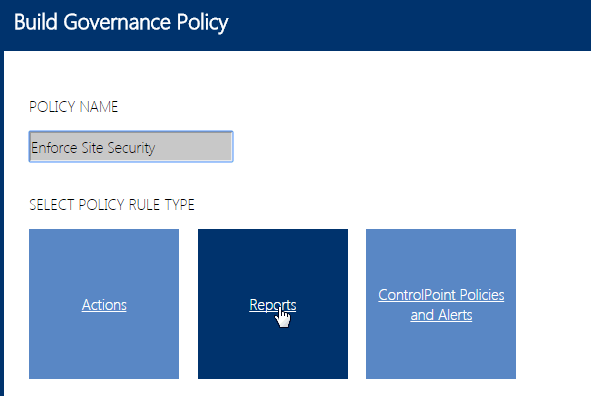
1Enter a Governance Policy Name.
2Select the Policy Rule Type (Actions, Reports, or ControlPoint Policies and Alerts).
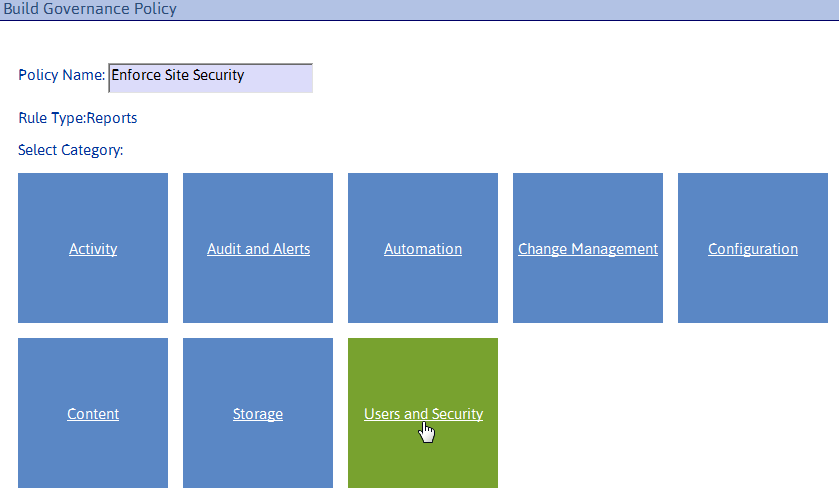
3Select a Governance Policy Category.
Note that the categories correspond to the folders in the SharePoint Hierarchy right click menus.
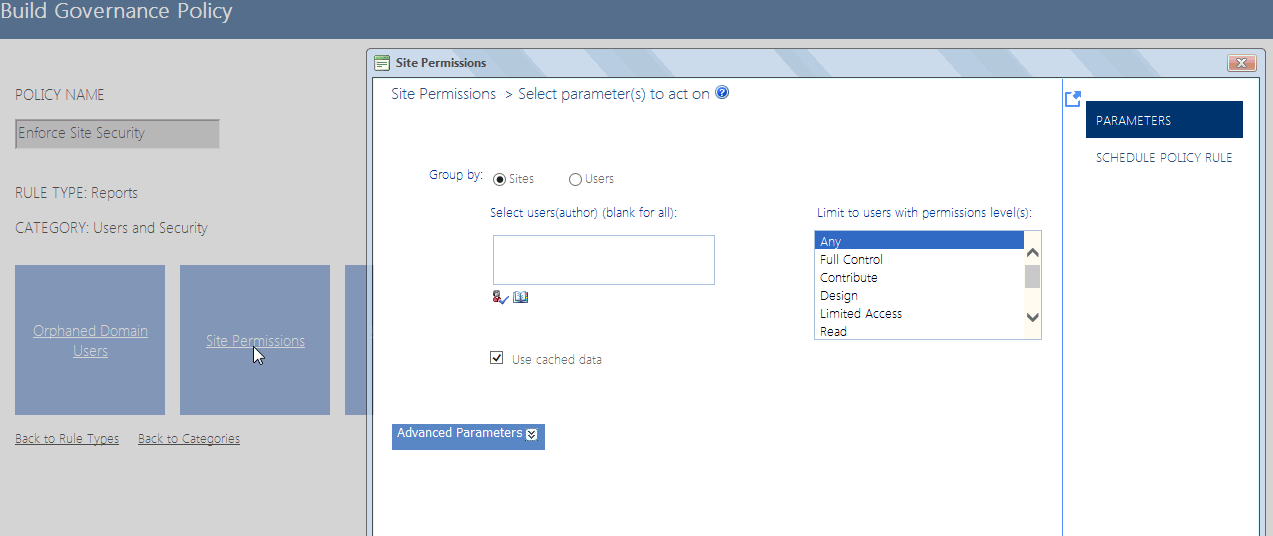
4Select the operation that you want to add to your Governance Policy.
5Specify the Parameters for the rule.
NOTE: To access instructions for completing the applicable ControlPoint operation, click the Help icon (
6Click the Schedule Policy Rule tab, and follow the instructions for Scheduling a ControlPoint Operation.
7To return to the Build Governance Policy window, click [Save and Close].
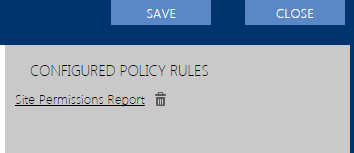
Note that the name of the rule (which is the Schedule Job Name) displays under Configured Rules.
8If you want to define another rule for the Governance Policy, use the information in the following table to determine the appropriate action to take.
|
If you want to configure a rule .. |
Then ... |
|
in the same category |
select the next operation for which you want to create a rule, then repeat Steps 6-8. |
|
of the same type in a different category |
click the Back to Categories link, then repeat Steps 4-8. |
|
of a different type |
click the Back to Rule Types link, then repeat Steps 3-8. |
9When you are finished configuring rules, click [Save].
10Click [Close] to return to the Governance Policy Manager main page.
Note that, if you chose to save the policy before it was completed or have not yet created a scope, it will display in the grid on the Governance Policy Manager main page with the applicable status.
A policy scope can be created for incomplete policies, but they cannot be activated until the policy has been completed.
Creating a Governance Policy Scope and Activating the Governance Policy
Once a Governance Policy has been created, it must be applied to a specific scope (that is, one or more selected site collections or sites).
NOTE: If a Governance Policy is applied to a Site Provisioning Template, the scope will automatically be updated to include any newly created sites based on that template.
To create a Governance Policy Scope:
1From the Governance Policy Manager main page, click the Create Scope icon for the applicable policy.
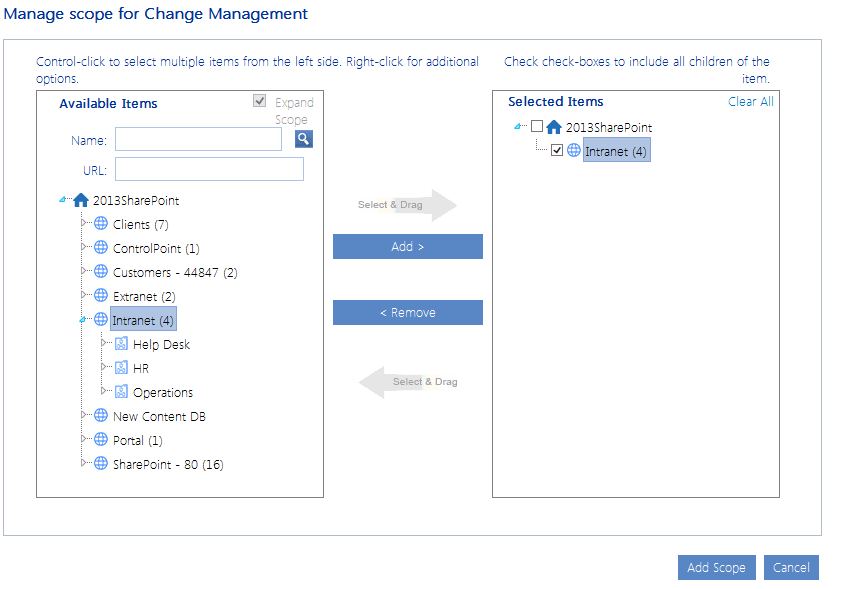
2From the Create scope for [Governance_Policy_Name] dialog
a)Select the objects that you want to include in the scope.
b)Click [Add Scope].
To activate a Governance Policy:
1Click the arrow in the left-most column to expand the policy and display the scope.
2Click the Activate icon.
Once a Governance Policy has been activated, you can view its status via the ControlPoint Schedule Monitor. Once a policy rule that performs an action has run, you can view a ControlPoint Task Audit for the action.
Editing and Deleting Governance Policies and Policy Scopes
To edit a Governance Policy:
1From the Governance Policy Manager main page, check the box to the left of the Governance Policy you want to edit.
2Click [Edit].
3Follow the instructions for Creating a Governance Policy.
To edit a Governance Policy Scope:
1From the Governance Policy Manager main page, check the box to the left of the Governance Policy whose Scope you want to edit
2Click [EditScope].
To delete a Governance Policy:
1From the Governance Policy Manager main page, check the box to the left of the Governance Policy(ies) you want to delete.
2Click [Delete].
To delete a Governance Policy Scope:
1From the Governance Policy Manager main page, check the box to the left of the Governance Policy(ies) whose scope you want to delete.
2Click [Delete Scope].

