Viewing .NET installation properties
|
1 |
On the navigation panel, under Dashboards, click Application Servers > Administration. |
|
3 |
On the .NET view, click the Installations tab. |
|
5 |
In the list that opens, click Properties. |
|
7 |
Click OK to close the dialog box. |
Managing .NET transaction agent configurations
Use the Transaction Agent Configurations tab for the following activities:
Creating .NET transaction agent configurations
|
1 |
On the navigation panel, under Dashboards, click Application Servers > Administration. |
|
3 |
On the .NET view, click the Transaction Agent Configurations tab. |
|
4 |
On the Transaction Agent Configurations tab, click New configuration... |
|
a |
Select the Copy settings from check box. |
|
b |
Click the down arrow to the right of .NetTransactions and select an existing configuration from the list. |
|
9 |
Click Create. |
|
• |
|
• |
|
IMPORTANT: You cannot delete the default configuration. |
Viewing and editing .NET transaction agent configurations
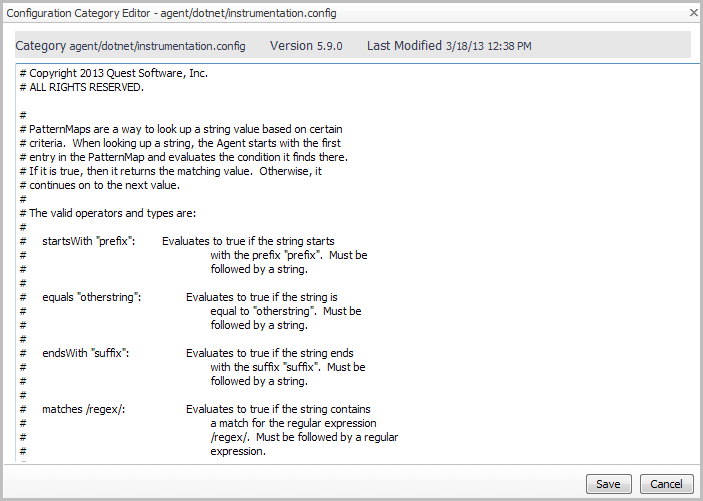
You can view and edit the default transaction agent configuration, or any custom configurations you have created, through the .NET Transaction Agent Configuration view. Use the following procedure to edit the instrumentation.config settings for the .NET agents.
|
1 |
On the navigation panel, under Dashboards, click Application Servers > Administration. |
|
3 |
On the .NET view, click the Transaction Agent Configurations tab. |
|
5 |
In the list that opens, click Edit Instrumentation Settings... |
|
7 |
Click Save. |

