Chatee ahora con Soporte
Chat con el soporte

On Demand Migration Current - Password Propagation Service User Guide

Enabling and Downloading Password Propagation Service

  1. In On Demand Migration - Active Directory, select the source environment on the Environment page and click Settings.

  2. On the Settings page, click the Passwords tab.

  3. Under Password Monitor, select the Password Propagation Service option.

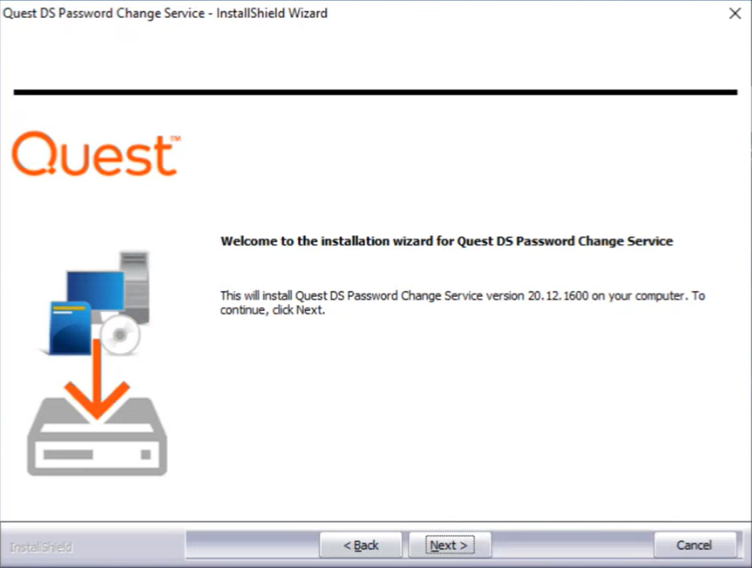
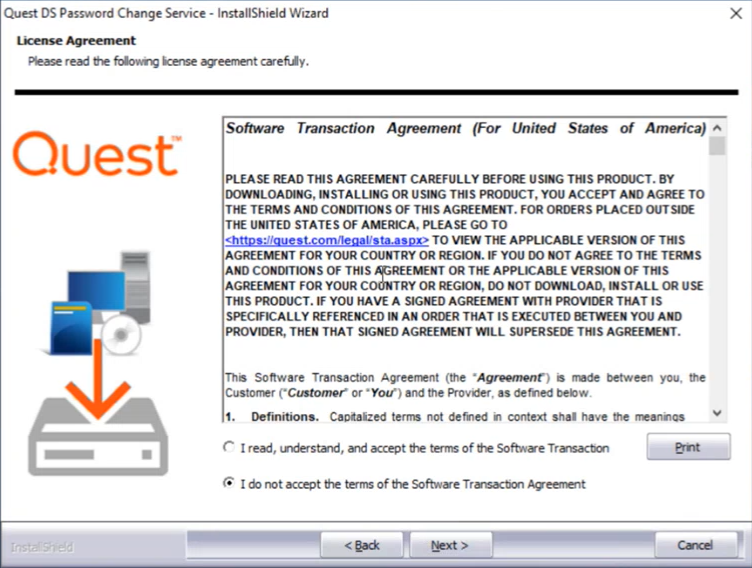
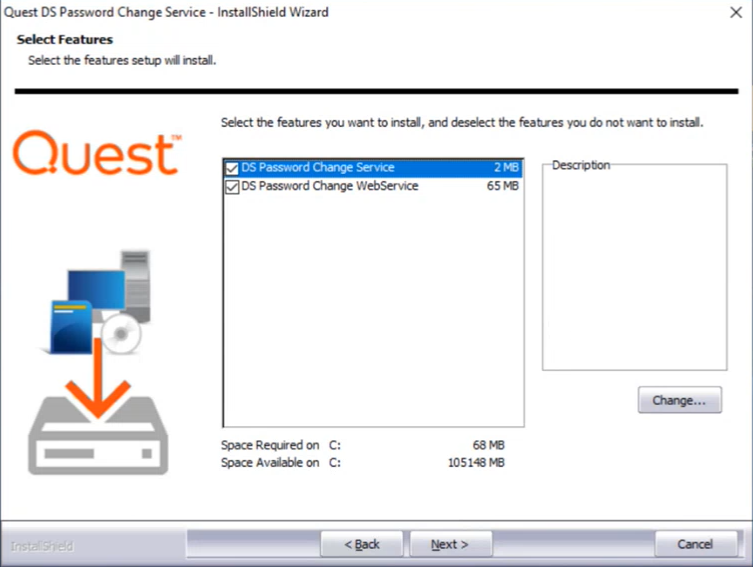
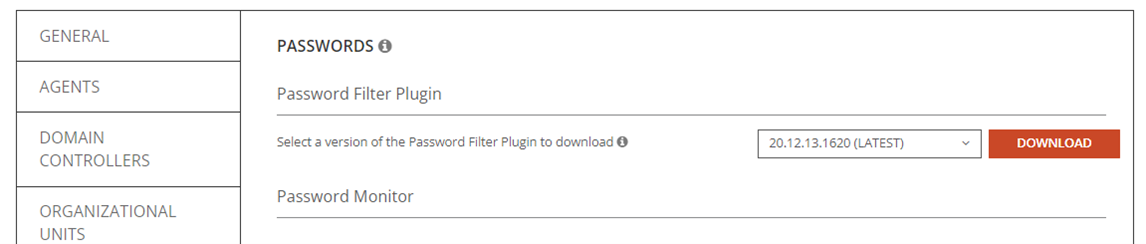
  4. Next to Password Propagation Service Download, select a version from the drop-down list and click Download.

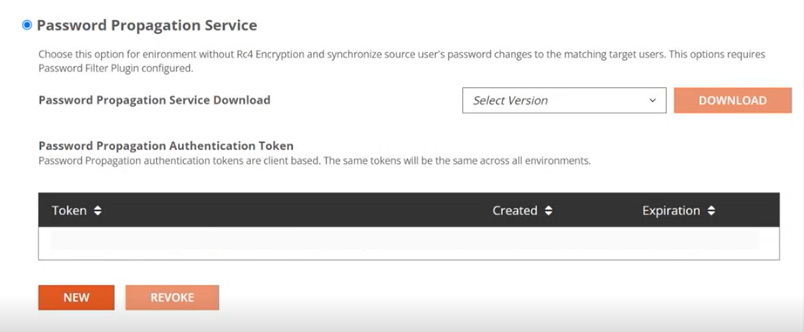
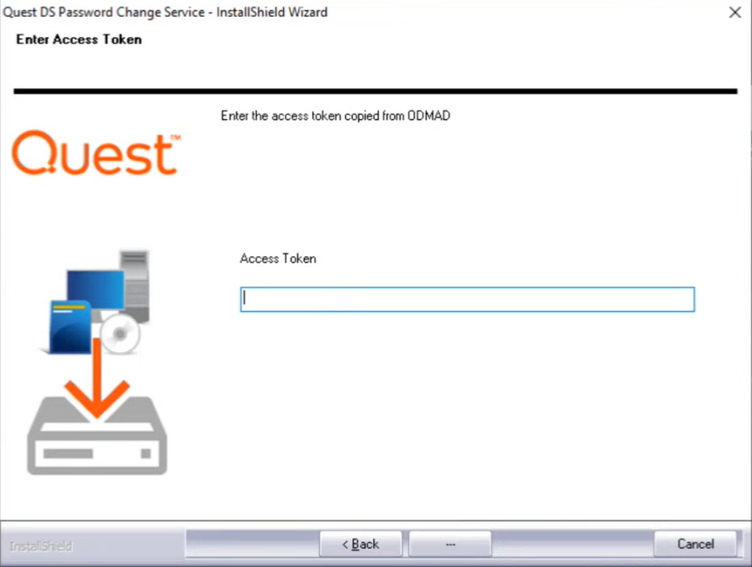
Note: You will need to enter the Password Propagation Authentication Token during configuration.

Installing Password Change Service

  1. On the source environment, click the QuestPasswordPropagationService icon. The install wizard appears.

  2. Click Next on the Welcome screen.

  3. Read and accept the License Agreement. Click Next.

  4. Check the DS Password Change Service and DS Password Change WebService features and click Next. Both features are required.

  5. Enter a security passphrase for communicating with Password Propagation Services installed on other computers. This phrase must match the phrase used to install the Password Filter. The passphrase must be at least 15 characters long. Click Next.

  6. Enter the Access Token found on the Environment Passwords Settings page. Click Next.

  7. Select or install the SSL certificate to use to securely access the QDSPwChange site. The default port is 443 and can be changed if needed. Click Next.

    Note: The SSL certificate can be preconfigured. See Internet Information Services (IIS) Server Certificate Installation Instructions at Microsoft for more information.

  8. Click Install.

  9. Click Finish on the Complete screen.

Configuring Password Propagation Server

Use the Password Change WebService to configure The target environment where the passwords will be changed.

  1. Click on the DS Password Change WebService icon. The Password Propagation Server Configuration page will open.

  2. On the Environment Configuration page, click Add Forest.

  3. Enter a Forest Name and Default Credential. Click Save.

  4. Click Add Domain to add one or more Active Directory domains to the forest.

  5. Enter the Domain Name and optional Credential. If left blank, the forest credentials will be used. Enter the Global Catalog name.

  6. Click Select Domain Controller and then click Select next to the Domain Controller you wish to use.

  7. To configure the LDAPS Certificates, click either Add Certificate Thumbprint to add the thumbprint or click Load Certificate from Domain Controller to retrieve the thumbprint from the Domain Controller.

    Note: See How to: Retrieve the Thumbprint of a Certificate at Microsoft for more information.

  8. Click Save.

  9. To add additional domains, return to the Forest page and click Add Domain.

Installing Password Filter

The Password Filter is installed on every Domain Controller in the source. The filter detects password changes in the source and sends the password information to the Change Service to set in the target.

  1. In On Demand Migration – Active Directory, select the source environment on the Environment page and click Settings.

  2. On the Settings page, click the Passwords tab.

    Under the Password section, download the Password Filter Plugin option.

  3. On the Domain Controller, click the QuestDirectorySyncPasswordFilter icon. The install wizard appears.

  4. Click Next on the Welcome screen.

  5. Read and accept the License Agreement. Click Next.

  6. Check the Password Change Propagation feature and click Next. The install wizard can also install the Modern Password Copy feature if needed.

  7. Enter a security passphrase for communicating with Password Propagation Services installed on other computers. This phrase must match the phrase used to install the Change Service. The passphrase must be at least 15 characters long. Click Next.

  8. On the Quest Propagation Service URL page, enter the FQDN of the server running the "Quest DS Password Change Service" or leave the field blank if you have a DNS SRV record for "_qdspwchange". Click Next.

  9. Click Install.

  10. Click Finish. You must restart the computer before the program.

  11. Repeat the install process on all other Domain Controllers in the source. Istallation must be configured manually on all Domain Controllers.

Documentos relacionados

The document was helpful.

Seleccionar calificación

I easily found the information I needed.

Seleccionar calificación