A. Create Encryption and Decryption Certificates.
- Launch “Keychain Access,” open the menu, and navigate to “Certificate assistant | Create a certificate.”
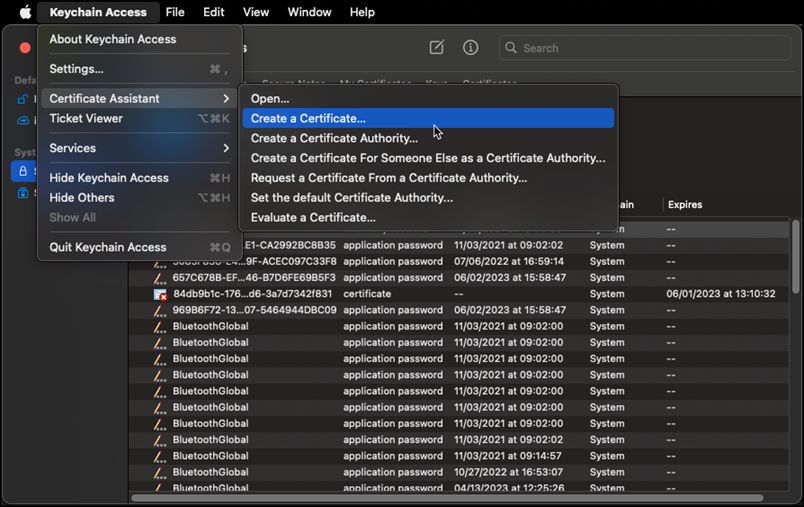
-
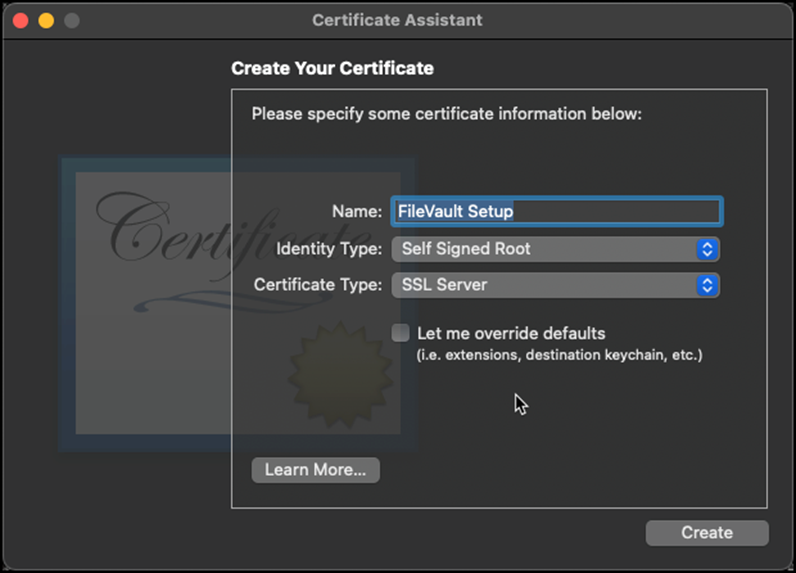
Name the certificate, use “identity type: Self Signed Root” and “certificate type: SSL Server,” then click create.
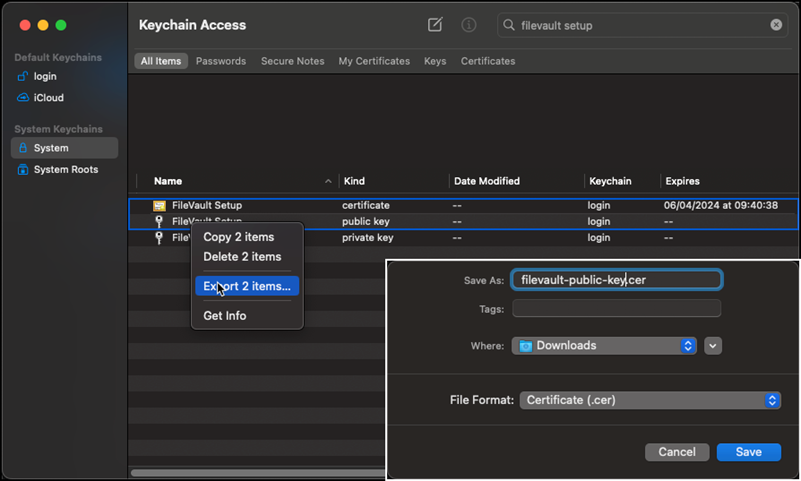
- In Keychain Access, go to “System” and search for the certificate recently created. You will see a “private key” and a “public key” associated with that certificate.
- Highlight the certificate and the “public key”, right-click on both and select “export 2 items…” Name this as public and select “.cer” file format.
- Highlight the certificate and the “private key”, right-click on both and select “export 2 items…” Name this as public and select “.p12” file format.
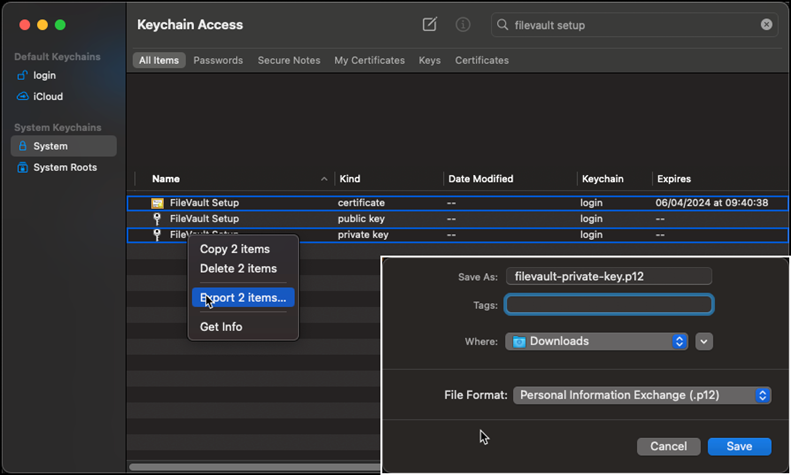
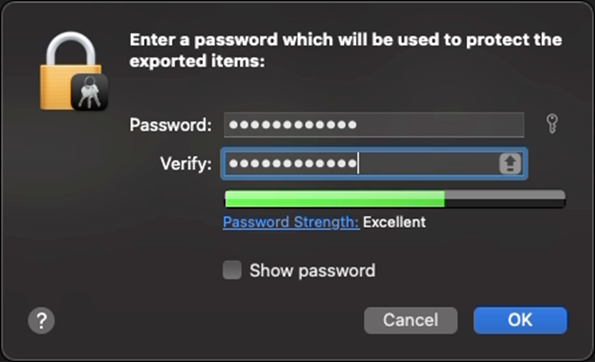
- When exporting the private key, a password will be required for the export. Remember this password as it will be necessary when importing the certificate to KACE Cloud.
B. Import the Certificates to KACE Cloud.
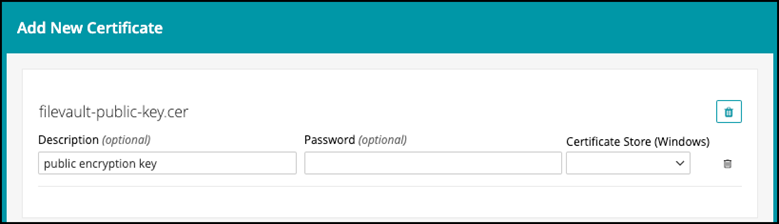
- Go to "Libraries | Certificates | Add New" and import the public key first.
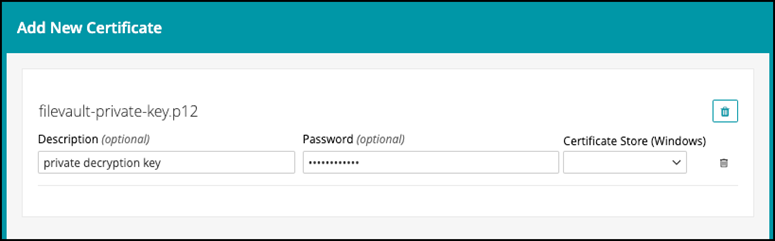
- Repeat the above step when importing the private key, and remember to import the password from the export steps.
- Then go to "Libraries | Security | Add New | FileVault Configuration"
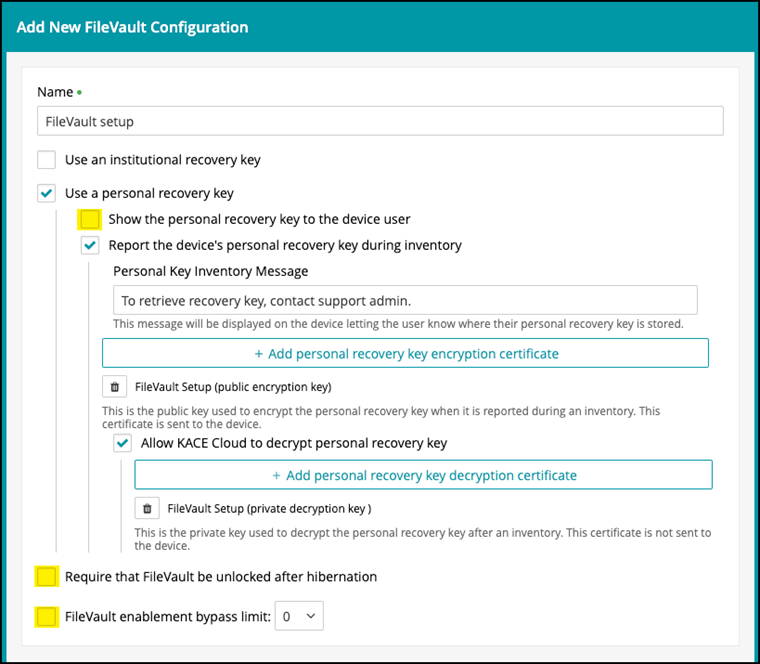
- Mark the option "Use a personal recovery key" then mark "Report device's personal recovery key during inventory" and add a message to the users.
- "Add personal recovery key encryption certificate" map the public key.
- "Allow KACE Cloud to decrypt personal recovery key" map the private key. (this is optional, if the key is not mapped, admins can use third-party tools for decryption)
- The rest of the options in yellow are optional for the admins.
C. Review Setup.
After deploying this using a Policy on a test device, if this has been set up correctly, the device encryption job can be started.
Remember to reboot the device and force inventory after FileVault encryption completes.
The recovery key can be found under "Devices | Select a device | Summary | Security box."

