This database masking tool creates a mask that will be used for replacing sensitive data entirely. Sensitive data will be masked by using substitution and the redaction type of masks.
The substitution type of mask uses generators to create data that will be used to replace sensitive data, while the redaction uses a specific value or part of it and replaces it with a customs value.
Whether ApexSQL Mask uses the substitution or the redaction type of mask for creating masks, the newly created masks can be exported and imported for use on different databases.
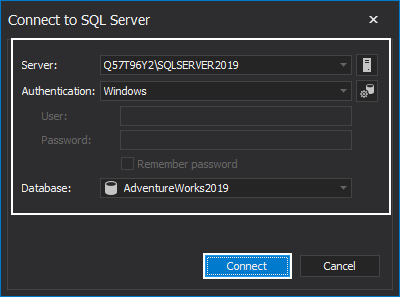
On opening ApexSQL Mask, the Connect to the SQL Server window will appear: the instance of SQL Server, type of Authentication, and the Database in which sensitive data needs to be masked. When all is set up, click on the Connect button, and it will hook up to the chosen database:
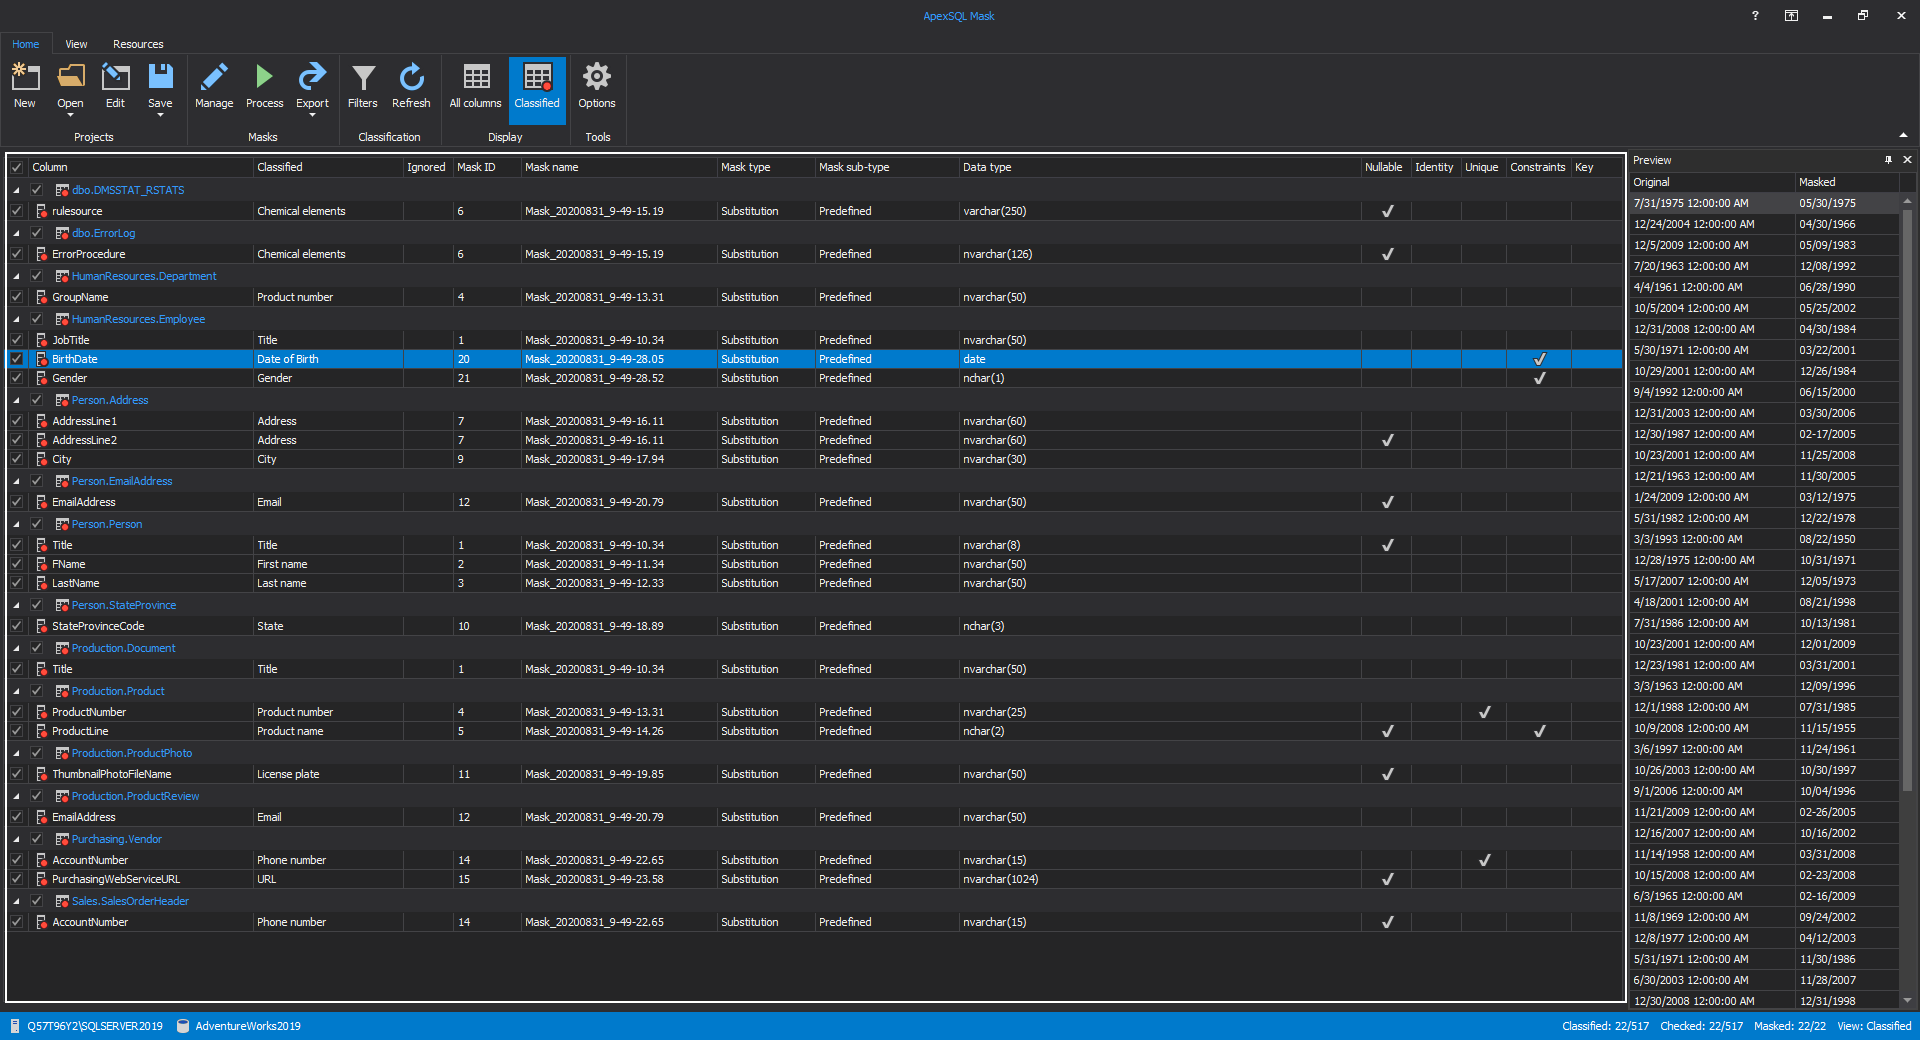
The main window of ApexSQL Mask will be presented, with automatically classified columns in the grid panel on the right side of the window. The newly created masks are automatically added to those classified columns which are marked with a red dot:
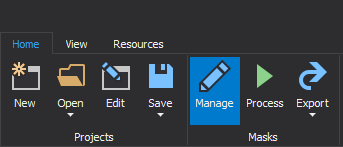
To see the newly created mask or to create a new mask for masking sensitive data, click on the Manage button in the Home tab:
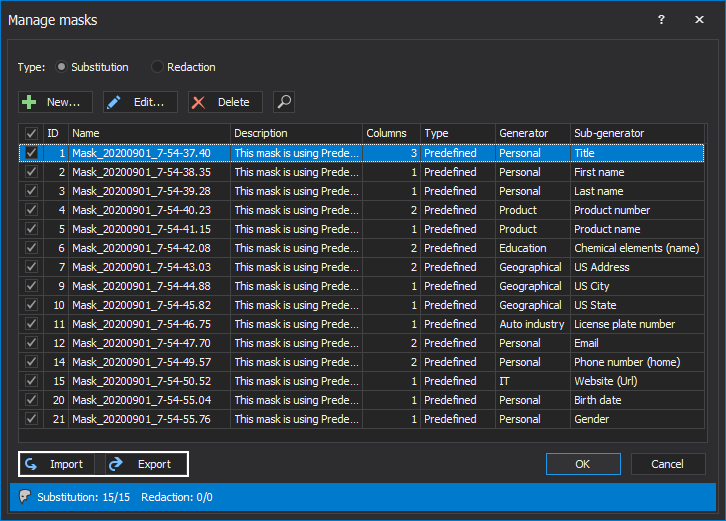
The Manage masks window will be opened. Under the Type section, the Substitution or Redaction can be selected, and for this article, the Substitution type will be chosen. In that window, all masks that are applied to the selected database will be listed. Besides, in the Manage mask window, a new mask can be created, or edited/it can delete the existing one:
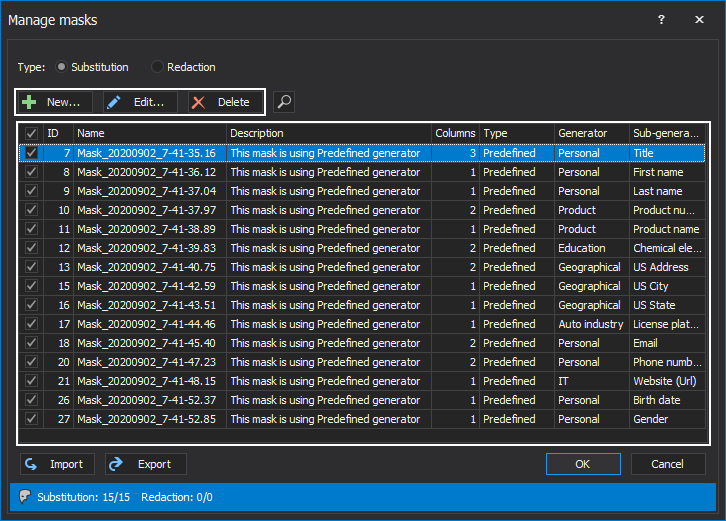
If there is a need to use masks in another database, the Manage mask window offers the possibility to Export or Import database masks, by clicking on the Export or Import button:
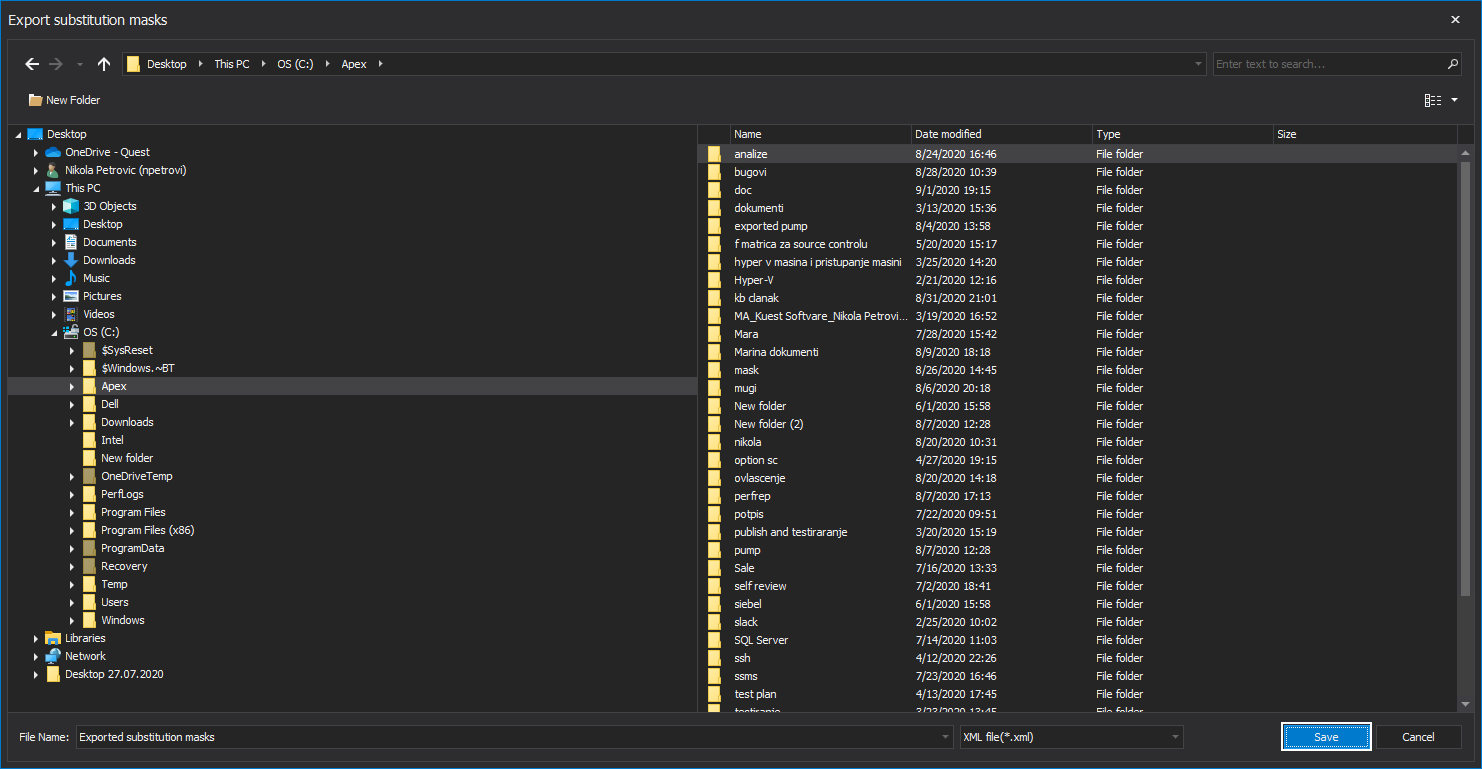
When choosing to export database masks, click on the Export button in the Manage masks window. The Export substitution masks dialog will be opened, where the target place for the exported database masks will be selected, and the name of the exported file can be chosen. By clicking on the Save button, the exported file will be saved, and the Export substitution masks window will be closed:
Quick tip:
|
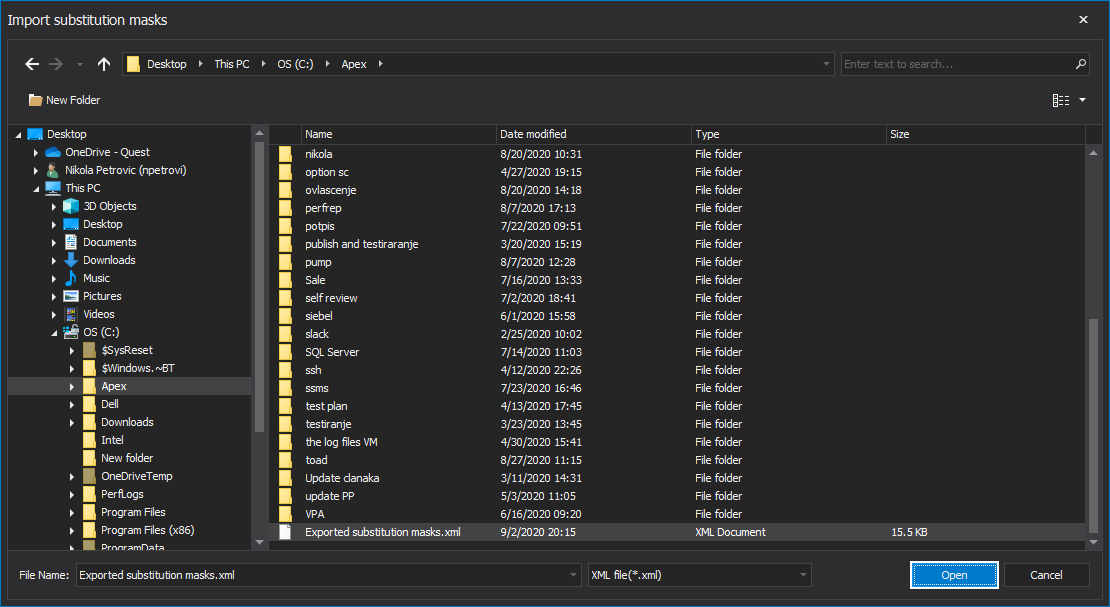
That exported file can be imported and used to mask SQL Server data in different databases. By clicking on the Import button in the Manage masks window, the Import substitution masks dialog will appear, where the file with exported masks will be chosen and opened with a click on the Open button:
The view will be back to the Manage masks window, and the imported masks will be present among other listed masks, and with them, SQL Server data in that database can be masked.
