
-
Title
How to view SQL Server instance details in ApexSQL Manage -
Description
The following article covers the process of accessing a SQL Server instance details while, at the same time, giving a brief description of the presented information. -
Resolution
Since SQL Servers are of complex nature and are subject to changes, either intentionally or not, having the option to check “on the spot” its state along with the details of its properties is a great feature to have for any DBA. Having said that, it’s even better to have all that precious information stored in one single, easily accessible place.
The following is an easy and straightforward guide on how to quickly view the mentioned data.
Connect to an instance
To access a SQL Server instance details, one must first establish the connection between the application and the desired instance. There are two ways of achieving this goal:
- Connect to a SQL Server manually or
- Scan the network in the search for instances
For those who want to discover instances across the network using the SQL manage instance tool, please consult the How to discover SQL Server instances, SSRS, SSAS and SSIS services article for a detailed look into this process.
For this article, the focus of making the connection between the application and an instance will be on the manual connection.
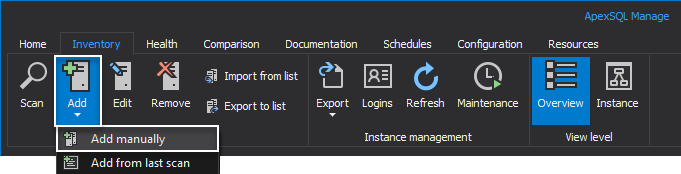
To initiate this process, upon starting the SQL manage instance tool, head over to the Inventory tab and from the Add drop-down menu click Add manually:
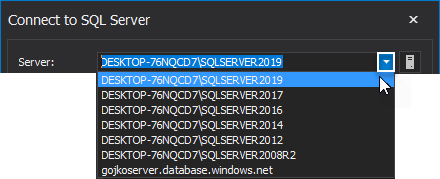
In the Connect to SQL Server window, type in the name of an instance in the Server field or choose it from the list by clicking the drop-down button:
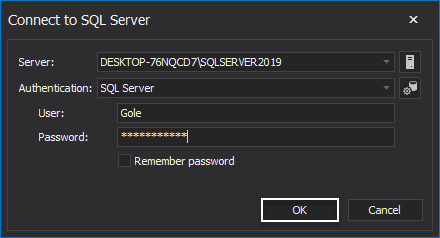
In the next step, choose the authentication for the selected instance between two offered choices:
- Windows
- SQL Server

If the windows authentication is selected, simply click the OK button to make a connection.
On the other hand, if SQL Server option is chosen, provide the user credentials along with its password in the matching fields and afterward click OK:
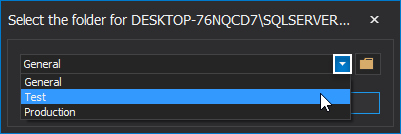
In the following window, select a folder for added instance and click OK:
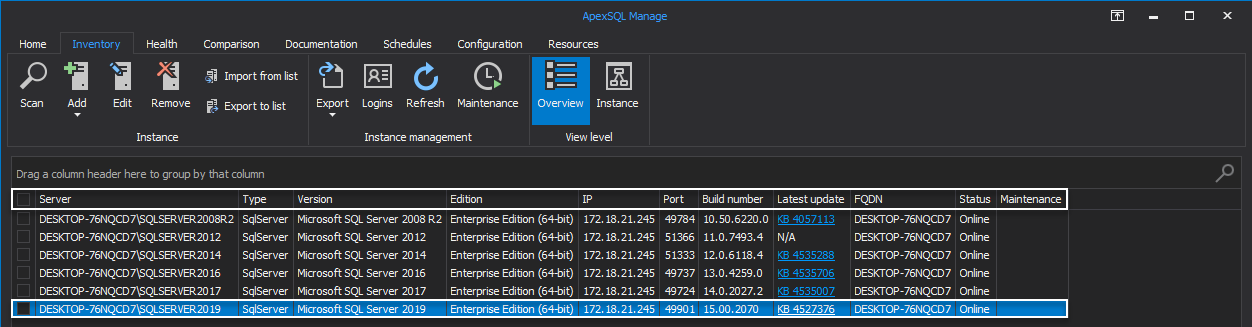
Once the connection between the application and the instance is established, its details will be shown in the main grid of the Inventory tab. Here, the basic information is sorted by the grid columns:
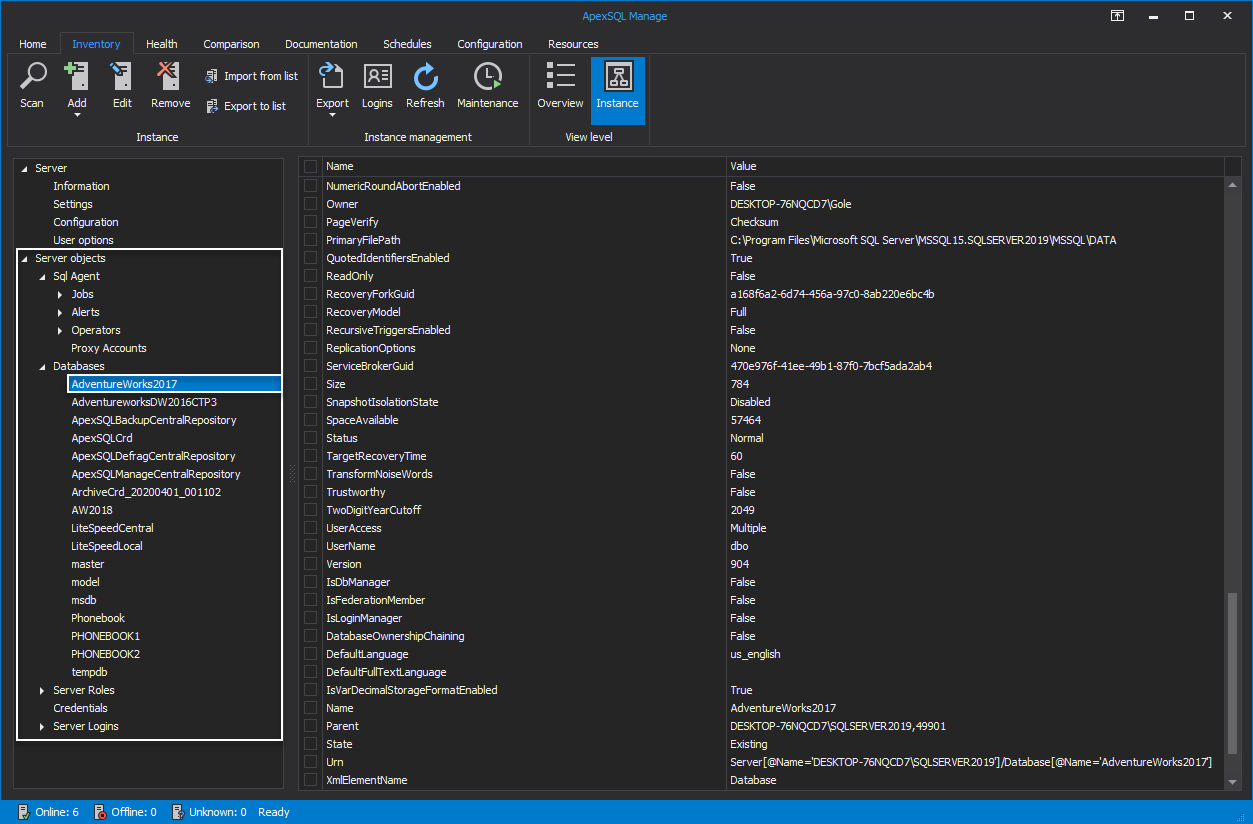
View SQL Server instance details
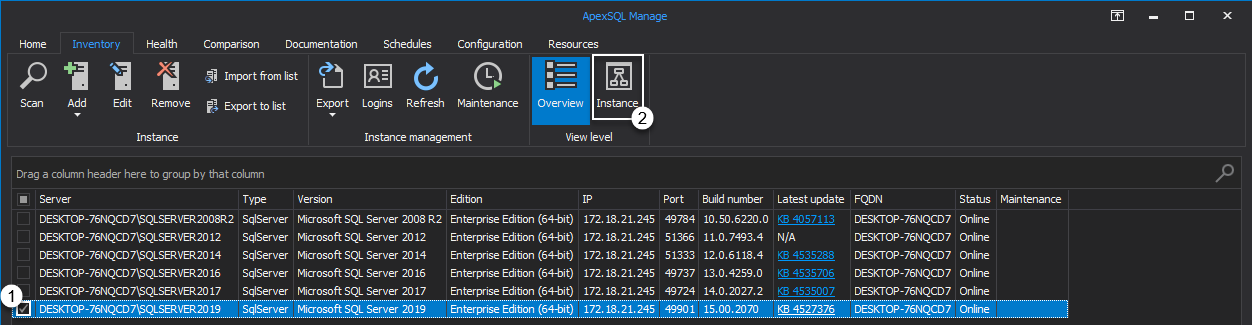
To view detailed information of the added instance, check its box and click the Instance button:
This action will transform the main grid Overview level into the Instance view level. The in-depth instance details are now sorted by the following two categories:
- Server
- Server objects
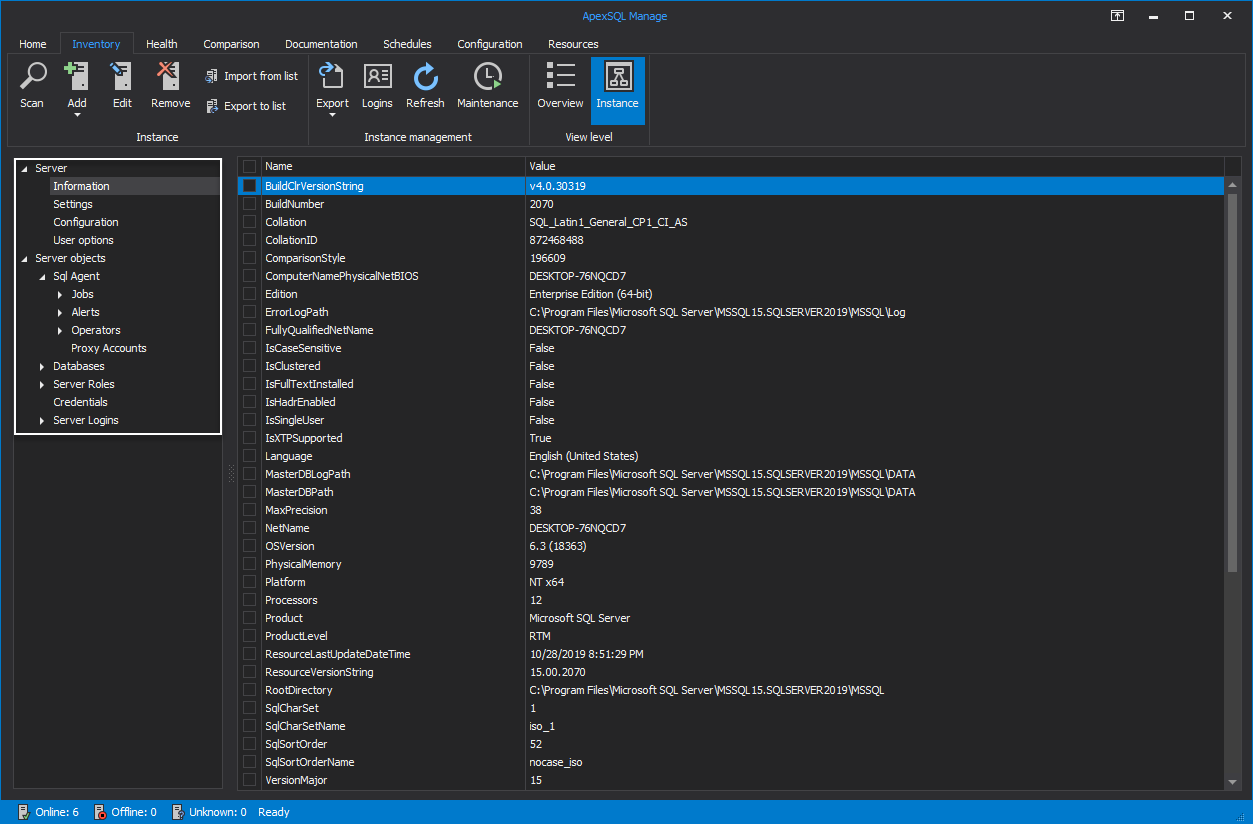
Server information
Under the server category, the basic information is listed in four subcategories:
- Information – basic details about the instance name, folder path, language, etc
- Settings – details about the instance settings
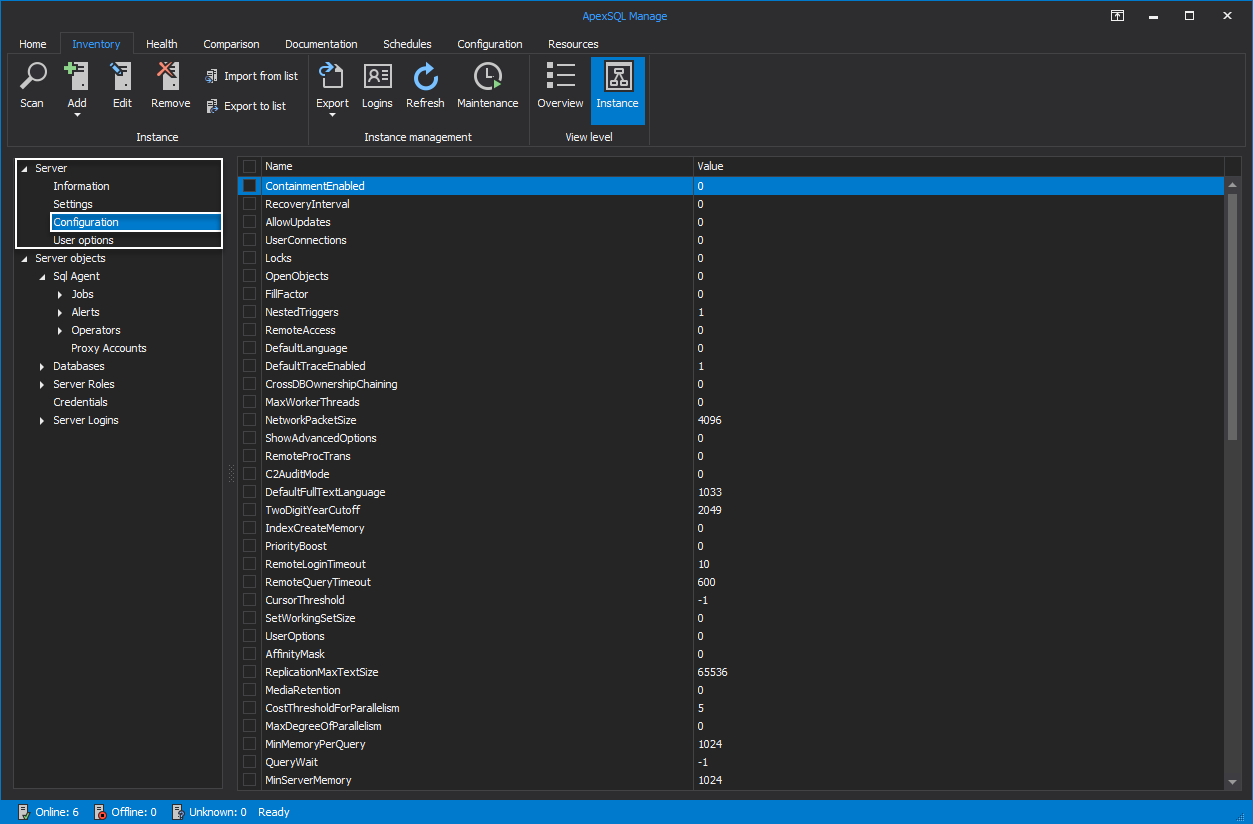
- Configuration – details about the SQL Server instance configuration
- User options – details about the name, parent, state and other user options
In the Instance view grid, properties are presented in two columns:
- Name – the name of the property
- Value – the current value of the property
To view thorough property details about any of the presented subcategories, simply click one of them on the left and the information will be displayed in the grid:
Server objects information
Thorough details about the server objects are sorted in four subcategories:
- SQL Agent – information about jobs, alerts, operators and proxy accounts
- Databases – all details regarding the databases that are created on the added SQL Server instance
- Server Roles – values of the server roles: public, serveradmin, sysadmin, etc.
- Server Logins – information about the created server logins
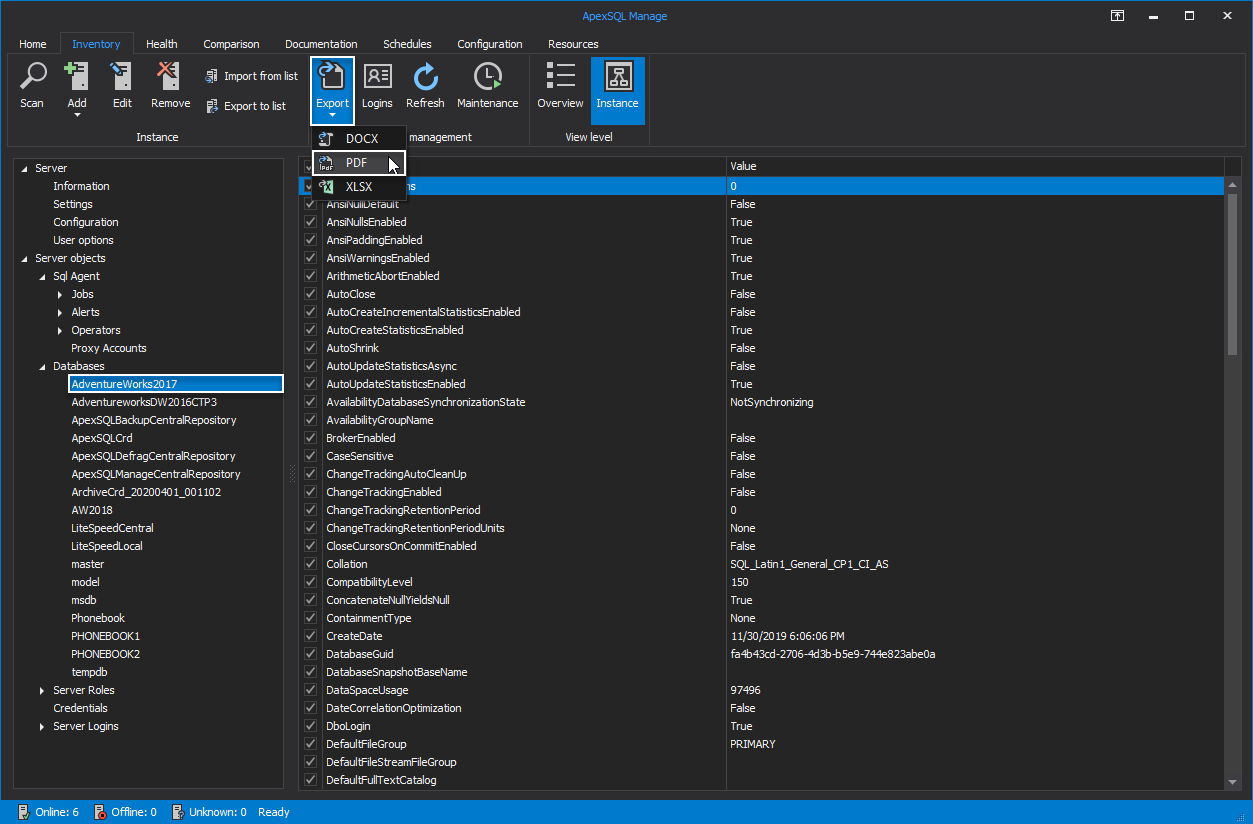
To export properties of any subcategory, select it in the server panel on the left, check them from the grid and from the Export drop-down list select desired file format from the available: DOCX, PDF or XLSX:
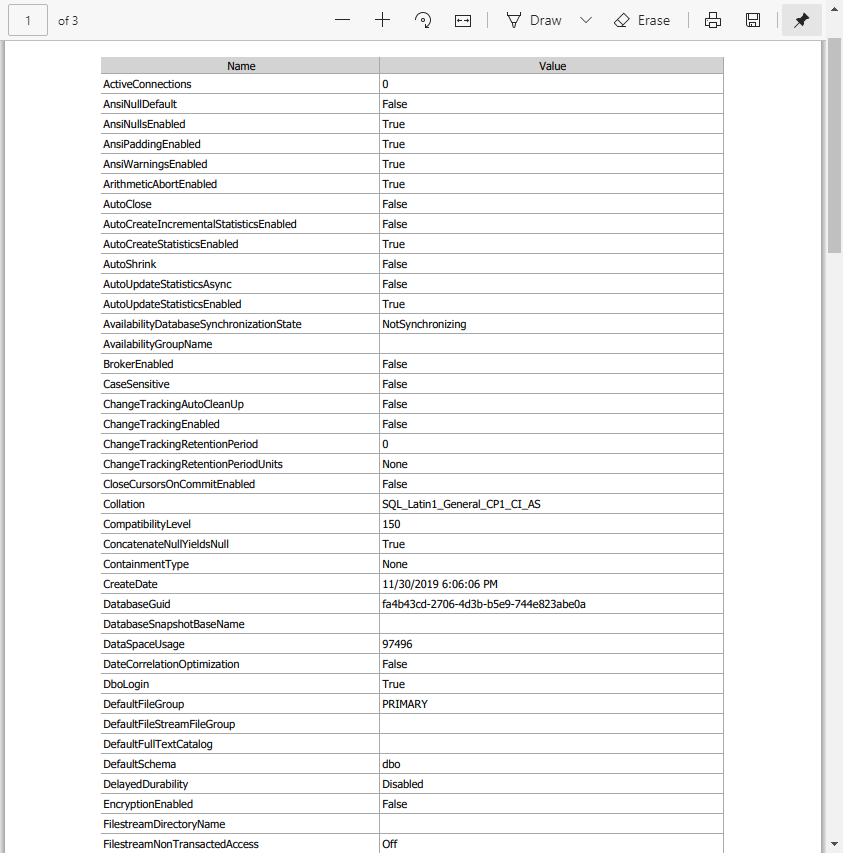
For the purpose of this guide, properties are exported into the PDF file format. The result will look like this:
To document all SQL Server properties, please consult the following How to create detailed documentation for SQL Server instances and snapshots article.