Introduction
ApexSQL Defrag is a powerful application used for scheduled analyzing and defragmenting SQL Server database indexes. It consists of three main components:
- User interface – It’s the main part of the application, where user can interact with the application, analyze indexes, create and modify jobs on a schedule, look at reports, monitor the scheduled jobs. The user interface is needed for the creation of scheduled jobs, while the jobs themselves are run from the monitoring agent.
- Monitoring agent Service – The monitoring agent is a Windows service which allows the analysis and running jobs. It is not to be confused with SQL Server Agent. One instance of the monitoring agent is required and is sufficient for multiple local or remote server instances.
- Central repository database – A database installed on a user specified server with a purpose to store the information needed for communication between the User Interface and the monitoring agent service. Login credentials for connecting to various monitored SQL Servers are also stored in it. One central repository database is required for storing all information.
The components must be installed and configured properly for the application to work. Every component can be installed on a local machine and work in a local environment, but it is also sufficient for remote servers with no additional installation required.
Installation of ApexSQL Defrag User Interface
-
Firstly, download the latest version from here
-
Run the downloaded exe file to start the installation process
Note: It is recommended to run the installer with a user with full permissions on the ProgramData folder. In most cases, the users have full permissions, but it can vary due to various system security settings.
-
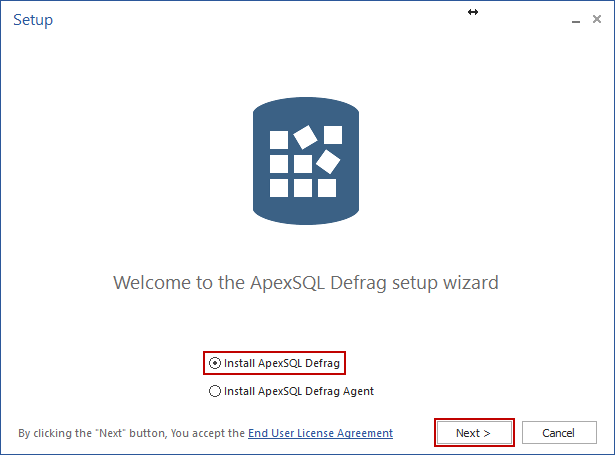
After starting the installer, you are presented with the welcome screen where you can read the End-User Licence Agreement and afterwards choose to install the ApexSQL Defrag or the monitoring agent. Here we select Install ApexSQL Defrag and click on Next:
-
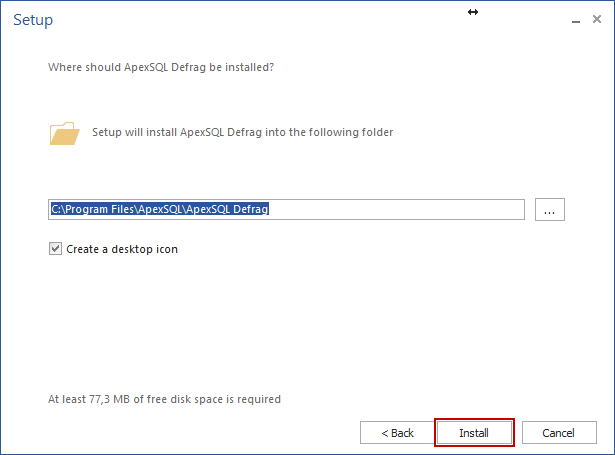
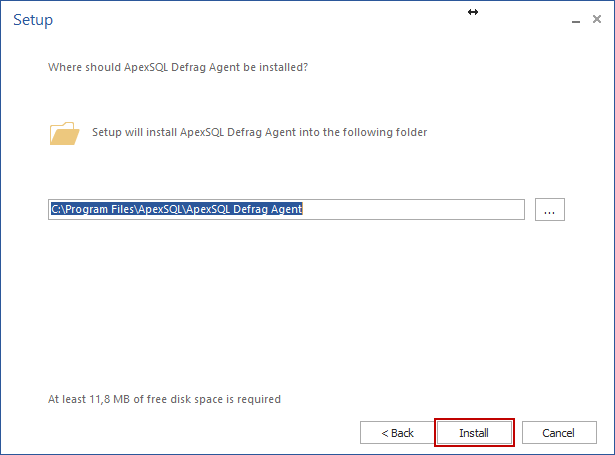
In the following window, we make sure that ApexSQL Defrag will install in the appropriate folder and can check if we want a desktop shortcut, and after that we can click on Install
-
After the installer finishes, we are presented with a choice to launch ApexSQL Defrag right after the installer closes, as well as viewing the release notes for the latest release.

If we choose to run ApexSQL Defrag now, we will be prompted to install the monitoring agent and configure the Central Repository Database. There is an option as well to run the monitoring agent service installation from the installer itself, which will be also described in the article.
-
After pressing Close with the option to run ApexSQL Defrag checked, the Configuration Wizard opens, where we click on Next

-
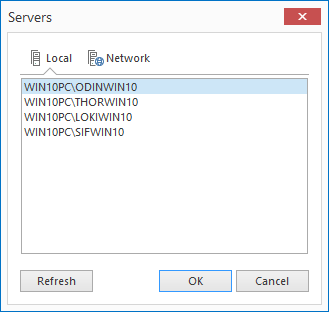
In the following window we configure the Central repository database and the monitoring agent. Under the Central repository database, first we choose the SQL Server where we want to create it. To the right of the dropdown menu, pressing on the server button opens a dialog where we can choose from local or network servers. Under Authentication, we choose the type of authentication to use when connecting to the selected server, SQL Server or Windows. Though it is preferred to use SQL Server authentication, the application will also work with Windows authentication. If we choose SQL Server authentication, we need to write the username and password in the corresponding fields.
In the next part, monitoring agent, we are presented with two options, I have already installed the agent and Install the agent locally. The first option is used when we are re-installing the User interface. For this installation guide, since we are installing the application for the first time, we choose the second option. Under Account, we can choose Local System, Local Service, Network Service and User. Every account has a different level of privileges and permissions, and it varies from system to system, also being dependent on system security settings. For this guide, we will select User. The current Windows account being used when installing will be automatically inserted into Username, while you could write a different user if you want. In the Password field you need to write the password used for logging into that Windows account. After filling all the fields, we proceed by clicking on Next after which the Central repository database is getting created and the monitoring agent is being installed

-
Server browser window, opened by clicking on the Server button in the above image
-
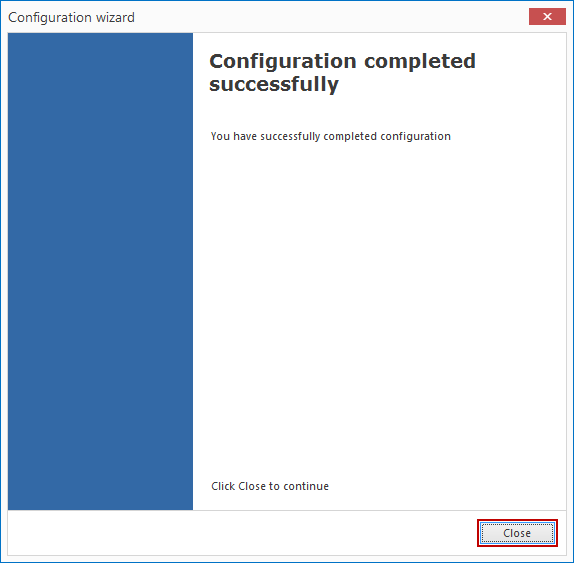
After creating the central repository database and installing the ApexSQL Defrag agent, the last window informs us that the configuration is completed successfully. After that we click on Close after which we are presented with the main application
Installation of ApexSQL Defrag Agent Service
In case that we unchecked Run ApexSQL Defrag after installation, we need to install the monitoring agent manually by running the installation file again.
-
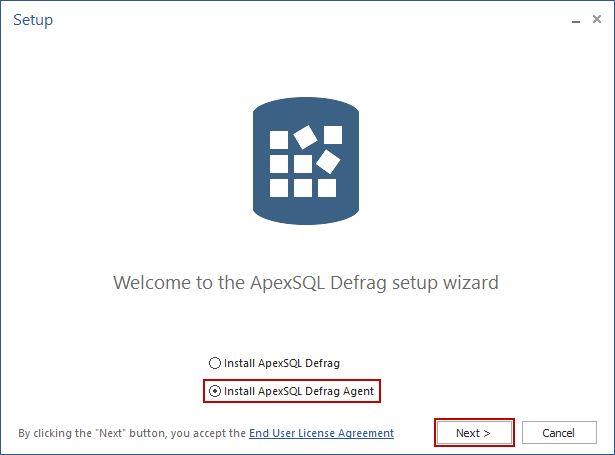
We start the installation from the installer by double clicking the installation file. At the first window, we then choose Install ApexSQL Defrag Agent and afterwards click on Next
-
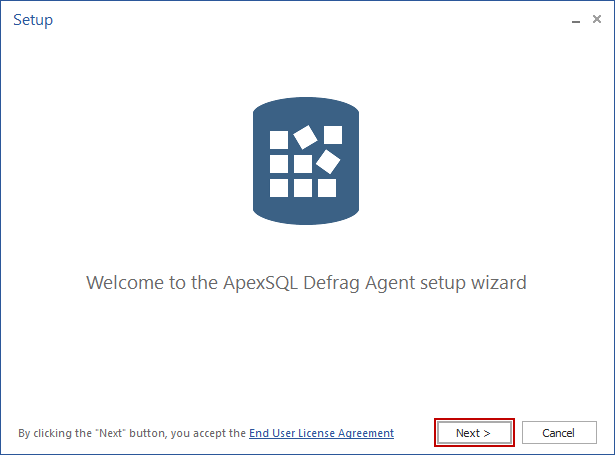
In the following window, we can read the end user licence agreement by clicking on the link and proceeding with installation by clicking Next
-
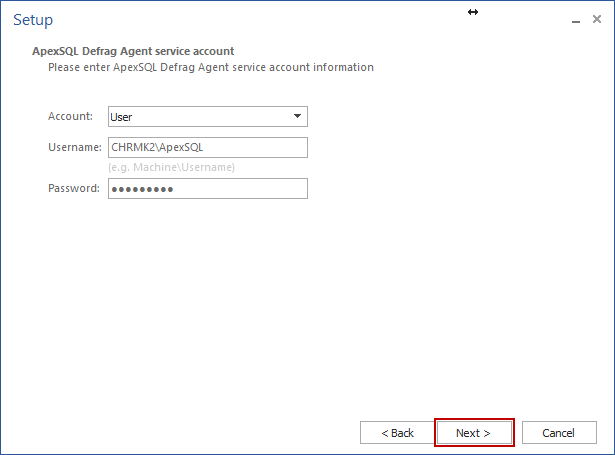
In the following screen, under Account we can choose under which account we are able to install the Defrag agent. In this guide, we will choose User as it has the most privileges on the system.

-
After selecting the account, the installer inputs the current user by default, and it can be changed easily to a different user by entering it in the appropriate text box. After entering the user password we can proceed with the installation by clicking on Next
-
In the following window, we are presented with a choice of location where monitoring agent will be installed. After choosing it, we can proceed to the installation by clicking on Install
-
After the installation completes, we are shown a new window, informing us that the installation was completed successfully.

Troubleshooting
During the use of ApexSQL Defrag, a couple of problems may occur. In this part of the article we will mention the most common ones
- Problem: „The central repository database was not found. Please configure it again“ error displayed on startup.
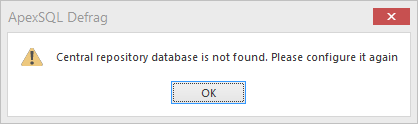
Solution: This occurs when the SQL Server on which the Central repository database is created is not running. To fix this, go to Services, find the SQL Server entry and start it either by right clicking the service and selecting Start from the context menu or by clicking on Start the service in the top left corner
Note: Starting Services can be done in a couple of ways, by presing  + R and typing services.msc, going to Start and selecting Run... and typing services.msc or going to Start -> Windows Administrative Tools and selecting Services

- Problem: „Comunication with the agent failed“ error message
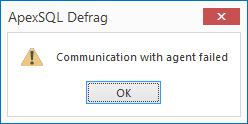
Solution: This error occurs when the ApexSQL Defrag user interface cannot communicate with the the monitoring agent. To fix this, go to Services, find the monitoring agent service and start it either by right clicking the service and selecting Start from the context menu or by clicking on Start the service in the top left corner

- Problem: „Wrong username or password“ message shown when configuring the central repository database with SQL Server authentication
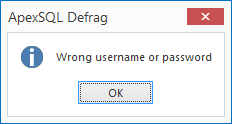
Solution 1: Double check the username and password entered
Solution 2: Double check if the SQL Server is allowing SQL Server authenticated connections.
-
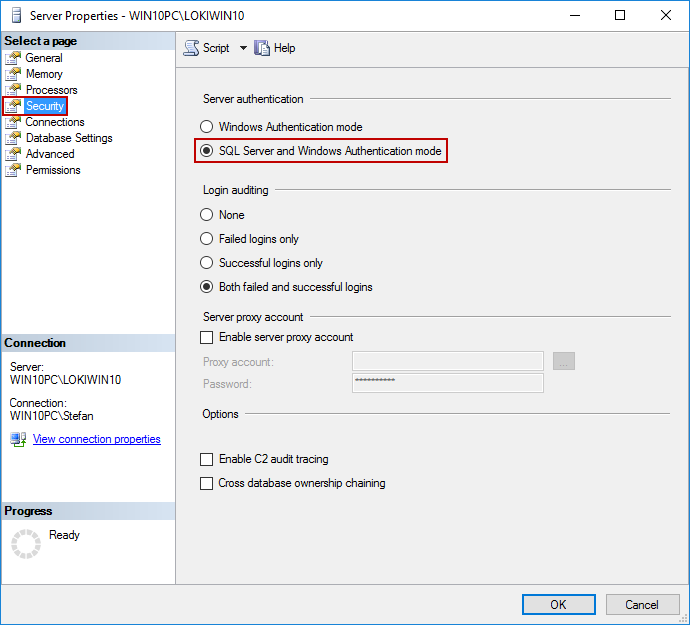
We can do that by going to properties of the SQL Server in SQL Server Management Studio

-
In the properties window, select the Security tab, and then, under Server authentication, choose SQL Server and Windows authentication mode and click OK
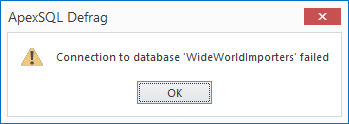
- Problem: „Connection to database ’database name’ failed“ message when trying to analyze, reorganize or rebuild indexes
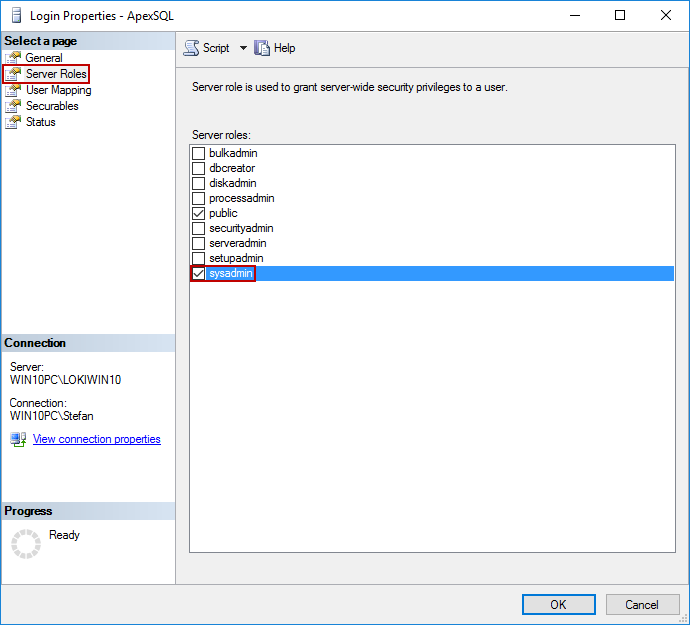
Solution: This happens when the monitoring agent doesn’t have enough privileges on the SQL Server to perform operations. To fix this, we must open SQL Server Management Studio
-
Go to Security -> Logins and then right-click on the user login ApexSQL Defrag is trying to connect as

-
Select Server Roles from the navigation tabs to the left and check the sysadmin checkbox and press OK afterwards
-
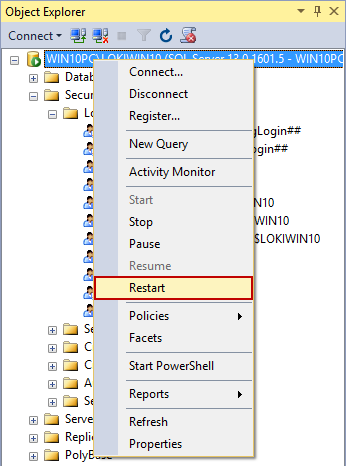
You may have to restart the SQL Server service for this to be in effect. To do this, we right-click on the server and click on Restart
- Problem: When trying to add server, I am presented only with the machine name on which the server is located
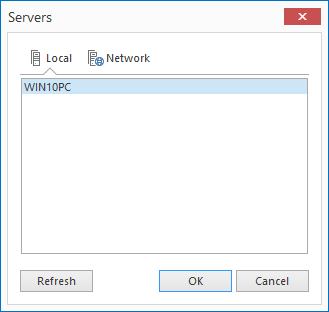
Solution: To fix this, check if the SQL Server Browser Service is running. To do that, open Services window and find SQL Server Browser service and start it. After starting the SQL Server Browser service, and trying to add the server again is shown in the image below

Frequently asked questions
Q: I have servers on other machines in the network. Do I need to install monitoring agent on every machine?
A: No, monitoring agent needs to be installed only on the machine you are using ApexSQL Defrag from.
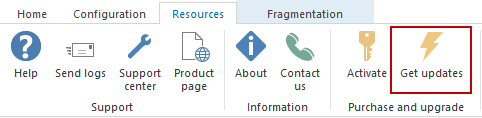
Q: How do I check if I’m running the latest version of ApexSQL Defrag?
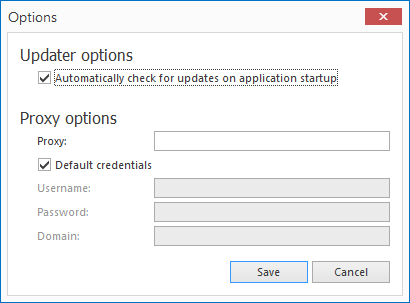
A: You can check if you are running the latest version of ApexSQL Defrag by going to Resources tab of the main User interface and clicking on Get updates
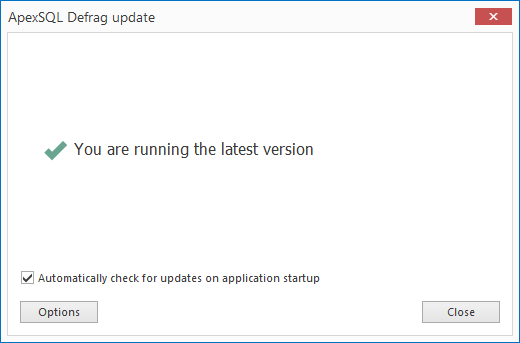
By pressing the Options button, we are presented with a dialog where we can further configure updating options