Adding a Filter to a File Share Connection
You can add and edit filters on the root connection node to a file share, which will be applied to all sub-folders and files under that connection. You may for example, only one to include files with a certain file extensions or files that have been modified after a certain date. When a filter is added, it will be applied to any new migration actions that are initiated from that connection. Previously existing/configured migration actions will not have these filters applied to them.
Filters that are added and applied to a root file share connection will become default settings in the Filter Options tab. Any changes to Filter Options will be applied to the current migration, but will not change the filters on the root connection node.
To apply a File Share Root Node Filter:
1.Select the root connection node for a File Share source.
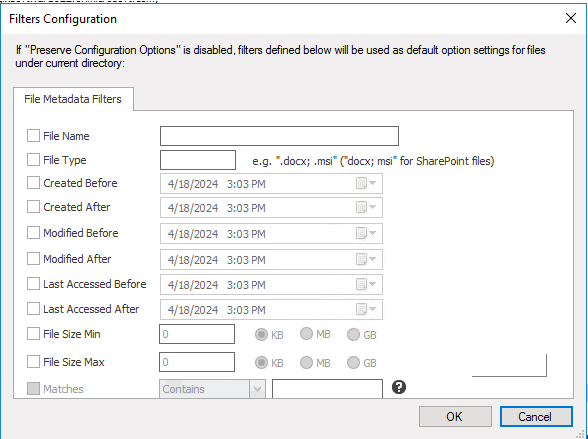
2.Right-click and choose Add/Edit Filters to display the Filters Configuration dialog.
|
3.Set desired filters as you would in the Filters Options tab.
4.Click [OK] to close the dialog and use the filters on the File Share source.
NOTE: Filters will be applied to migration actions as long as Preserve Configuration Options is enabled, as described below.
To Enable/Disable the File Share Root Node Filter:
1.In the Content Matrix main ribbon, choose Settings > Preserve Configuration Options, which is:
·Highlighted when enabled
·Not highlighted when disabled
NOTE: When the root node filters are disabled, you can still access the filtering options, but the filters will not be applied to the migration.
To remove file share root node Filters:
Use the information in the following table to determine the appropriate action to take.
|
If you want to ... |
Then ... |
|---|---|
|
remove all filters |
·in Explorer View, select the node containing the filters you want to remove, right click and choose Remove Filters > Remove All Filters OR ·from the Filters Configuration dialog, click [Clear All]. |
|
remove only standard metadata filters |
in Explorer View, select the node containing the filters you want to remove, right click and choose Remove Filters > Remove Standard Metadata Filters. |
You will be prompted to confirm the action before continuing.
File System Reporting
You can use Content Matrix to create and manage the following reports on a File System connection:
·The Extended File System Report provides an in-depth view of content within a directory, including:
§Number of Files by Extension
§Number of Files by Size
§Number of Files by Created Year
§Number of Files by Modified Year
§Number of Files by Created Month for Current Year
§Number of Files by Modified Month for Current Year
·The Simple File Systems Report provides a quick and concise view of the amount of data needing to be migrated, including:
§Total Number of Directories - A recursive count of all the directories below the selected node.
§Total Number of Files - A recursive count of all files in all directories below the selected node.
§Number of Files by Directory - A count of all files below each directory. This count is limited to a depth of one level.
·The Migration Report provides a condensed account of what files have been migrated to the target SharePoint instance, the locations the content has been migrated to, and the date of the migration. The following data is included:
§Files Migrated by Site - An account of how many files were migrated to each SharePoint site, and the first and last date for migrations to that site.
§Files Migrated by Destination Library - A count of the number of files/documents that have been migrated into each target side document library. Only document libraries that have had content migrated into them will be listed.
§Files Migrated by Month - A count of how many files/documents have had content migrated into them for each month.
§Files Migrated by Year - A count of how many files/documents have had content migrated into them for each year.
NOTE: When configuring the options for the Migration Report, there is an additional check-box option, Recursive. This check-box option allows for the report generation to run down through any sub-hierarchy on the target SharePoint side.
Running a File System Report
To run a File System Report:
1.Select the FileShare content on which you want to report; either:
§a folder node within Explorer View
OR
§specific items within Items View.
2.Right-click and choose Reporting followed by the type of report you want to run:
§Extended File System Report
§Simple File System Report
§Migration Report
3. Complete the Reports Options dialog as follows:
a)Enter a Report Name.
b)If different from the default, enter or navigate to the report Output Folder.
Now you can Run the report immediately or Save the report to run at a later time from the Job List section.
The report will be processed and when complete, the it will be available at the specified output location. Additionally, more verbose data will be recorded in the Report Manager. The resulting output file will be a Microsoft Office document type (i.e. docx).
Using the Search Function
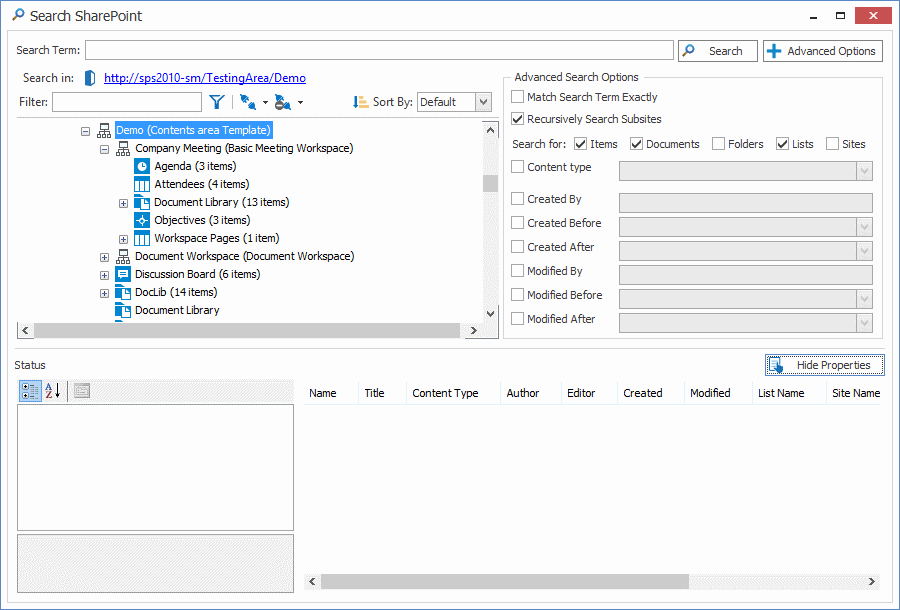
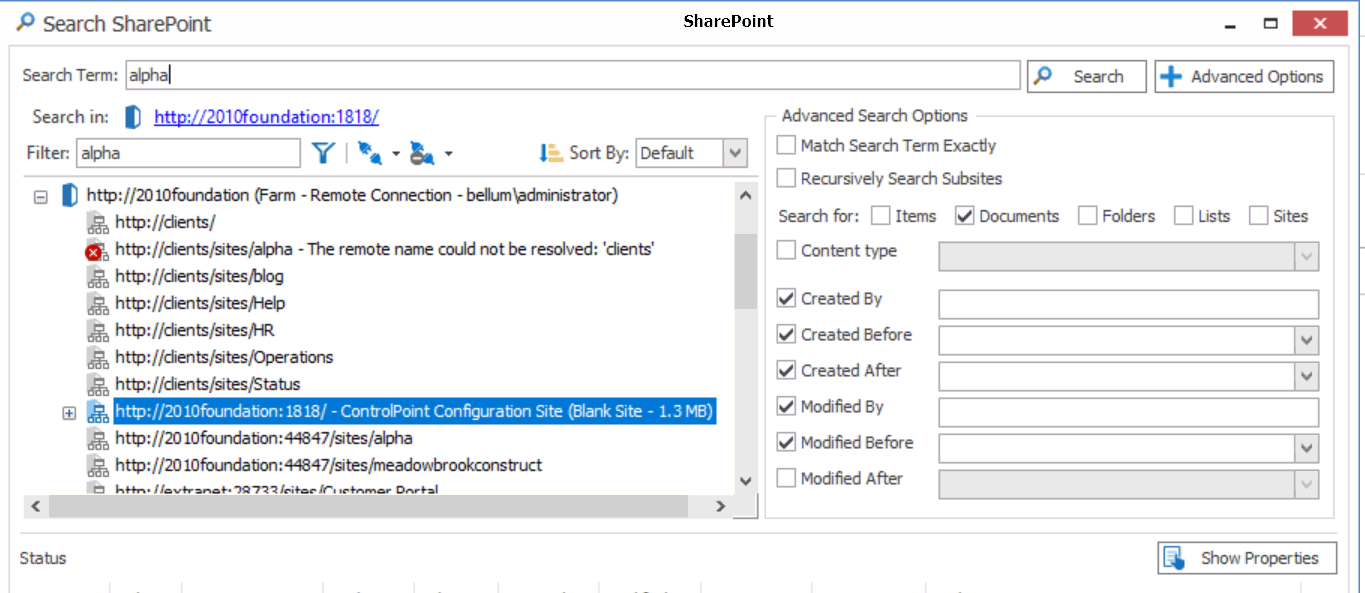
This search feature allows you to do a search through a File Share connection orthe top-level node of a SharePoint connection for sites, lists, folders, and files. Filters can also be applied to the search criteria using the four main metadata fields (Created, Created By, Modified, Modified By) as well as content types. The search results can be sorted through, and you can view each returned item's properties. You can also run actions on returned items using the right-click menu.
NOTE: In addition to the Search feature, the Find feature can be used on File Share sources from the Items View tab.
To run a Search:
1.In Explorer View, select the connection in which you want to search.
2.Right-click and choose Search.
3.Enter a Search Term/Filter and/or click [Advanced Options] and select any additional criteria you want to use.

4.Click [Search].
All the results of the search display in the bottom pane. Select a result from the list to:
·View the metadata field properties for a selected item (by clicking [Show Properties]).
·Perform an action on a selected item (by right-clicking it and choosing the action).


