This page explains how to configure your Site to use the Object Validation workflow.
|
|
These instructions assume you have already enabled Workflow in Evolve. |
|---|
In order to use the Object Validation workflow, you must choose which Object Types from your Model you want the process to be applied to.
The workflow can work with the standard validation properties on objects, or with your own custom properties you may want to use - but the meta data must be identical on each Object Type.
Users will not be able to request object validation on any Object Page where the Object Type is not configured correctly.
The Object Validation workflow requires two Property Types on each Object Type, plus an optional third property:
A Check Box property - which is set to True when the object is approved for validation.
A Date/Time property - which is set with the date/time when the Task is completed and the validation request is approved.
A Multi-Line Text property (optional)- which is used to list the names of the Users who were requested to validate the object.
|
|
If you create custom Property Types to use, they must have matching Scriptnames for each Object Type. |
|---|
To configure your Site to enable Object Validation:
In evolve designer, select the Deployments > Model node.
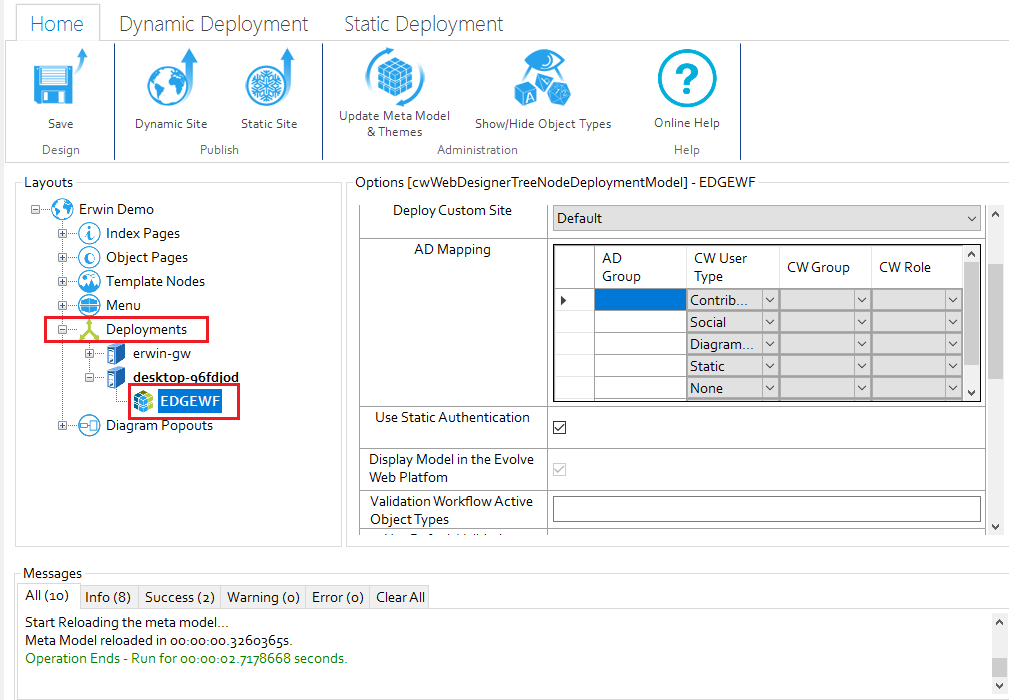
Complete each of the following settings:
|
Setting |
Description |
|---|---|
|
Validation Workflow Active Object Types |
Enter the Scriptnames of each Object Type you want to enable the Object Validation workflow for. Separate using commas. |
|
Use Default Validation Property Types |
Select this option if you want to use the standard Validated and Validated Date properties for the Workflow Validated and Workflow Timestamp properties below. Choosing this option completes the next two fields automatically. |
|
Validation Workflow Validated Property Type |
If you want to use a custom property to record if the object is validated or not, enter the Scriptname of the Check Box Property Type you want to use. |
|
Validation Workflow Timestamp Property Type |
If you want to use a custom property to record the validated date, enter the Scriptname of the Date/Time Property Type you want to use. |
|
Validation Workflow Validated By Property Type |
Optional If you want to record the names of the users who validated the object, enter the Scriptname of the Multi-Line Text Property Type you want to use for this purpose. |
Save and Publish your Site.
To update meta model for models already configured for Advanced Workflow:
Start Evolve Designer.
Click a model. For example, EDGEWorkflow.
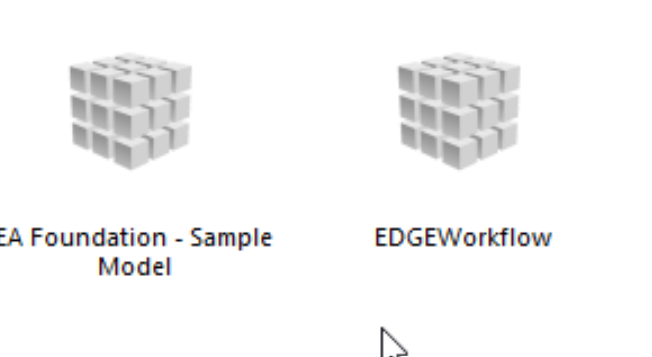
Click Erwin Demo.

An Evolve Designer window opens.
You will receive the below error message when you click on 'Update Meta Model & Themes'. To fix this error, you need to first update meta model.

To update meta model:
Expand Erwin Demo > Object Pages.
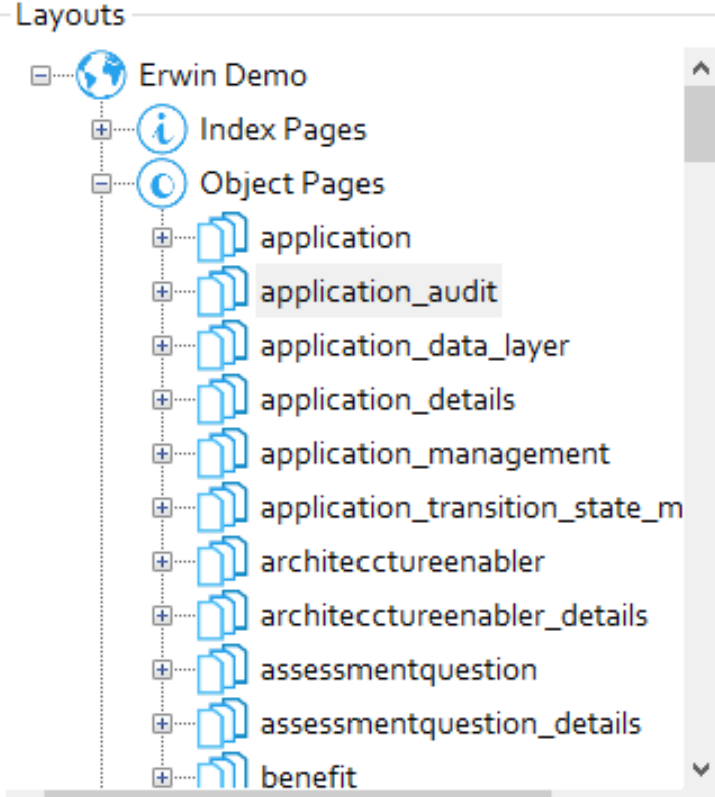
Right-click cwworkflowitem and click Delete.
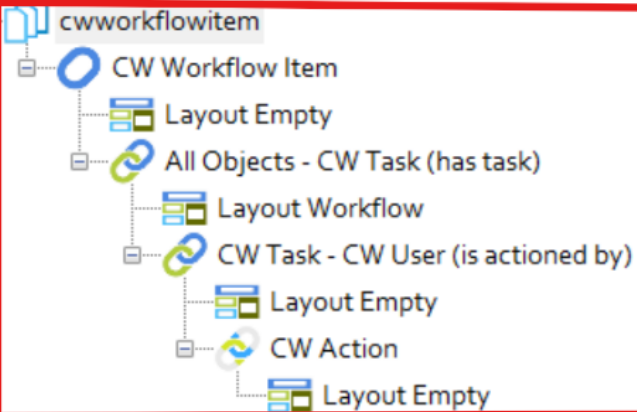
Click Update Meta Model & Themes.
Click Save.
Click Dynamic Site.
Deleting an index page without unlinking it from the menu leads to an error. To fix this error, follow below steps:
To delete “z_custom_layout_configuration” index page and unlink from menu:
Expand Erwin Demo > Index Pages.

Right-click z_custom_layout_configuration and click Delete.

Expand Menu > Configuration.
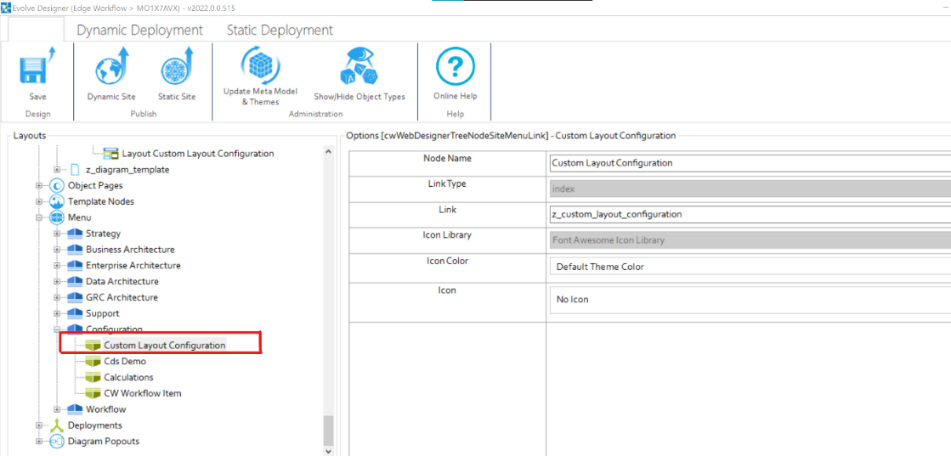
Right-click Custom Layout Configuration and click Delete.

Click Save.
Click Dynamic Site.