Restore a Site Collection
Follow the steps described below to restore site collections:
1.From the Management Console workspace selector click Granular Restore.
2.In the Granular Restore pane, select a farm and then select Mounted Databases.
3.Click the Restore tab.
4.In the ribbon, select a Restore Type: In-place, Out-of-place or Local.
5.In the Backup Sets pane, click the backup set from where you want to restore content.
6.In the Backup Content area, select the check boxes for the site collection to restore. You can also use the search box to search for the site collection that starts with the expression entered in the search box.
7.In the ribbon, click Restore. Depending on your choice of Restore Type, the In-Place Restore Wizard, Out-of-Place Restore Wizard or Local Restore Wizard opens.
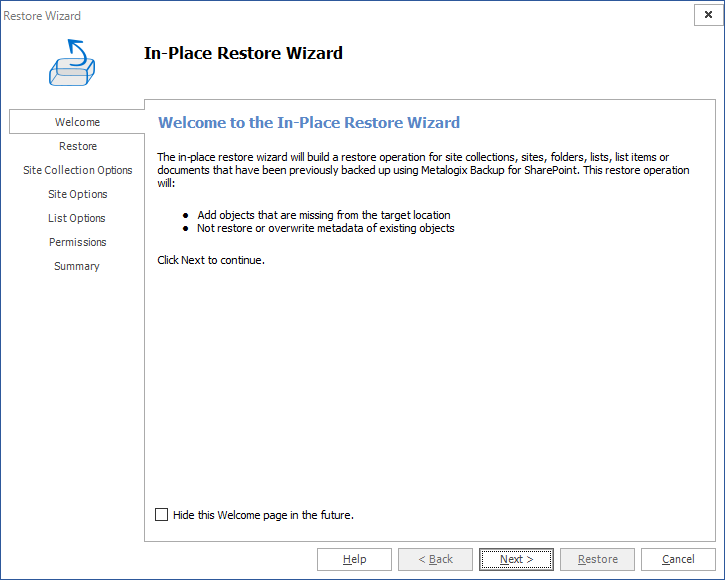
8.In the Welcome step you can select the Hide this Welcome page in future to skip this step the next time you invoke the wizard.
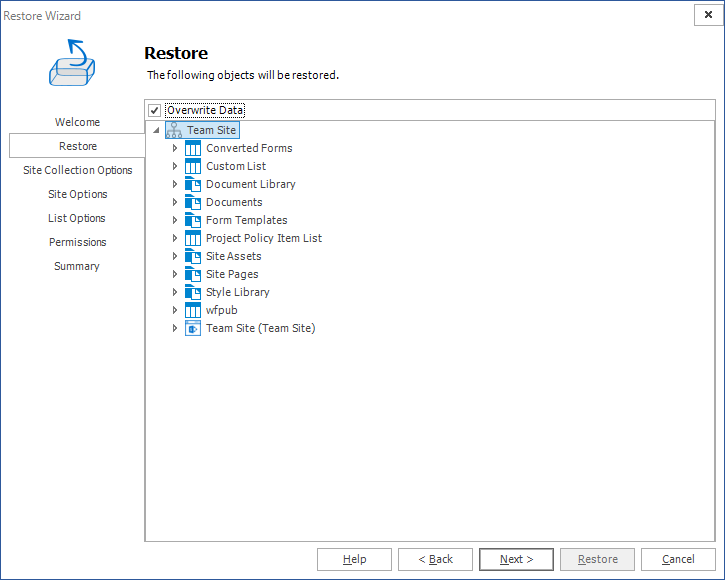
9.Click Next. The Restore step appears. Review the objects to restore. If you want to overwrite all the objects that will be restored, then select Overwrite Data.
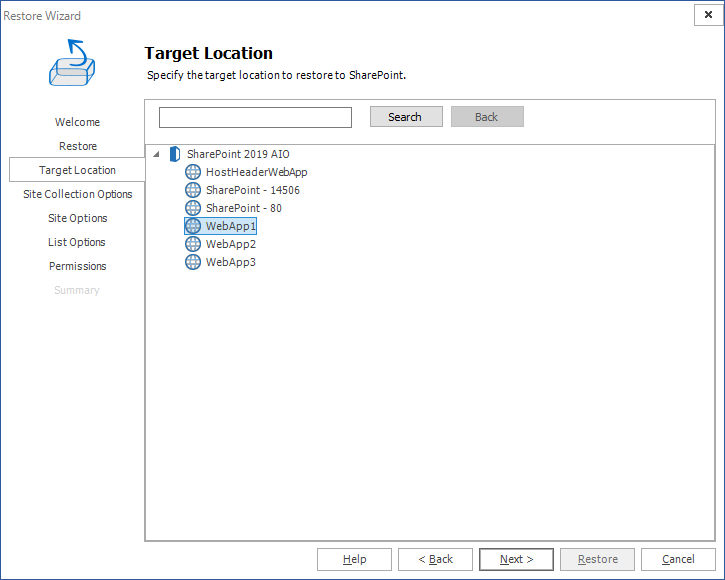
10.Click Next. The Target step, specify the target location for where you want your restore to occur (this option is only available when the restore is done out-of-place or to a local folder). You can specify a target in the search field when you have a large number of targets.
|
|
NOTE: This option is only available when you perform an out-of-place restore, or a restore to a local folder. For in-place and out-of-place restore types, Metalogix Backup for SharePoint displays a tree selection model based on the objects you selected to restore so you can select only valid places to restore those objects. You must have the appropriate permissions in the target SharePoint site. For the local restore type, specify the folder where you want Metalogix Backup for SharePoint to restore the local copy of the files. For more information and additional important considerations, see About the granular restore process. |
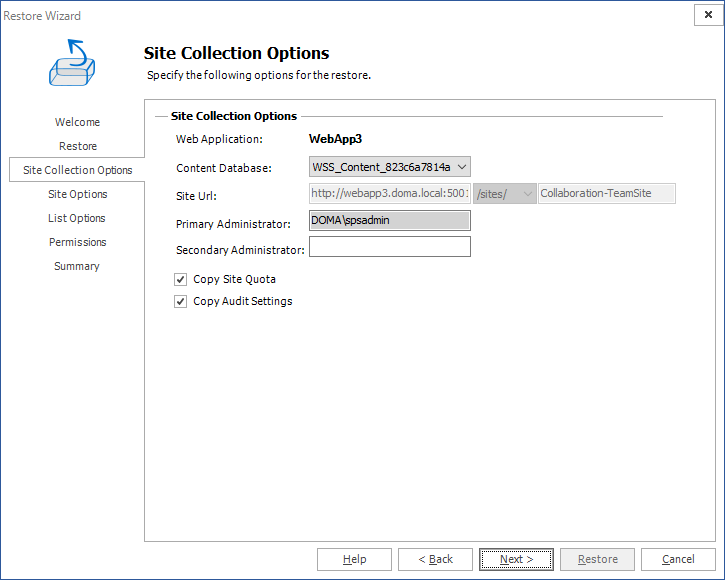
11.Click Next. The Site Collection Options step.
Choose from the following options:
a.Web Application: Refers to the web application were the site collection is going to be restored. By default this field shows the Web Application that was selected on the target location step.
b.Content Database: If the web application has several content databases, the end user must select the one where the site collection information is going to be stored. The default value is the first content database on the list of available content databases for the selected web application.
c.Site URL: Formulate the URL for the restored Site Collection. By default the sites value is filled with the information from the source, but the user can modify this. The last value entered needs to be a valid site name path.
d.Primary Administrator: Represents the administrator of the site collection. By default the value is filled with the information from the source but the user can modify it for another administrator.
e.Secondary Administrator: This is an optional field. Represents the value of the secondary administrator ID for the site collection that is to be restored. By default the value is filled with the information from the source but the user can modify it for another administrator.
f.Copy Site Quota: This check-box option allows for the copying of the Site Quota, configured for the site collection when it was backed-up.
g.Copy Audit Settings: This check-box option allows for the preservation of a SharePoint Site Collections audit settings.
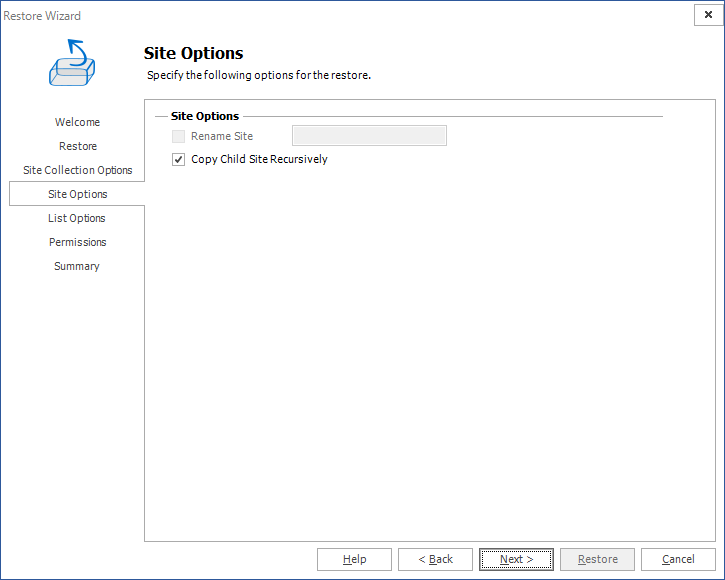
12.Click Next. The Site Options step appears.
Choose from the following options:
a.Rename Site: (enabled only in the out-of-place restore wizard or if restoring to a local folder) Gives a new name for the Site on the destination. If this option is checked, the text box on the right is enabled and then a valid name for a site must be entered.
b.Copy Child Site Recursively: This option allows child Sites to be copied recursively, down through any existing levels.
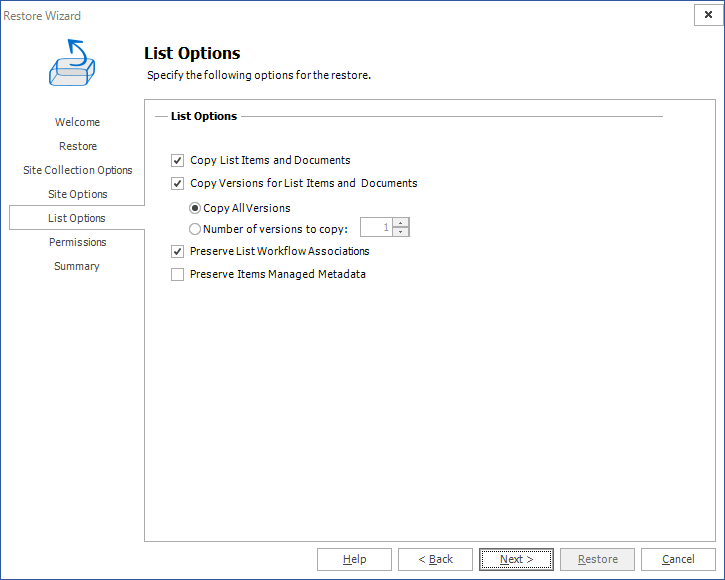
13.Click Next. The List Options step appears.
Choose from the following options:
a.Copy List Items and Documents: Include the content of the selected site to be restored on the destination. If this option is not checked, then just the basic structure for a site will be restored. This option is automatically selected
b.Copy Versions for Lists Items and Documents: This option allows users to include major and/or minor versions of the content. For this feature to work, versioning must be enabled on the target destination. By default Copy all versions is selected. If the end user wants to copy only some of the versions, they must check the radio button Number of versions to copy and enter the number of version to use on the restore.
c.Preserve List Workflow Associations: choose whether you would like to preserve list workflow associations. This option is automatically selected.
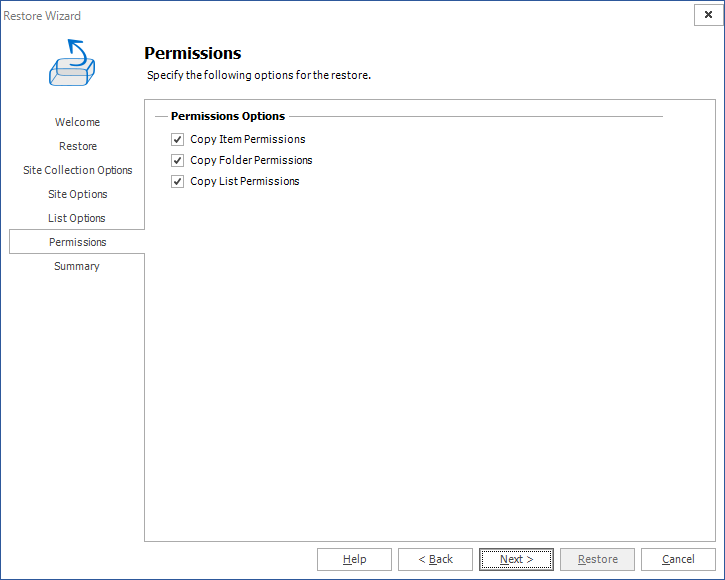
14.Click Next. The Permissions step appears.
Choose from the following options:
a.Copy item Permissions: Permissions unique to the specific list or library items are going to be restored.
b.Copy Folder Permissions: Permissions unique to the folder and child folders are going to be restored.
c.Copy List Permissions: Permissions unique to the lists are going to be restored.
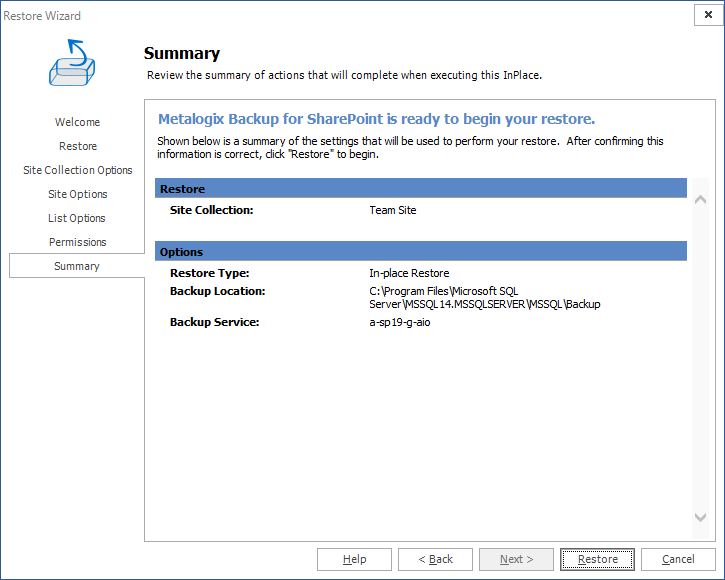
15.Click Next. The Summary step appears.
16.Review the restore settings and click Restore. Open the Operation Queue tab to see the progress of the granular restore.
Confirmation
1.Click the Overview tab.
2.Select the completed operation. Details about the granular restore operation are presented in the Operation Details pane.
3.Open a web browser and navigate to the SharePoint web application to determine that the site collection exists on the web application.

