-
제목
How to configure Evolve with Active Directory -
설명
How to configure Evolve with Active Directory -
해결 방안

1 Introduction
The purpose of this document article is to guide you in the connection of Evolve with the client’s Active Directory.
2 Background Preparation
Before proceeding with the connection, there are some preparatory steps you need to complete, in Corporate Modeler, Evolve and in the client’s Active Directory configuration in order for the synchronization to work.
2.1 Casewise Modeler
2.1.1 Configuring CW Roles:
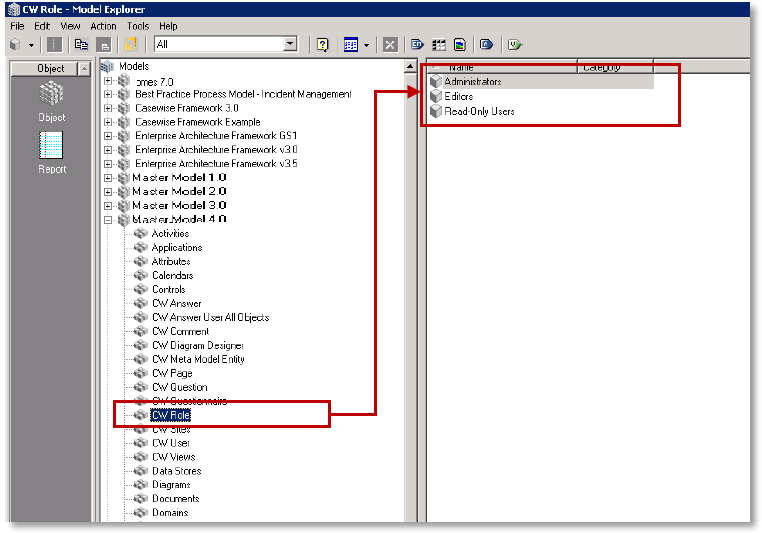
Launch Model Explorer and create two (2) distinct objects within the CW Role object.

You can create as many roles as you want, but make sure that two of them can be used as generic roles for all incoming users. For example, you can create a role named “Read-Only Users” (which will ultimately contain all Social Users) and another called “Administrators” (or “Contributors”) (which will ultimately contain all Normal Users).
2.1.2 Connecting Roles to CW Views:
At this point, you should connect those default roles to the appropriate views to define which pages each user group will be able to access once logged in. To do this please refer to the Evolve user guide by logging in to https://my.casewise.com and downloading it.
If you choose not to connect any views to the roles, then both roles will be able to view the exact same pages.
2.2 Client Active Directory
2.2.1 Creating new AD groups:
You need to arrange with your customer’s system administrator to create two (2) distinct groups within their Active Directory. They can choose to name them anything they want, but should keep those names distinct and recognizable so they can then be connected to Evolve.
2.2.2 Adding users to the AD Groups:
The client system administrator should then, in conjunction with your main contact within the client, ensure that the appropriate number of users is added in each group.
3 Active Directory Connection
3.1 Changing Authentication mode
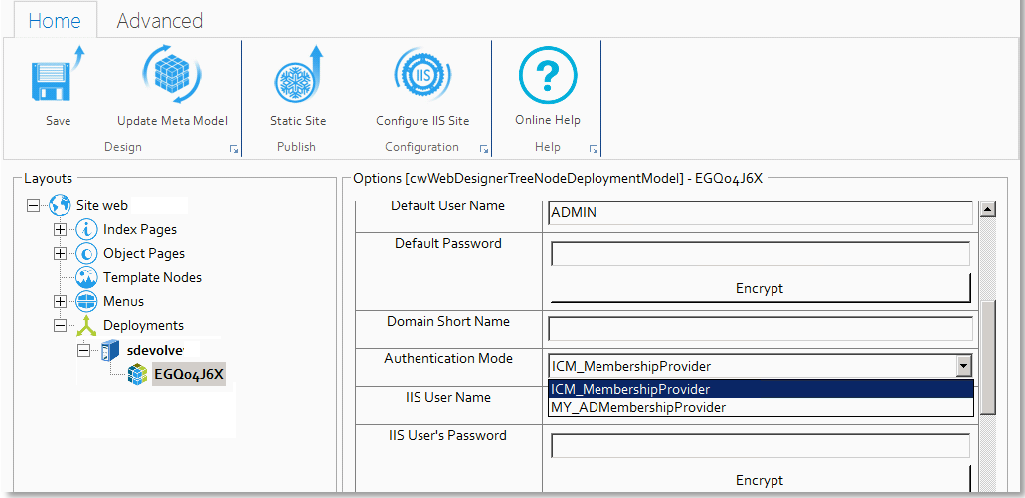
Launch Evolve Designer (in Administrator mode) and navigate to the last level of the Deployment Node. In the Authentication Mode drop-down list, switch the default value (ICM_MembershipProvider) to "MY_ADMembershipProvider".

3.2 Configuring the AD Connection Path
Scroll down to the AD connection section.

To find the correct syntax for the Active Directory domain:

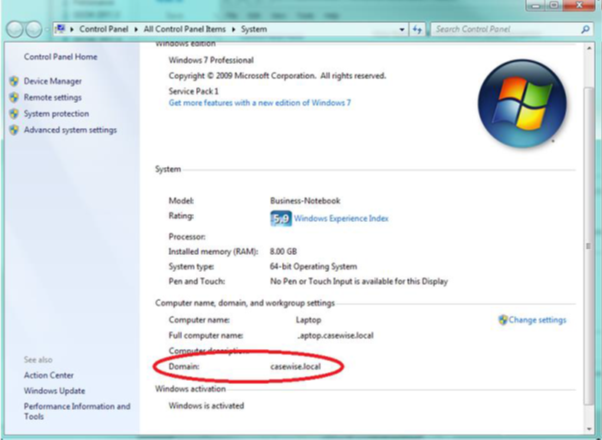
Right-click onto the server/ computer and go into Properties. The domain name should be visible at the bottom.
In this example (Casewise.local) the connection path would be: "LDAP://casewise.local/DC=casewise,DC=local"
Note: for every parameter in the domain, you need to add a “DC=”.
Example: for the domain Casewise.UK.Test.local, the correct syntax for the Evolve configuration is: "LDAP://casewise.local.UK.TEST.Local/DC=casewise,DC=UK,DC=Test,DC=local"
3.3 Adding the AD Connection Username
Here you can specify any valid Domain Username and Password, if needed this will be used by Evolve to read the Active Directory to get the groups\users names
3.4 Connecting the distinct AD User Groups
To get the address for each AD group (the ones you created in 2.2.1 above):
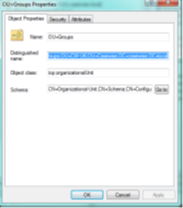
Launch ADExplorer (from Microsoft – more information here) and navigate to each group in return. From each one you need to get its Distinguished Name:
Copy each group’s Distinguished Name into the appropriate field in the Evolve designer, making sure you place the right path to the right group (to ensure consistency – Evolve will work even if the paths are wrong, but you will end up with unexpected behavior).


3.5 Connecting the Evolve User Groups
Once the AD paths have been entered, please select the AD default role names (from the drop-down lists) to the corresponding CW Roles you created in 2.1.1 above.

Through this functionality, each user coming from their respective AD groups will be automatically added into the appropriate groups within Corporate Modeler and be awarded the access rights defined in 2.1.2 above.
