Options
AMAC preferences set through Options and Settings apply if no specific archive settings are selected. There are many preferences which you may configure to your needs. They include, for instance, compressing of emails and their attachments, setting up the default retention category depending on e.g. legal requirements, activating direct archiving, managing roles for different users etc. Settings having been specified under Tools > Options and Tools > Settings are used as the default for manual as well as automated archiving.
Tools/Options
Run Archive Manager for Exchange (click Start/Programs/Metalogix/Archive Manager for Exchange). In the Archive Manager for Exchange click on the Tools menu, and then click on Options to open the Options window. Here, on different tabs you may set your AMAC preferences.
Server settings
Server role tab
Archive Manager for Exchange is a product of high scalability and users can decide for various LAN solutions. Besides the simplest solution with one Archive Manager server, more complex configurations are possible, e.g.
·ONE archive server (server assigned Archive server role)
·retrieve server(s) (server(s) assigned Retrieve server role) and/or
·PST import server(s)
All in ONE Location, i.e. Location ID of all servers is "1.
|
|
NOTE: In case of large organizations scattered around the globe, Archive Manager for Exchange provides you with the possibility to configure several Locations, i.e. several Archive Manager Archive servers distinguished by a unique identifier the LocationID. (For more information on Locations and LAN configurations see the "Full Install Guide for Archive Manager.) |

Recommendation
·When more than 1000 mailboxes are being archived, we recommend dedicating a separate machine as Archive Manager Retrieve server besides the Archive Manager Archive server
·Maximum 3000 mailboxes can be archived with one Archive Manager Archive server. For more mailboxes it is necessary to install another Archive Manager Archive server, i.e. to create a new location with a new location number
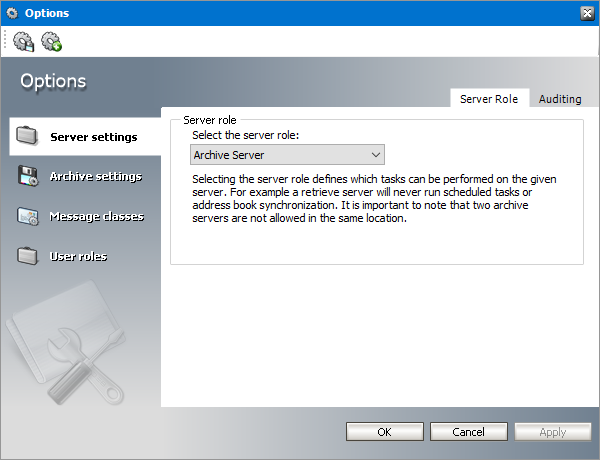
As you can see each server has its role in the environment. This server role has to be assigned to the server on this tab in the Server role down-drop box. Possible server roles are:
·Archive server (only 1 Archive server per location is allowed)
·Retrieve server
·PST Import server
After you have assigned roles to your servers it is necessary to register them on the Locations tab of the Archive Manager for Exchange (see the section "Locations tab).
|
|
IMPORTANT: If there is only 1 Archive Manager for Exchange server in the environment, it has to be assigned ARCHIVE SERVER role. |
Auditing tab
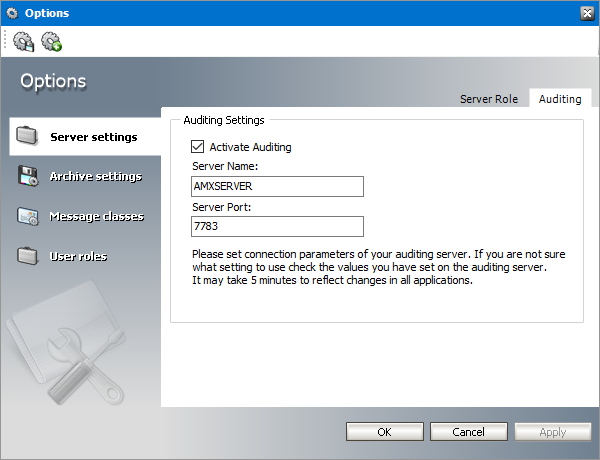
If Auditing feature was installed, you need to activate it on this tab. To activate auditing, check Activate Auditing check box. In the Server Name enter the name of the machine where the Auditing feature is installed and specify the Server Port (the default port is 7783). Click Apply.
|
|
NOTE: For more information on Auditing see the Auditing manual. |
Archive settings
Compression tab
On this tab you may specify your compression criteria. Compressing is then done "on the fly.
To specify compression criteria:
1.On the Tools menu, click Options.
2.In the Options window, click on the Archive settings tab.
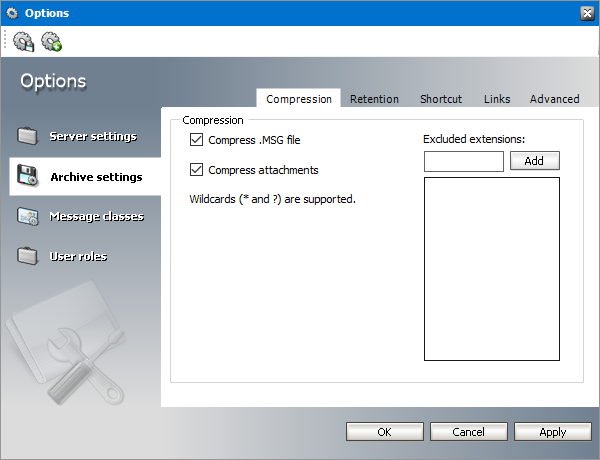
3.To compress .MSG files, simply select the Compress .MSG check box. To compress attachments, select the Compress attachments check box. If you have decided to compress attachments, yet wish to exclude some types of attachments from compression, you can specify that in the Excluded extensions text box the respective attachments will not be compressed (such as .zip files etc). Simply enter the respective extension in the text box and click Add. Do not forget to finish by clicking OK.
|
|
NOTE: When specifying Excluded extensions you can use the following wild card * which stands for any number of characters and ? stands for any single character |
Retention tab
For legal reasons some emails must remain retrievable for many years. Our email archiving solution uses the Hierarchical Storage Management system (HSM). HSM offers the possibility to organize documents in a logical way, e.g. some documents need to be stored for a longer period than the others. In the HSM system you may define different retention categories for each type of document (for example, one retention category for short-term documents and other retention category for long-term documents).
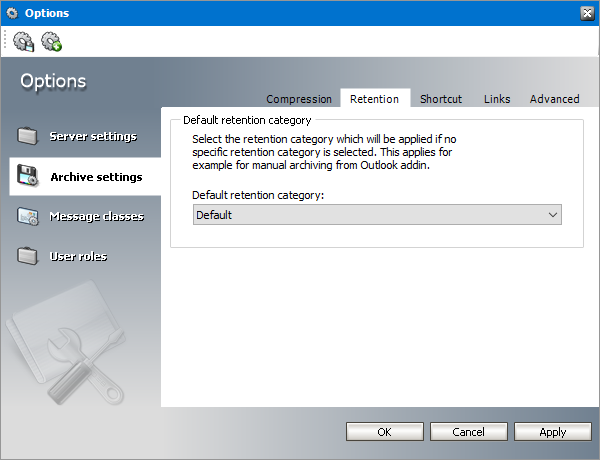
On this tab you may choose which retention category should be used as default for archiving items if no specific retention category is chosen. It usually applies for manual archiving using Archive Manager Client Addin.
However, every group or user can have its own default retention category assigned. This can be done on the Manager view/Settings/Group level retention tab (see the section Group level retention in the Settings tab chapter). Retention category set as default on this tab applies also to AMAC preferences on the aforementioned tab and vice versa.
|
|
NOTE: If you are running Archive Manager for Exchange for the first time, just one retention category is available. It is the default retention category created by the setup. Otherwise you can choose from all retention categories from the previous settings and you can also create your own on the Retention tab of the Manager view. |
For more information regarding retention categories see the topic Retention tab.
You may still archive email items under different retention categories (not the default one). That can be specified through jobs, since for each job you may assign either a desired retention category or the default one. This topic will be described later in the "Jobs tab section of the "Manager view chapter. Moreover, it is possible to choose the desired retention categories for an individual item when it is archived manually in the Archive Manager for Exchange (see the "Archive view chapter).
Shortcut tab
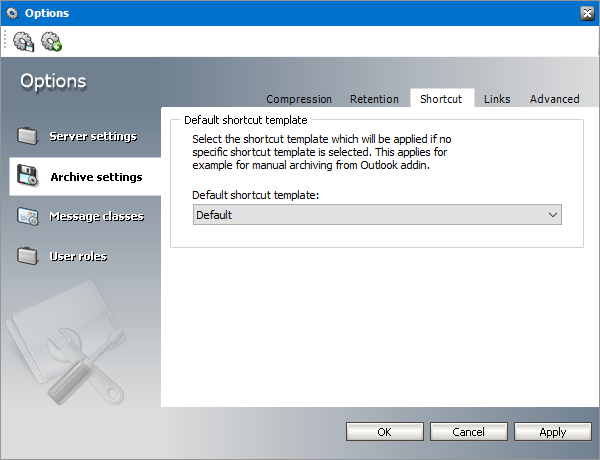
Here you can set the layout of archived emails shortcuts, i.e. you can set how the archived emails will be displayed in the Outlook preview pane. The layout and the type of shortcut are defined through templates. The template specified on this tab will be used in cases when no other shortcut template settings apply.
|
|
NOTE: Shortcut templates can be created under Manager view/Settings/Shortcut templates. Then they can be assigned to different users or groups under Manager view/Settings/Shortcut template assignment. |
In the Default shortcut template drop down box select a shortcut template from the available ones. Then click Apply.
Default shortcut template can be set also under Manager view/Settings/Shortcut template assignment. If the default shortcut template is changed there it is changed also on this tab and vice-versa.
Links tab
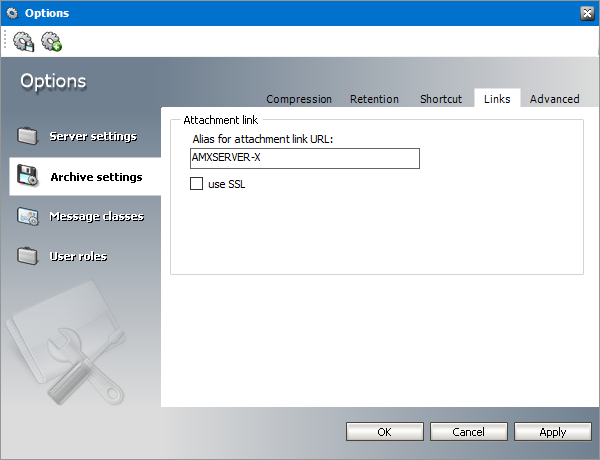
If you plan to use attachment links in shortcuts (either Create links for attachments or Generate an HTML shortcut from template option from the previous tab) you need to configure the link generator server on this tab.
In the Alias for attachment link URL enter the alias of your Archive Manager Archive server - the link generator server name. The ALIAS of your Archive Manager server can be accessed both from inside and outside the LAN.
|
|
NOTE: We recommend creating an ALIAS (DNS alias) for the Archive Manager Archive server. It will serve as a virtual name and changing the physical name of the Archive server will not affect the attachment links. |
If the https channel will be used, check the use SSL check box.
After modifying these settings click Apply. Then click Yes to restart the relevant service.
Advanced tab
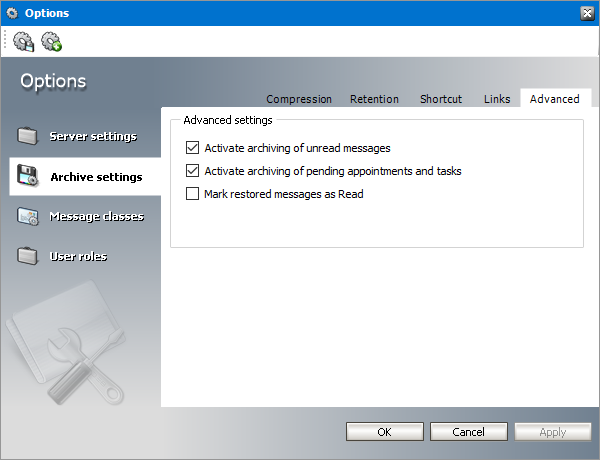
This tab offers additional archive settings:
Activate archiving of unread messages - clear the check box if you do not want to archive unread emails.
Activate archiving of pending appointments and tasks - clear the check box if you do not want to archive unfinished appointments and/or tasks.
Mark restored messages as Read - select the check box if you want to mark restored emails as Read.
Message Classes
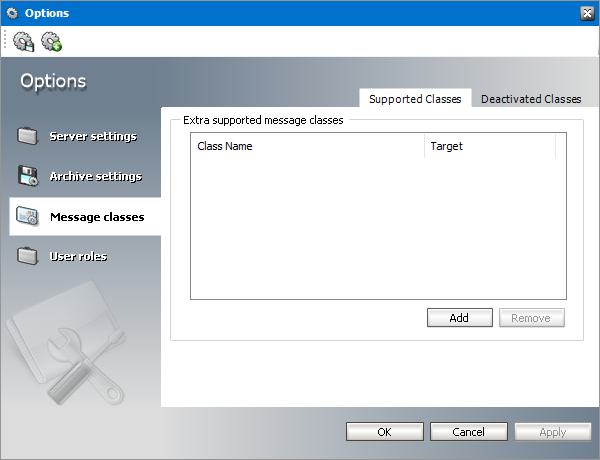
Supported Classes tab
Microsoft Exchange stores emails and other objects in its database. We are referring to these objects as items. Each item has its own message class, which defines the type of the item: message, post, appointment, etc. Since the handling of these items is different, different shortcuts are created for each item type. By default only some message classes are archived (IPM.Note, IPM.Post, IPM.Document etc.). Additional item types to be archived can be defined on this tab.
|
Message Class |
Description |
|
IPM.Note |
message |
|
IPM.Post |
message posted to a folder |
|
IPM.Fax |
a fax message |
|
IPM.Document |
a file added to the folder (the base class never appears, it always contains the file type, e.g. IPM.Note.Document.Word.8) |
|
IPM.Appointment |
calendar item; a recurring calendar item |
|
IPM.Task |
an Outlook task |
|
IPM.Contact |
an Outlook contact |
|
IPM.Activity |
an Outlook journal message |
|
IPM.StickyNote |
an Outlook sticky note |
|
REPORT.IPM.Schedule.Meeting.Request |
a meeting request |
For a complete list of message classes, please refer to:
http://msdn.microsoft.com/en-us/library/aa204771.aspx
The following message classes and its subclasses are supported message classes by default, i.e. they can be archived by Archive Manager for Exchange:
·IPM.Note,
·IPM.Post,
·IPM.Document,
·IPM.Fax
·IPM.Appointment
·IPM.Task
·IPM.Contact
|
|
NOTE: Make sure they are not deactivated on the Deactivated Classes tab, if you want to archive them. |
Archiving of calendar items (IPM.Appointment), contact items (IPM.Contact) and task items (IPM.Task) is supported with some limitations. When a shortcut is created from such item, it becomes read-only which prevents further modification of the item. It can only be modified by Archive Manager Outlook Addin. If these items change constantly, we recommend archiving these items with "Keep the original email or "Delay shortcut creation option (see "Retention tab part of the manual). Please note that recurring appointments and tasks are not archived.
If appointments are planned to be archived, it is a good idea to deactivate archiving of appointments which are not finished. It can be set on the Tools/Options/Archive settings/Advanced tab (Deactivate not finished appointment and task archivation option).
In addition to the default supported message classes you can define additional message classes which should be archived:
1.On the Tools menu click on Options.
2.In the Options window, click on the Message Classes tab.
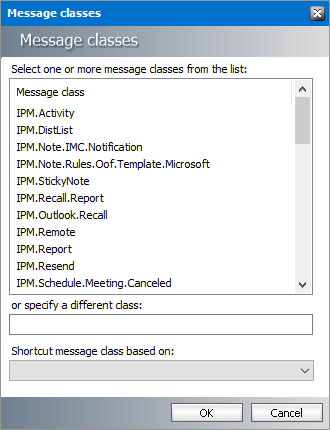
3.Click the Add button to open the message classes list. Select one or more message classes which you want to archive. You can also specify different message class in the text box below the list.
By default there is no need to fill in the Shortcut message class based on field. Leave this field blank or choose one option from the down-drop list. In this way you will define which type of shortcut will be created when the selected message class is archived. Please note that specifying of a new shortcut message class can have undesired effects. To get more information about this option, contact our support.
4.Then click OK.
5.Then click Apply.
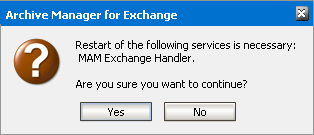
6.A message box appears that informs you that you have to restart MamExHandler service
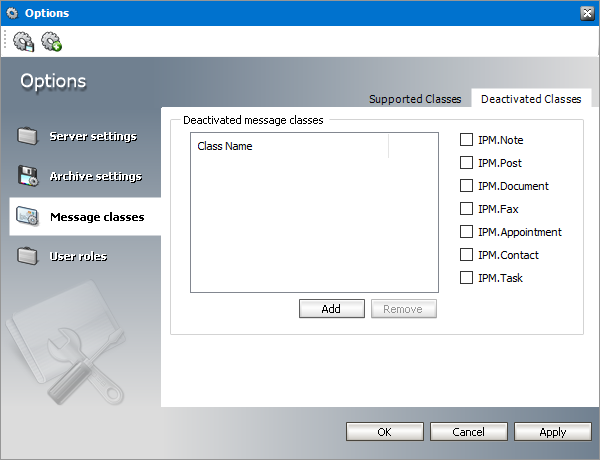
Deactivated classes tab
Classes which you specify on this tab will not be archived. You can either check the desired message class(es) or click the Add button to choose from the list of additional message classes. You can also specify different message class in the text box below the list. When you have chosen the desired message classes in the list, click OK, then click Apply on the Deactivated Classes tab.
|
|
NOTE: If a message class is specified on the Supported Classes tab as well as on the Deactivated Classes tab, it will NOT be archived. |