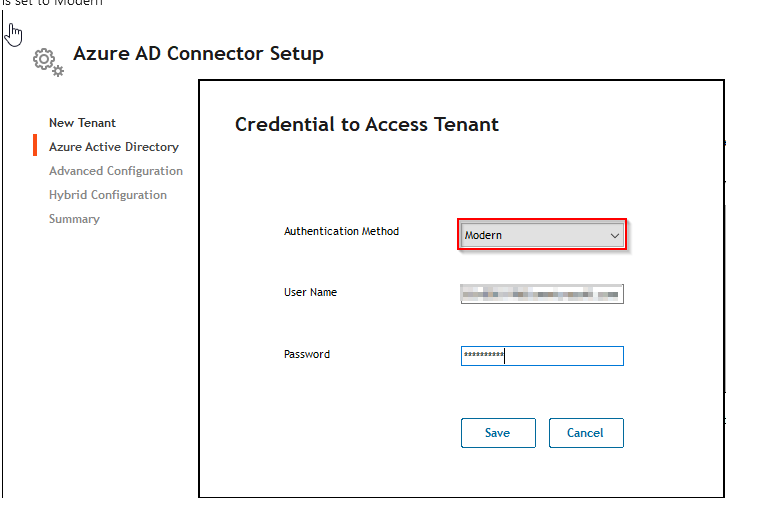
Add the Office365 tenant in the "C:\Program Files (x86)\Quest\Archive Manager\ConfigurationConsole.exe" > Azure AD and make sure Authentication method is set to Modern
eid=ka0RP000000A8yn&feoid=00N6R00000J0qH8&refid=0EM6R000004kxuS">
Once tenant is added navigate to: "C:\Program Files (x86)\Quest\Archive Manager\TaskSchedulerCreation.exe" and run as admin. This will create a scheduled task in Windows Task Scheduler:

Now you can start the ESM-Automation task. You will be prompted for the proxy account credentials to Office365. Once successfully logged in, the scanning of the mailboxes will start. It is not unusual for the scanning to fail on the first run. If this is the case, verify the following:
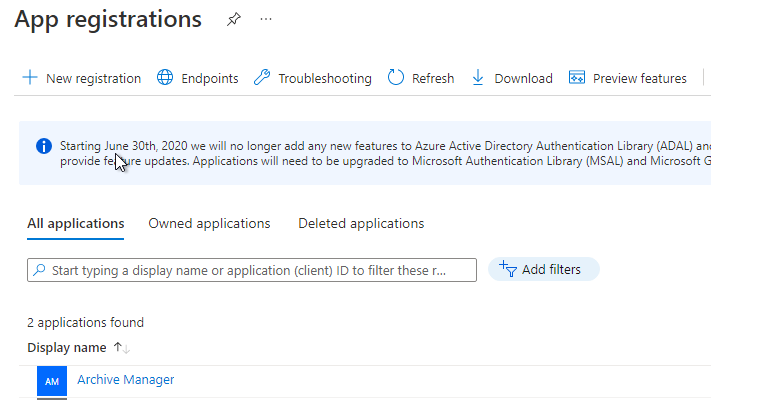
Switch to All Applications and click on Archive Manager

We use outlook MAPI to connect to Office 365 and archive the messages. In order to make sure the connection will work, first connect to the QAM server with the ArchiveMGR_ESM account and create a new outlook profile with the proxy account credentials. If you can open Outlook successfully, now you can copy the newly created outlook profile and create a new one following this naming convention:
~ArchiveManager.ESM. is the standard prefix
.User.1 is the standard suffix
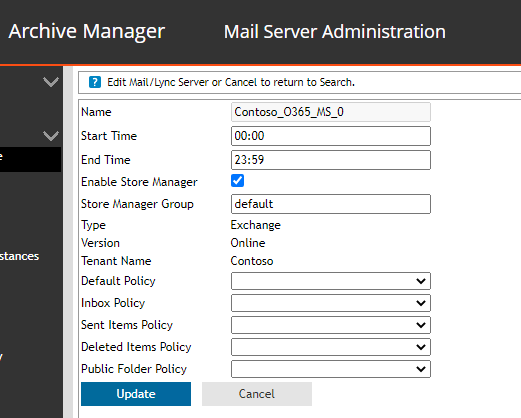
Contoso_O365_MS_0. this is the Mailserver name which you can find on the QAM Admin website under the mail servers tab.
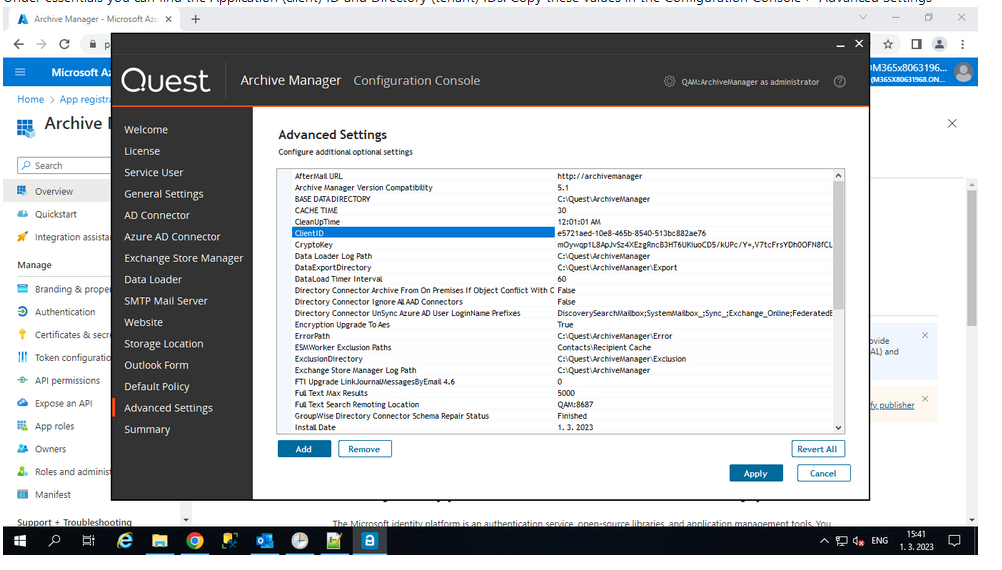
With the Client and tenant IDs and outlook profile configured, start the ESM automation task in windows task scheduler and the ESM should start archiving (exporting) messages.
