
Dependency Mapping Administration
This section provides procedures for creating and deploying agents to monitor the dependencies in your environment. It assumes that Foglight, the Agent Manager, and the Foglight for Application Operations cartridge (.car) file are already installed. For installation instructions, see the Foglight Installation and Setup Guide set, the Foglight Agent Manager Guide, and the Foglight Administration and Configuration Guide.
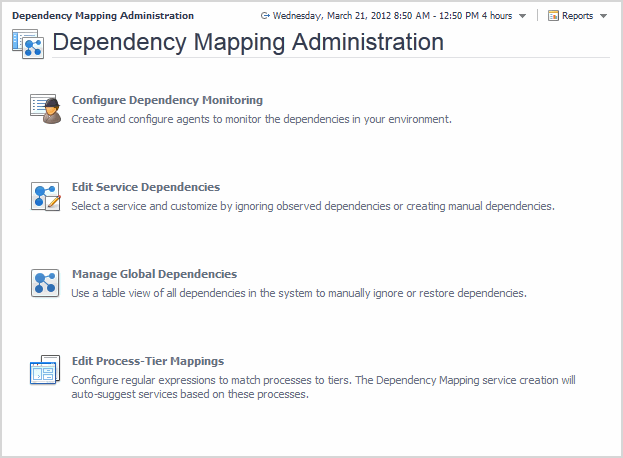
To access the Dependency Mapping Administration dashboard, in the Foglight navigation panel, under Dashboards, click Dependency Mapping > Dependency Mapping Administration.
Configuring dependency monitoring
The Configure Dependency Monitoring dashboard helps Foglight administrators to create and manage Netstat agents. To access this dashboard, click Configure Dependency Monitoring in the Dependency Mapping Administration dashboard.
Create a Netstat agent
To collect process-to-process details of a dependency between two hosts, the agent must connect to both endpoints of the conversation in the same scan. For a host to be monitored by an agent, it must be configured in that agent’s Scan these hosts list or in the Referenced List in the advanced setup (for details, see Configuring the referenced list ). The “referenced hosts” list is ideal for including groups of hosts which vary and can be identified by naming convention, or which may only be part-time participants in an application.
Quest strongly recommends that you exclude end-user access from Netstat collection. This can be configured in the Create a New Agent dialog, through the Exclude these hosts list (generally by entering an IP range) or by excluding ports accessed by end users. You can exclude dependencies to common end-user ports 80 and 443 from all hosts for a single agent by using the check box provided in the Create a New Agent dialog. You can exclude ports on specific hosts by editing the agent settings after creating the agent. For details, see Configuring the scanning list .
Creating a Netstat agent
|
1 |

|
• |
Scan these hosts — list the hosts that you want the Netstat agent to scan every time it runs. The list can include host names, host IPs, or IP ranges for the hosts to be included in the scanning. |
|
• |
Exclude these hosts (optional) — list the host names, host IPs, or IP ranges for the hosts that the Netstat agent should exclude from the scan. The exclude list should be used for hosts which have connections to hosts in your scan list, but which are not actual dependencies. Examples may include: backup systems, virus file definition servers, end user subnets. |
|
• |
Ignore HTTP (port 80) and HTTPs (port 443) connections — Select to exclude from monitoring the traffic going through ports 80 and 443 of all hosts specified in the Scan these hosts box. |
|
3 |
In the Credentials section, define the agent’s credentials for scanning the selected hosts. |
|
• |
User Name — defines the user account that can log in to the selected hosts and run the netstat command for scanning these hosts. |
|
• |
Password and Confirm Password — specify the account password. |
|
• |
Domain (for Windows credentials only) — specifies the domain for the selected user name. |
|
• |
Description — provides a short description of the credentials and their purpose. |
|
• |
Store your credentials in this lockbox — select a lockbox from the available options. A lockbox stores credentials to be assigned to an Agent Manager so that they can be used by all the agents in that Agent Manager. |
|
• |
Select the This is a challenge credential check box when you want to simulate a user logging in using a keyboard. This is necessary when the password authentication is disabled on the target hosts. |
|
4 |
In the Agent Details section: |
|
• |
Deploy on client — select the remote client on which you want to deploy the new Netstat agent. |
|
• |
Agent name — type a name or a short description for the new Netstat agent. |
|
• |
Activate now — select if you want to activate the agent when it is created; clear the check box if you want to activate the agent later. |
|
5 |
Click Create agent. |