AWS S3 or Scality S3
To create a store:
1.Open the Configuration tool from Start > Quest > Archive Manager Configuration or C:\Program Files (x86)\Common Files\PAM\PAMConfig\PAMConfig.exe
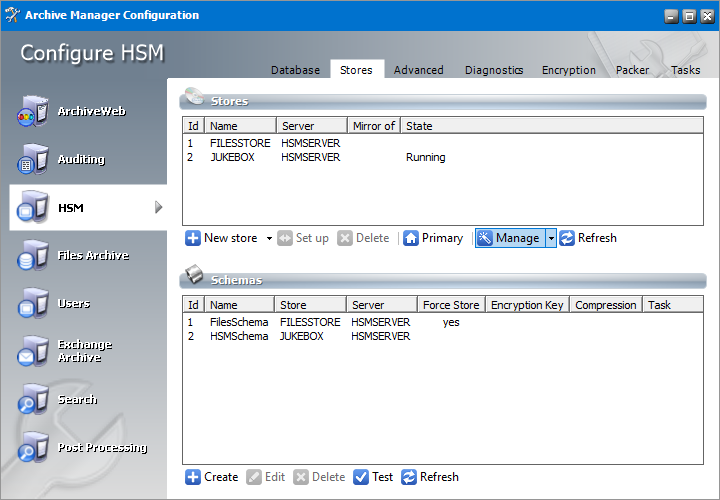
2.Select HSM from the features panel.
3.Click the Stores tab.
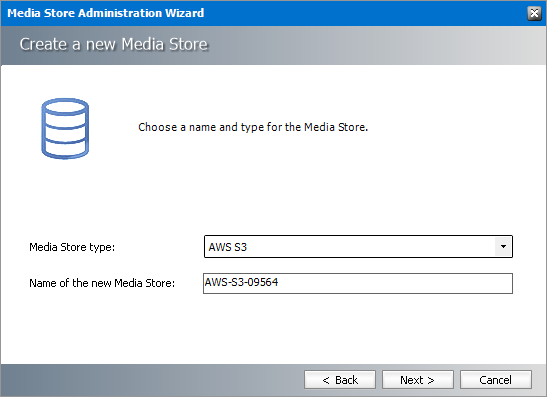
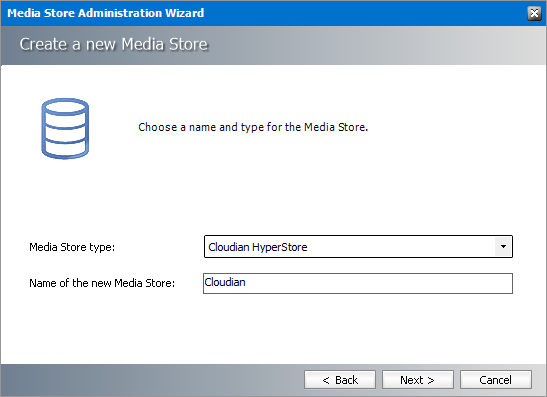
4.Click New Store from the Stores section. The Create a new Media Store wizard starts.
Enter the information as described below:
a.Media Store Type - select AWS S3 or Scality S3 from the drop down list.
b.Name of the new Media Store - enter a unique name for this store.
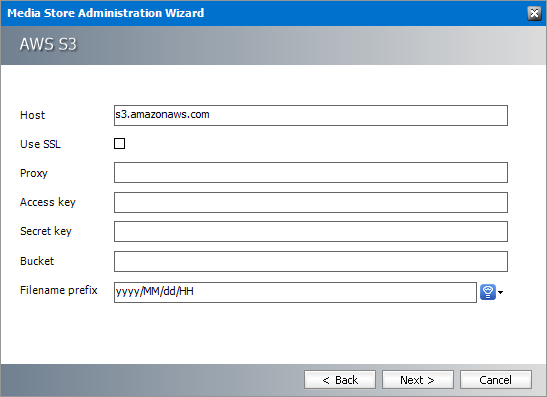
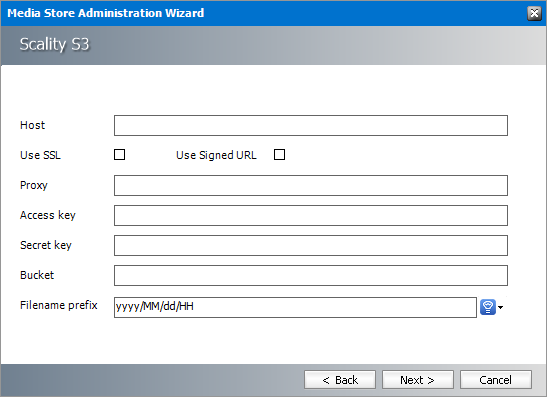
5.Click Next. The Media Store Administration Wizard step for the AWS S3 or Scality S3 opens.
For AWS S3
For Scality S3
To set up the connection enter your AWS S3 store credentials:
a.Host - FQDN of the S3 host server.
b.Use SSL - select this check box to use SSL.
c.Use Signed SSL - only for Scality S3. Select this box to use a self signed certificate for your local Certificate Authority.
d.Proxy - FQDN of the proxy server if there is a proxy server that is used in your organization to access external web servers.
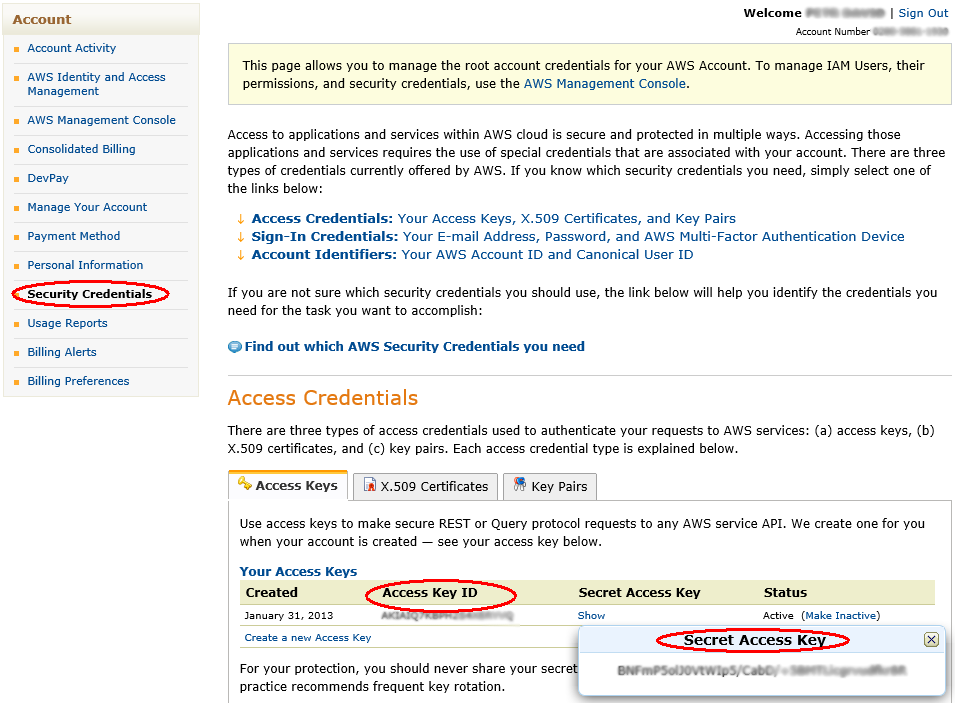
e.Access Key and Secret Key - unique to a customer. This information can be found on Account Management portal under the Security Credentials as shown below.
f.Bucket - needs to be created first and the name should be provided when configuring the media store.
g.Filename prefix - a unique prefix that you can create for each item stored in the media store. To construct a date type prefix, click 
6.Click Next.
Enter the information as described below:
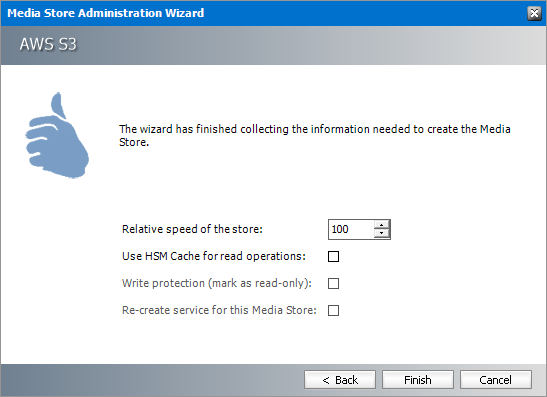
a.Relative speed of the store - the relative speed of this store compared to other stores.
b.Use HSM Cache for read operations - select this check box to allow HSM to use its internal cache to copy files during read operations.
c.Write protection (mark as read only) - not supported for this store type.
d.Re-create service for this Media Store - not supported for this store type.
7.Click Finish.
8.Restart HSM services.
9.Verify that the media store appears in the Stores section.
10.Create a Schema for this media store.
Cloudian HyperStore
To create a store:
1.Open the Configuration tool from Start > Quest > Archive Manager Configuration or C:\Program Files (x86)\Common Files\PAM\PAMConfig\PAMConfig.exe
2.Select HSM from the features panel.
3.Click the Stores tab.
4.Click New Store from the Stores section. The Create a new Media Store wizard starts.
Enter the information as described below:
a.Media Store Type - select Cloudian HyperStore from the drop down list.
b.Name of the new Media Store - enter a unique name for this store.
5.Click Next. The Media Store Administration Wizard step for the Cloudian HyperStore opens.
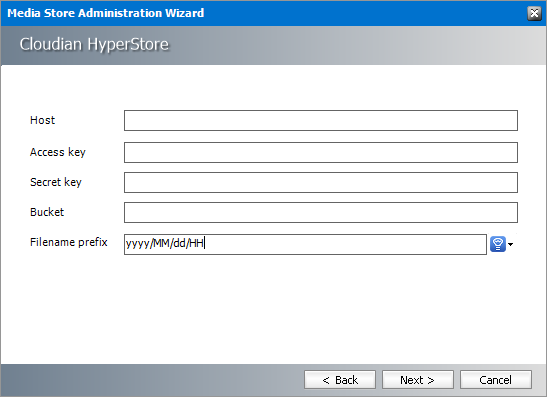
Enter the information as described below:
a.Host - FQDN or IP address of the Cloudian HyperStore server.
b.Access key - Access key configured in Cloudian HyperStore instance.
c.Secret Key - Secret key configured in Cloudian HyperStore instance.
d.Bucket - Logical entity similar to file folders which store objects that consist of data and its descriptive metadata that is configured in Cloudian HyperStore instance.
e.Filename prefix - a unique prefix that you can create for each item stored in the media store. To construct a date type prefix, click 
6.Click Next.
Enter the information as described below:
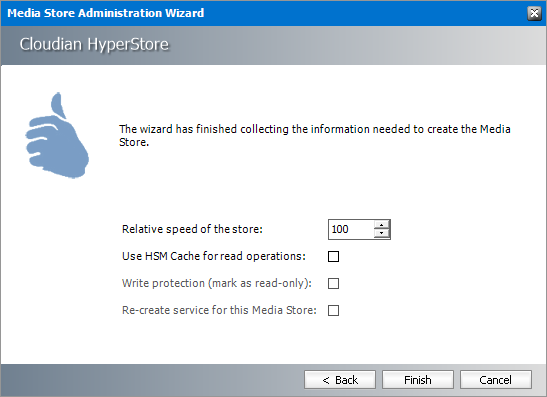
a.Relative speed of the store - the relative speed of this store compared to other stores.
b.Use HSM Cache for read operations - select this check box to allow HSM to use its internal cache to copy files during read operations.
c.Write protection (mark as read only) - not supported for this store type.
d.Re-create service for this Media Store - not supported for this store type.
7.Click Finish.
8.Restart HSM services.
9.Verify that the media store appears in the Stores section.
10.Create a Schema for this media store.
Modifying Media Store Settings
To modify the store settings:
1.Open the Configuration tool from Start > Quest > Archive Manager Configuration or C:\Program Files (x86)\Common Files\PAM\PAMConfig\PAMConfig.exe
2.Select HSM from the features panel.
3.Click the Stores tab.
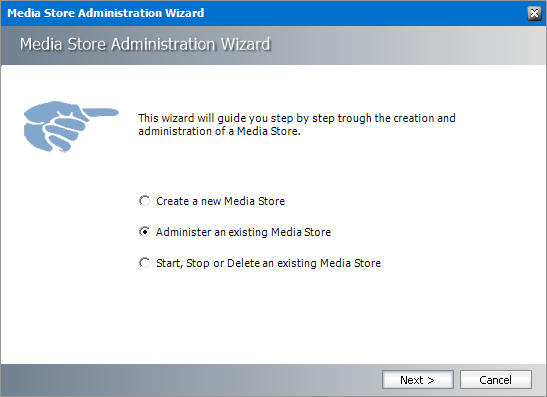
4.Click Manage.
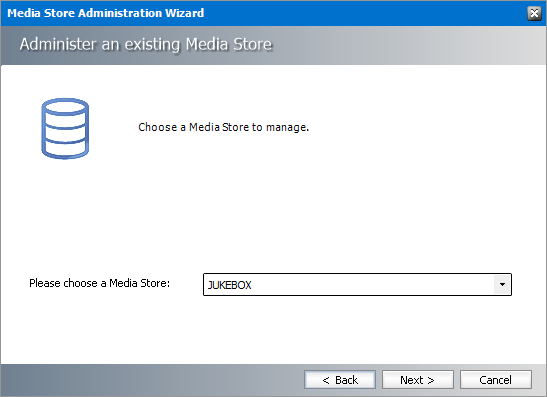
5.Click Next. The Choose a Media Store to manage window opens. Select the media store from the drop down that you want to manage.
6.Click Next. Sometimes a warning message can appear. For example, the service for a media store like Jukebox, Harddisk, Network Share must be stopped first. Only then it can be modified. All other kinds of stores run directly in HSM and HSM services must be restarted after the changes have been applied.
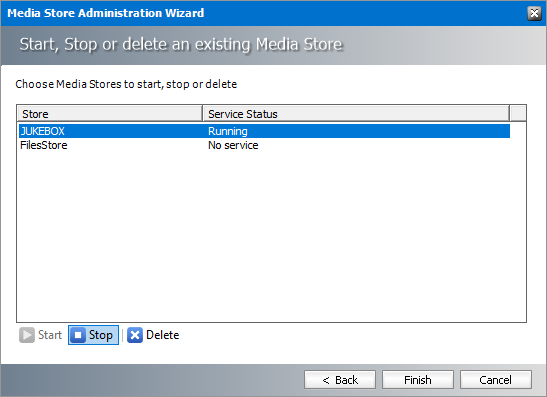
7.Click OK. Click the Back button and select Start, Stop or Delete an existing Media Store.
8.Click Next. The Start, Stop or Delete an existing Media Store window opens.
9.Select the store and click Stop. Wait for the service to stop and then click Finish.
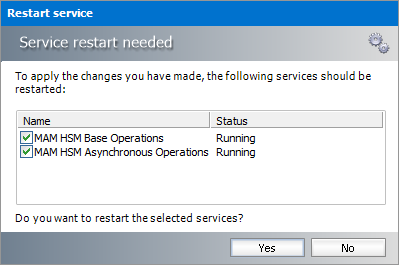
10.The Service restart needed window opens.
11.Click Yes to restart the services. Then start over again and modify the settings.
12.If you modify settings for stores that need running services, you must start the service again.

