
返回
-
标题
Simple HSM Store Creation and Transferring Archiving to a New HSM Store -
说明
HSM Store has grown in size and the location where it is stored is running out of space
-
原因
Disk space exhausted, new location necessary, or new HSM store type required. -
解决办法
1. Create a new Media Store
A) Open Archive Manager Configuration and choose the 'HSM' tab, and 'Stores' in the top navigation2. Create a new HSM Schema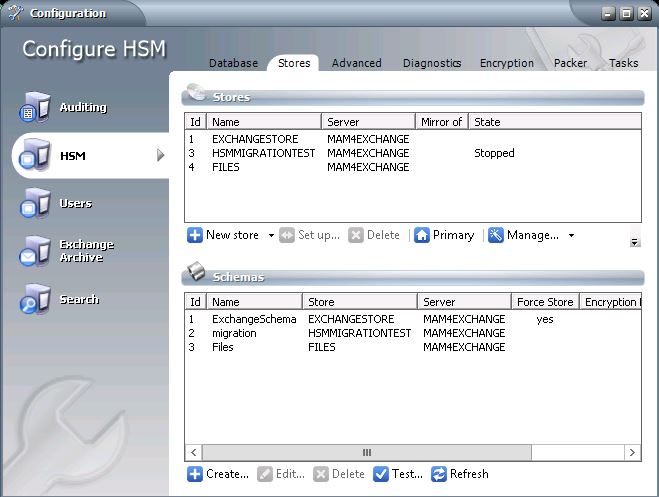
B) Click on the 'New Store' button
C) Select storage type (typically ‘Simple Path’) and name your store *Note you may need a store type specific to your storage medium. Open a case with us for other store type details*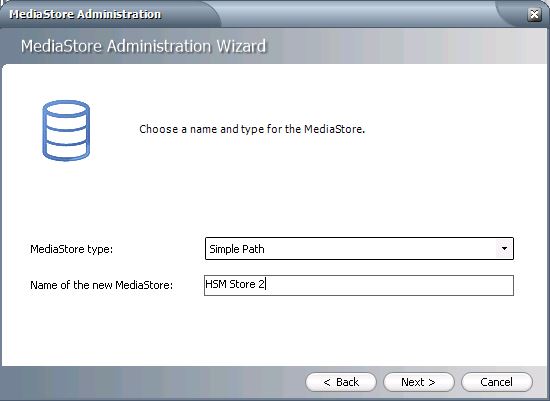
D) In the 'Path for the MediaStore' field, click 'Browse' to the location you want the new media store or enter a network path, and activate multiple saving and path if you want to save to two identical locations. Leave all other fields at the defaults.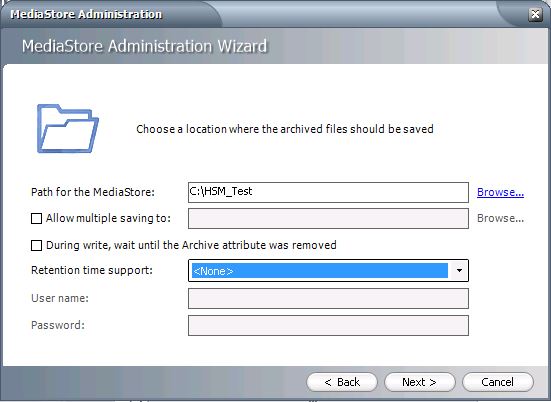
E) Click Next and Finish
F) When prompted, choose 'Yes' to restarting the appropriate HSM store service.
A) Open Archive Manager Configuration and choose the 'HSM' tab, and 'Stores' in the top navigation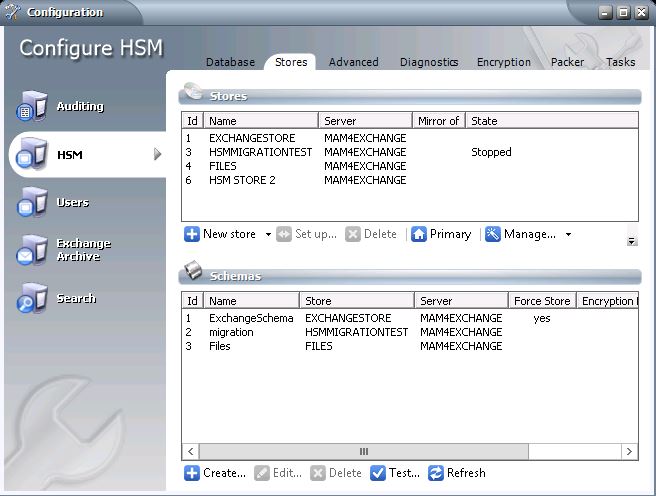
B) Under the 'Schemas' section, click ‘Create’
C) In the ‘Store’ drop down, select the HSM you wish to archive to by name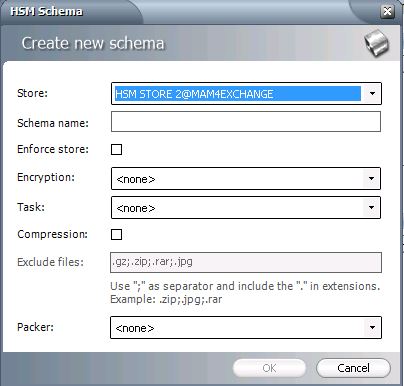
D) Name the Schema and click ‘OK’ (Leave all other fields blank)
E) When prompted, choose 'Yes' to restarting the appropriate HSM store service.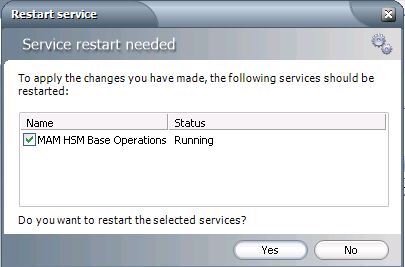 3. Adjusting Retention PoliciesA) Open the Archive Manager console and navigate to the 'Retention' tab. (In View > Manager)Jobs should now be archiving newly archived messages into the new HSM!
B) For a retention category that will be archiving to your new HSM store, double click or right click and select 'Properties'
C) Under 'HSM Scheme', use the drop down menu to select your new HSM store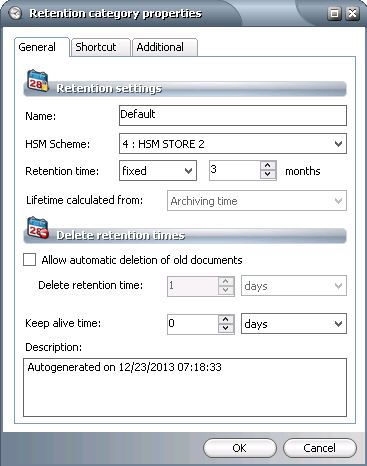
D) Click on the 'OK' button
E) Restart archive services using the Stop and Start Services batch files