-
标题
Importing filtered SQL objects from a database to a model -
说明
ApexSQL Model is a free SQL data modeling tool. Using this tool, a database can be created or imported from SQL Server. Among the various importing settings, there is a way to import only selected objects from a database to model.
There are several ways to import databases in ApexSQL Model. So, first of all, let’s see how to import one.
-
解决办法
mport all database objects using ApexSQL Model
When ApexSQL Model is launched, the main blank window will be shown:
By clicking on the New button from the Home tab in the Models section, the Actions and View tabs will be shown along with the Resources tab, as shown below:
Switch to the Actions tab, and then click on the Create model button in the Engineer section:
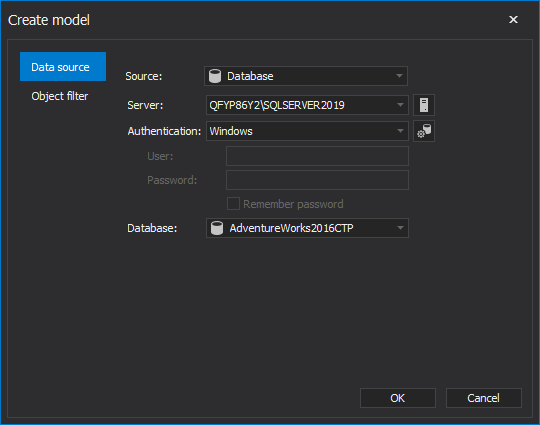
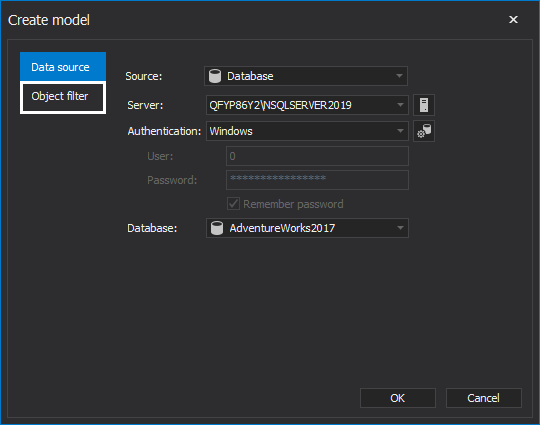
The Create model window will be shown. In this window, from the Source drop-down menu, select Database as the source. From the Server drop-down menu, select targeted SQL Server instance, type of Authentication, and finally from the Database drop-down menu, select the wanted database. When done, hit the OK button:
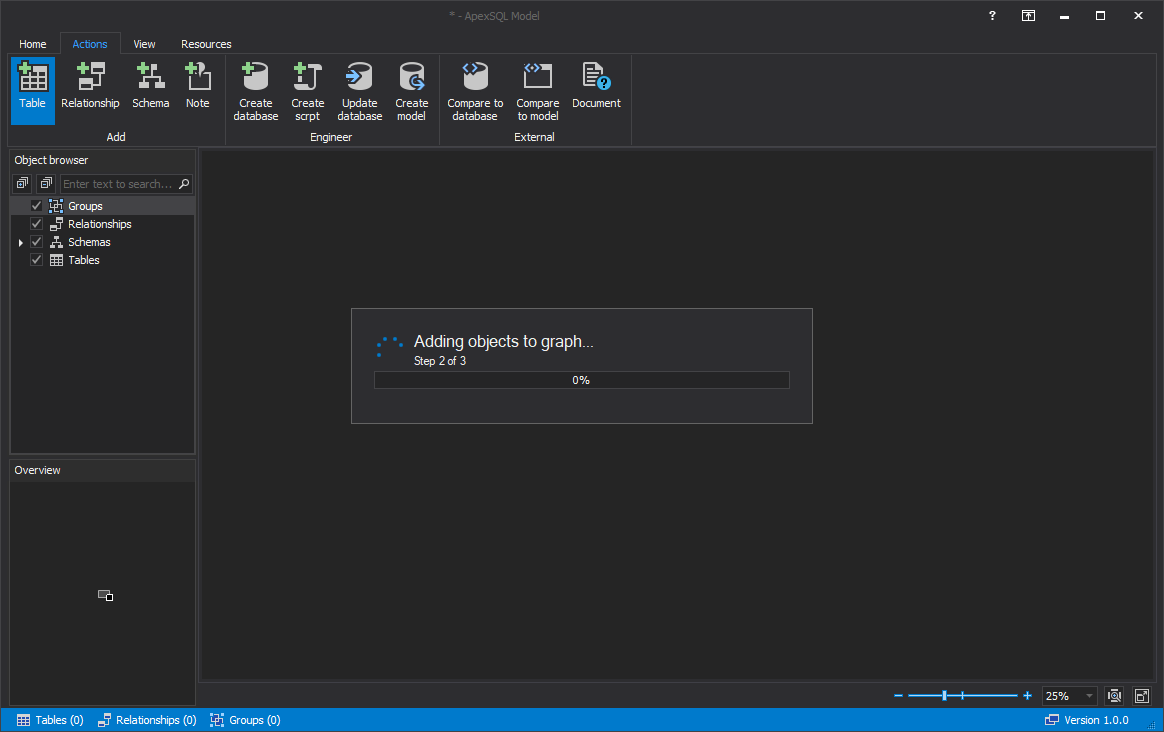
Adding SQL objects into SQL data modeling tool will start:
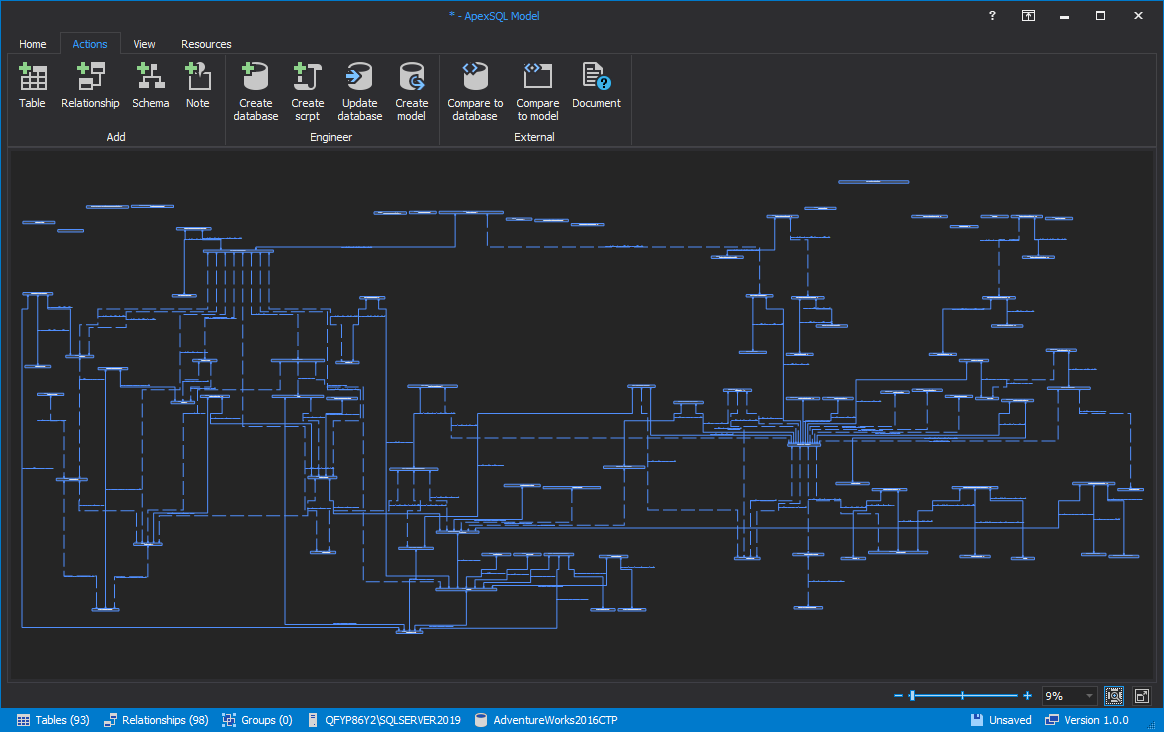
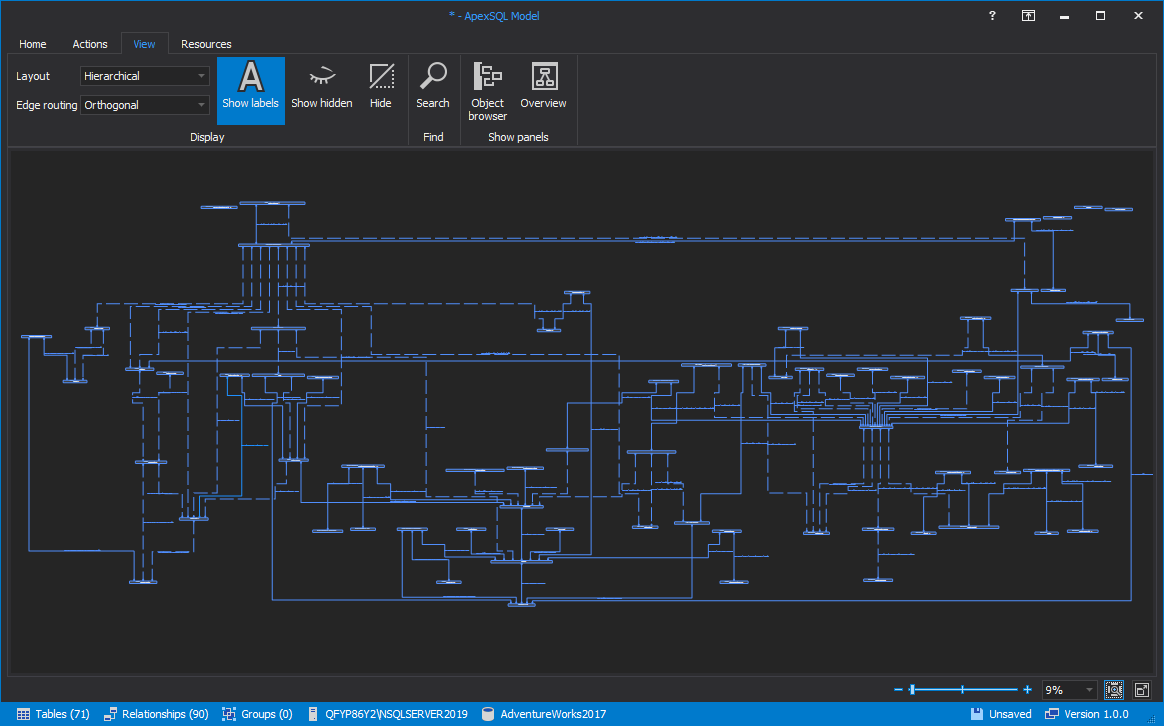
When the loading process is done, the database with all objects will be shown in the main diagram window:
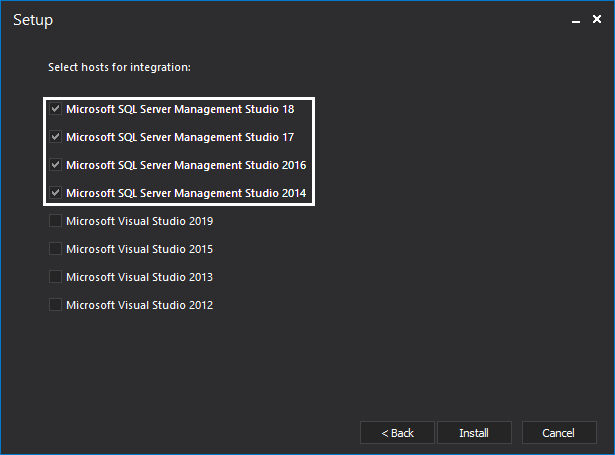
Another way to import a database into ApexSQL Model is by using SQL Server Management Studio (SSMS). However, this action requires that ApexSQL Model is integrated into SSMS. This can be done during installation. By default, all installed SSMS instances will be shown in which the application can be integrated to:
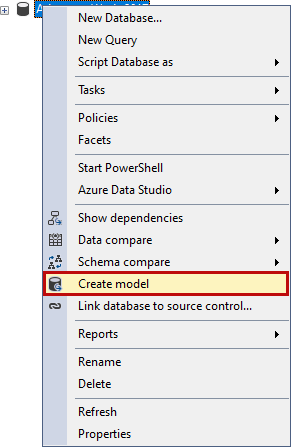
To import a database from SSMS, open right-click context menu for a database in the Object Explorer pane and select the Create model option:
The selected database will be opened in the SQL data modeling tool:
For detailed information about how to create/update a database, see Using SQL database modeling tool to create and update a database.
Import filtered objects using ApexSQL Model
To import only selected objects from a database into the SQL data modeling tool, click on the Create model button from the Actions tab in the Engineer section:
The Create model window will be shown. Before clicking on the Object filter tab, from the Source drop-down menu, select Database as the Source. From the Server drop-down menu, select a targeted SQL Server instance, type of Authentication, and from the Database drop-down menu, select the wanted database:
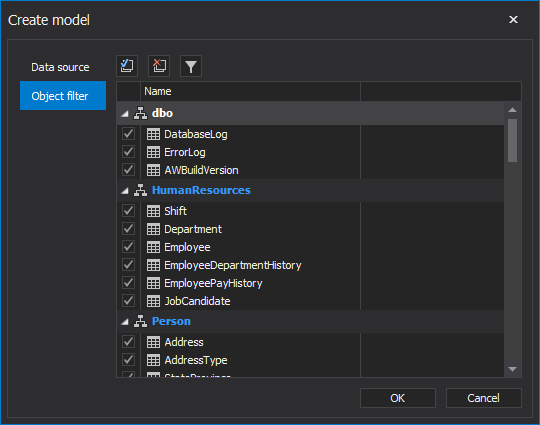
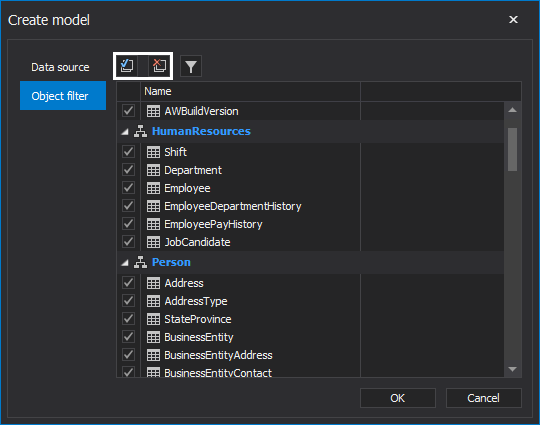
Once the data source is configured, switch over to the Object filter tab:
All objects can be checked or unchecked by clicking on the Check all and Uncheck all objects buttons. Also, one by one objects can be checked or unchecked by clicking on the checkboxes on the left.
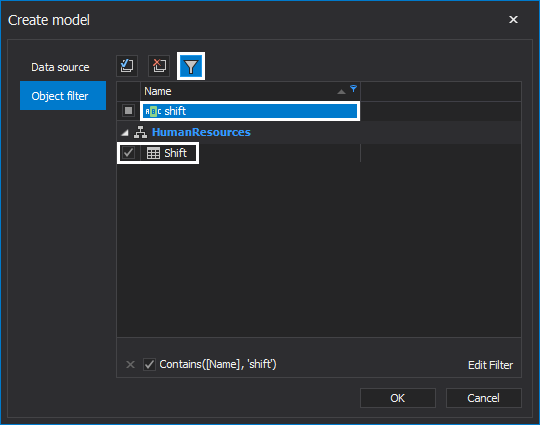
The Column filter button is used to easily find objects from a database . Click on the Column filter button, then type the name of the objects. The found object will be displayed immediately:
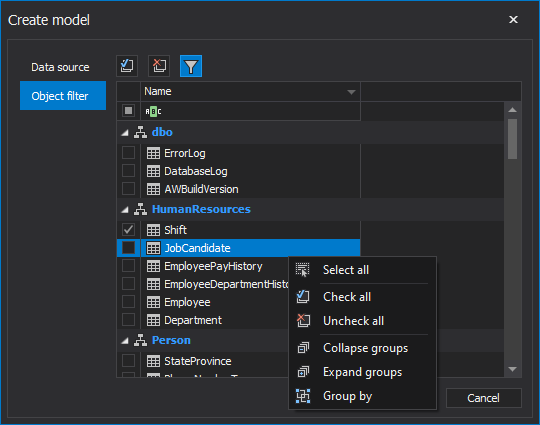
The right-click context menu inside this window provides various possibilities:
- Select all
- Check all
- Uncheck all
- Collapse groups
- Expand groups
- Group by
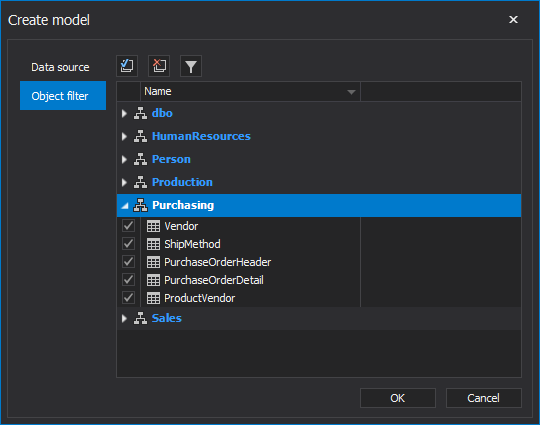
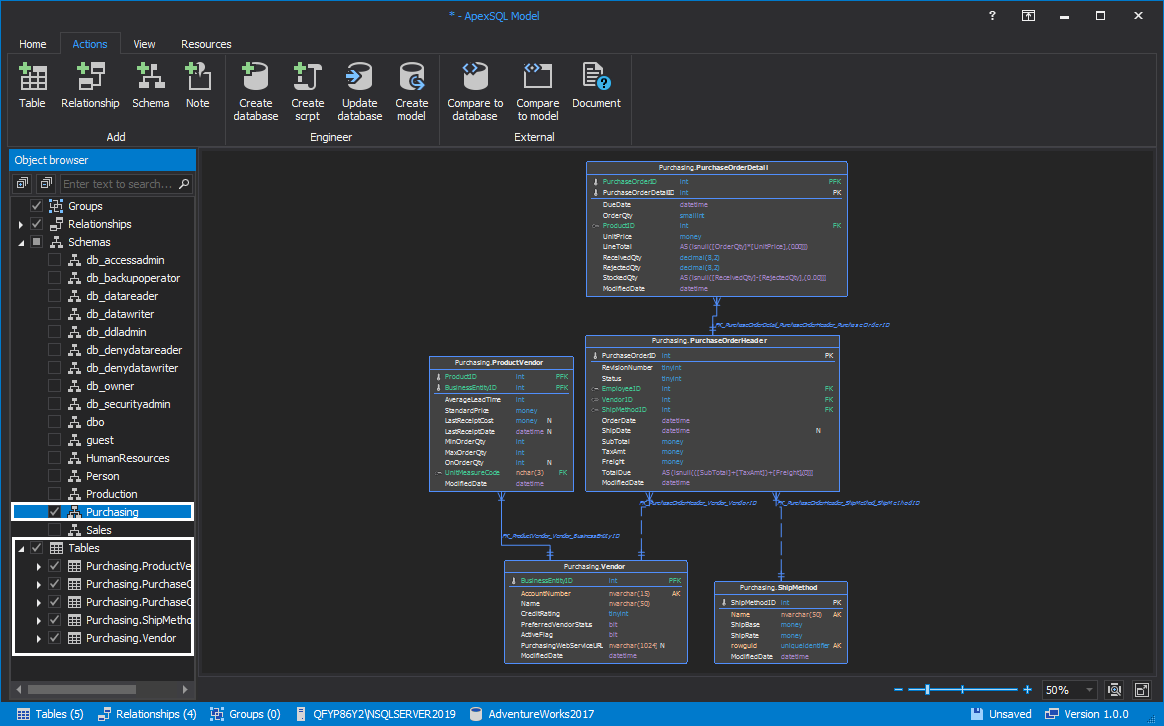
In this case, we will tick only objects from the Purchasing schema, and untick all other objects:
Only selected objects will be loaded, and shown on the main diagram window of the SQL data modeling tool:


