-
问题
ApexSQL Manage installation and troubleshooting guide -
回答
Summary
This article provides an insight into the installation process of the SQL manage instance software.
Description
ApexSQL Manage is an all-in-one powerful and intuitive tool with a plethora of features and is primarily used for scheduled discovering of SQL Server instances across the network and enforcing best practices by detecting issues on those instances as well as for comparing SQL Server instances and snapshots and creating detailed documentation on SQL Server. It consists of three main components:
- User interface – The main component of the software, with the ability to search for SQL Server instances and its services, fix found issues on the discovered instances, create SQL Server snapshots, compare mentioned instances between each other, and with its snapshots. There is an option to document instances and snapshots in Word, PDF, HTML, and CHM file formats. The GUI allows the automation of jobs for all tool’s core features, while the jobs themselves are running in the background with the help of the monitoring agent service
- Monitoring agent service – A background service that provides communication between the SQL manage instance application and the Central repository database (CRD). This allows the GUI interface to execute the scheduled tasks in the background and to notify the user about the outcome of the task’s execution
- Central repository database – A database that is installed on a specified SQL Server with the intent to store the information necessary to ensure the two-way communication between the GUI and the monitoring agent service. The info about the created task schedules, the data about email configuration, and other configuration settings, as well as the SQL Server login credentials, are stored in it. It is enough to install only one CRD to ensure all this data is properly stored
All the mentioned components of the SQL manage instance software must be properly configured during the installation process.
Installation of ApexSQL Manage User Interface
To begin the installation process of ApexSQL Manage, download the latest version of ApexSQL DBA installer from the Download page. After the download is done, run the ApexSQL DBA exe file to initiate the setup.
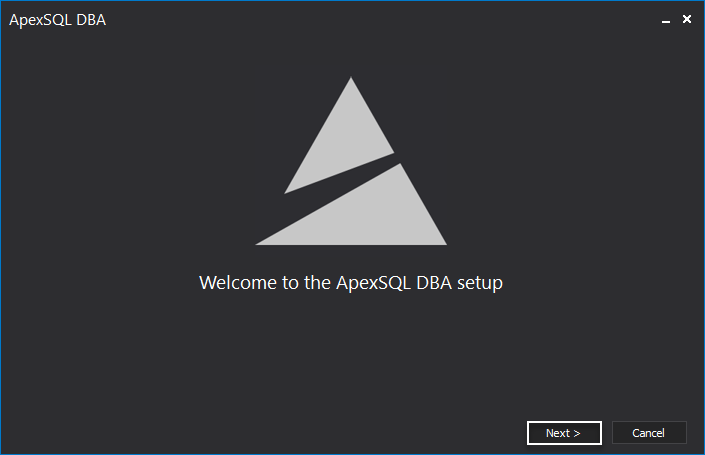
The first step of the installer is the welcome screen. Click Next to start the setup process:
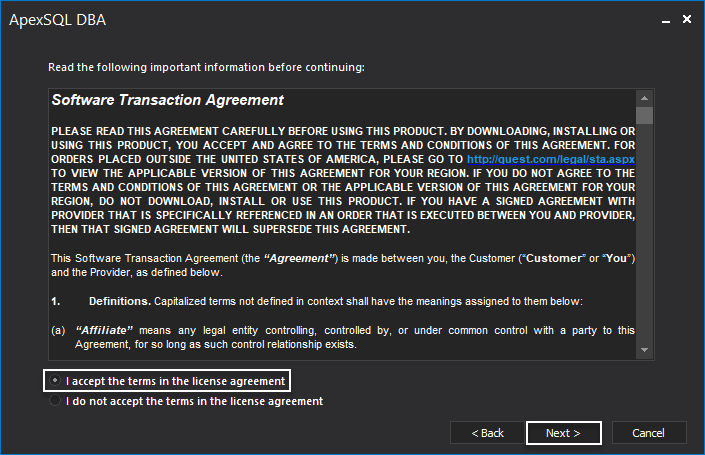
On the following page, choose the I accept the terms in the license agreement option to agree with the terms of the
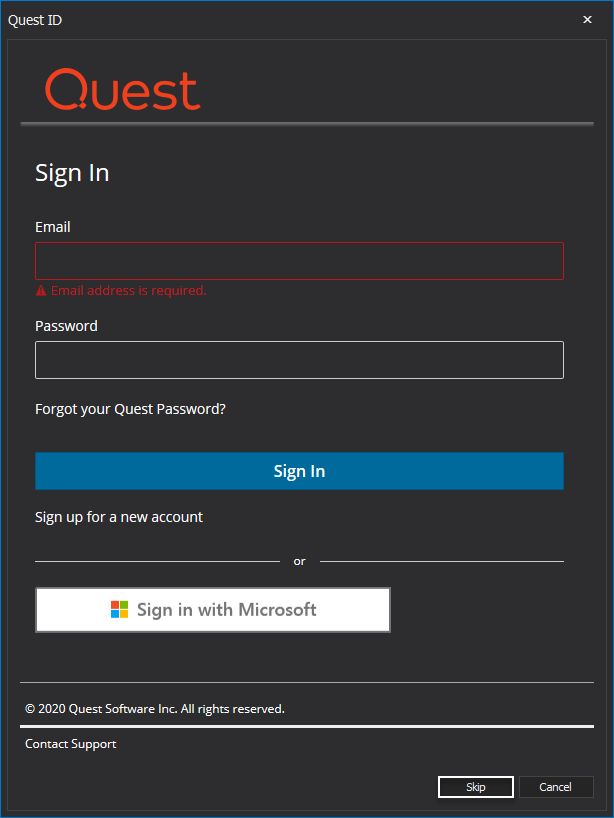
. Click Next to continue:In the Quest ID setup step, sign in with the previously created Quest credentials, or create a new account. Click Skip to skip this setup:
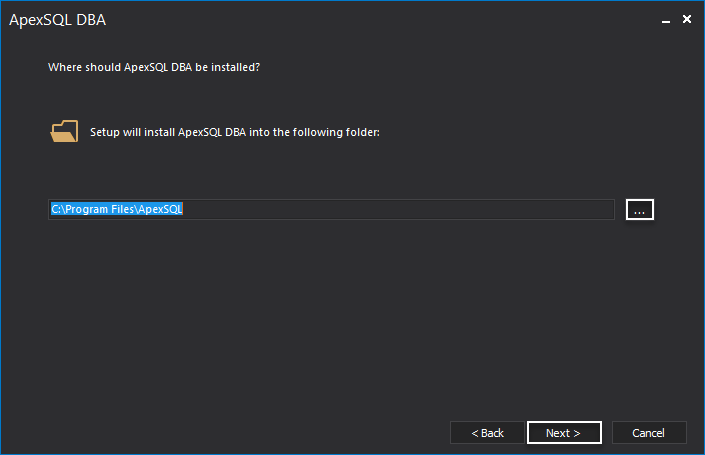
On the next step, choose a custom destination folder for the SQL manage instance tool or continue with the default one. Click Next to continue:
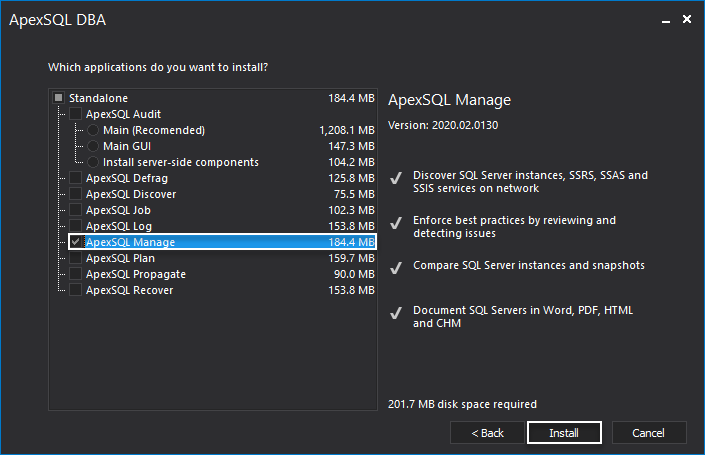
On the following page, check ApexSQL Manage from the listed ApexSQL DBA tools and click Install:
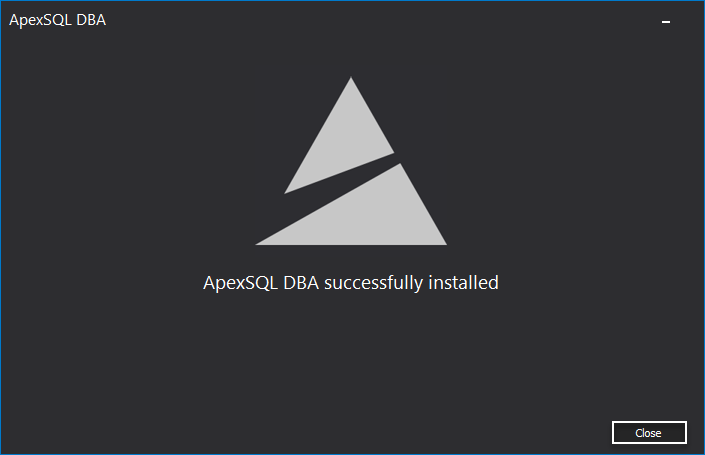
Once the SQL manage instance software is successfully installed, click Close to finish the setup:
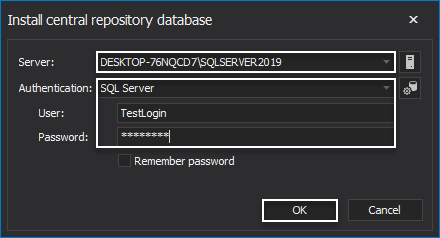
On the application’s initial start, configure the Central repository database (CRD). From the Server drop-down list, choose the SQL Server where CRD will be stored and select one of the supported Authentication options (Windows or SQL Server). Click OK to continue:
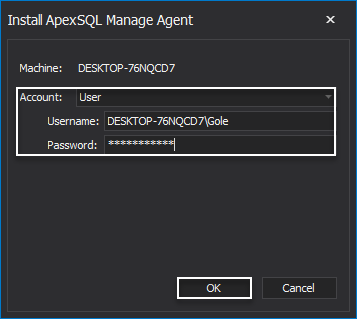
When installing the monitoring agent service, to ensure the full privileges on the system, select the User account. This selection will automatically insert the current Windows account into the Username field. Enter the matching login password for that account in the Password field.
Additional information about ApexSQL Manage requirements can be found on the Requirements page.
Click OK to finish the setup:
Troubleshooting
When interacting with SQL manage instance application, several issues may be faced. Bellow will be mentioned the most common ones.
Issue
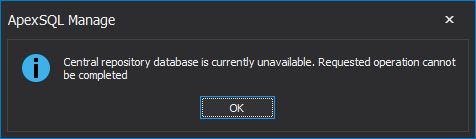
“Central repository database is currently unavailable. Requested operation cannot be completed” the information message shown at launch:
This issue is encountered when the SQL Server that is storing CRD is not running.
Solution 1
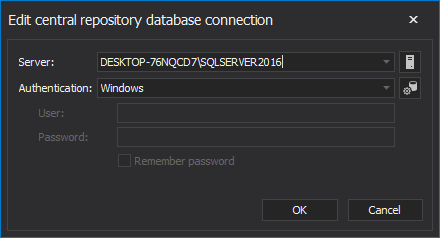
After the OK button is clicked in the shown information message, the Edit central repository database connection setup window will be opened to choose some other SQL Server instance to store the new CRD and undisturbedly continue to use the application:
Solution 2
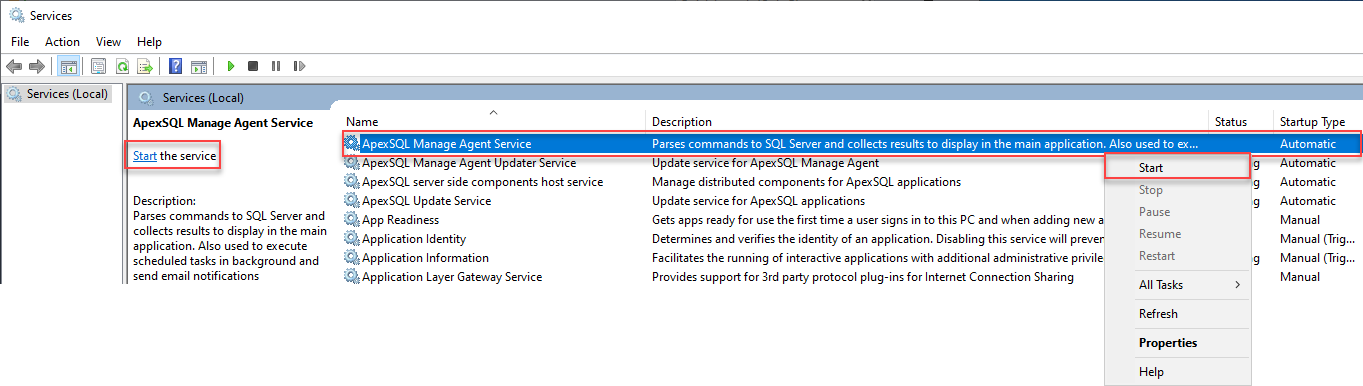
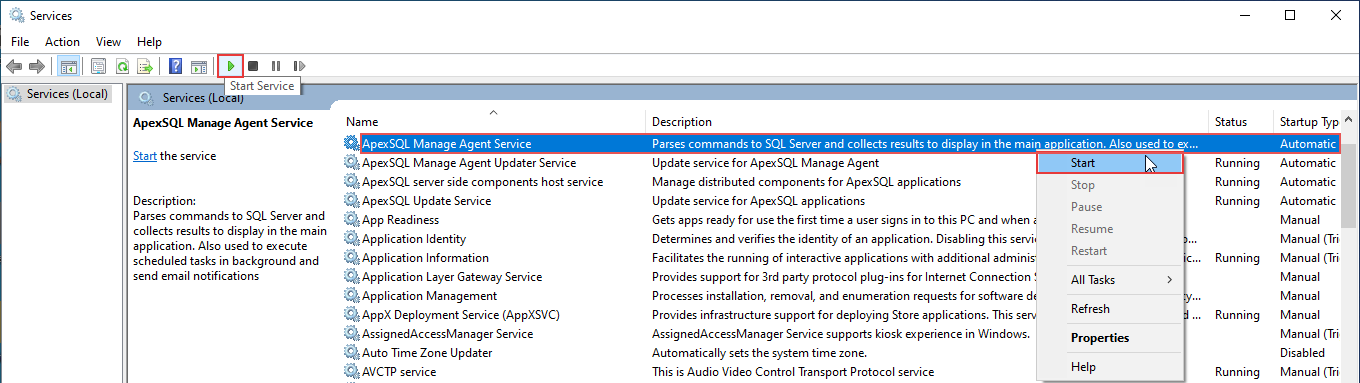
Start Services, locate the SQL Server that is not running, and start it. To do that, right-click on the SQL Server service, and from the context menu choose the Start option or click the Start the service option.
Note: To start the Services window, do one of the following:
- Press
 + R and type services.msc or
 - Right-click on the Start, select Run… and type services.msc or
- Type “services” in the Type here to search box and hit enter:
Issue
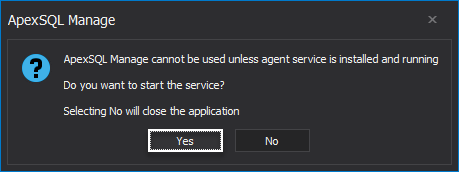
“ApexSQL Manage cannot be used unless agent service is installed and running…” dialogue shown at the application launch:
This issue occurs when the GUI of the SQL manage instance tool detects that the monitoring agent service is not running.
Solution 1
The quickest way of fixing this problem is to click the Yes button on the shown dialogue. This action will start the service in the background.
Solution 2
Another solution would be to start the Services, select the ApexSQL Manage Agent service and start it either with a click on the Start Service button or by choosing the Start option from the right click menu: