In this article, it will be explained how to use the Send logs feature for sending application log files through ApexSQL tools to the support team.
Every ApexSQL tool collects all important information regarding work processes and stores them in the log files. They are a very important part of finding and resolving any issue reported by users.
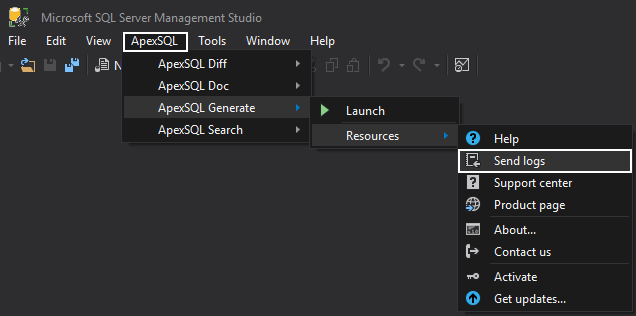
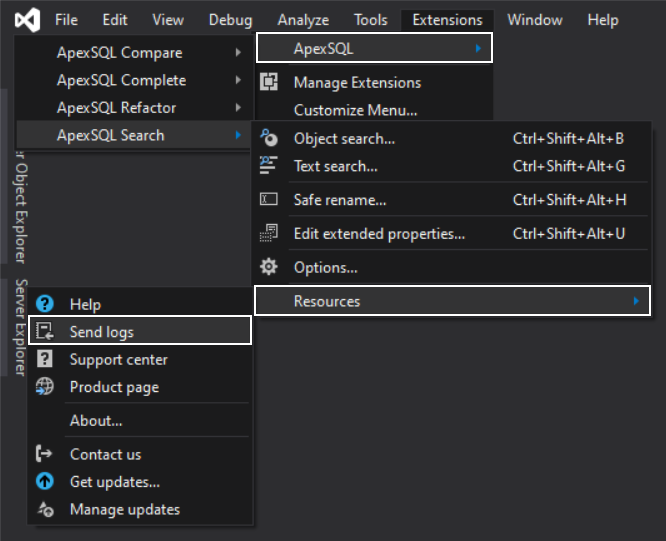
To initiate the Send logs dialog, for any ApexSQL tool, go to Resources tab and click the Send logs option, shown in the below screenshots for an ApexSQL standalone tool and Microsoft SQL Server Management Studio add-in, or Visual Studio add-in, respectively:
ApexSQL standalone tool:

Microsoft SQL Server Management Studio add-in:

Visual Studio add-in:

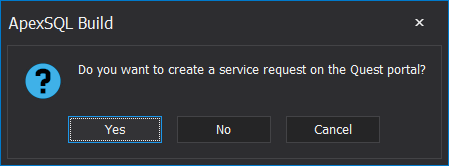
With a click on the Send logs button, the following dialog will be shown:

There are three options in this dialog:
If there is an ongoing service request or a new one needs to be created, and the log files are required for resolving the reported issue, with the Send logs feature it can be easily attached.
To attach the collected log files for any ApexSQL tool to an ongoing service request, click the Yes button in the Send logs dialog. On the Quest service request portal choose the My Service Request option under the My Account drop-down list, find the ongoing service request and attach the log files from the specified log files folder that is already open:
Choose the same option in the Send logs dialog, click the Yes button, if the log files need to be attached to a new service request. After the Quest service request portal and log files folder are opened, follow the steps for creating a new service request, during which the log files can be attached from the already opened log files folder:
Method for sending application log files to support team described in this article is implemented in all ApexSQL products with an item called:
“Error handling and send logs functionality has been modified”
listed under application release notes.