Issue
When performing OneDrive Provisioning the following message is logged for a user:
Possible Reason
The user's personal site may have been recently deleted, but the Graph API reported to Essentials the the site still exists.
Resolution
After waiting 30 to 60 minutes, on the OneDrive Provisioning - Select User window click the refresh cache icon (
There may be some occasions when the software itself or a Support Engineer will request you install an alternate framework. This request may be related to a certain authentication provider you are utilizing, Box connectivity or possibly even for the encryption of your data.
If requested to do so, please follow the steps below:
1.Exit and stop all running instances of the application on your host computer.
2.Download the alternate framework. Please be sure to choose the appropriate version specific to your installation. If you are unsure, go to Help > About and after the version number it will display either 32-bit or 64-bit.
3.Once downloaded, extract the zip to a location of your choice on the host computer. Please do not simply "open" the zip file, be sure to Extract all of the contents to this location.
4.Navigate to the location where the application was installed on your host computer, locate and then delete the folder named "jre". If you do not see this folder, please enable Hidden Files and Folders in Windows.
5.Copy the new "jre" folder that was extracted in Step 3 to the same location where the "jre" folder was deleted in Step 4.
·You do not want to "overwrite" the original folder with the new one, you need to delete the original first.
6.You may now start the application again.
If you experience any issues during the replacement process or after the application is restarted, please contact Support for assistance.
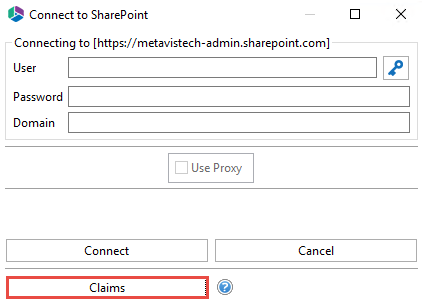
If your source tenant requires multi-factor authentication you can use the Claims options when connecting to a tenant.
1.On the connect to pop up, select the Claims button.
2.Enter your credentials, whether they be Microsoft or Box and connect.
If using OAuth Framework authentication with claims, please see the following section for more information.