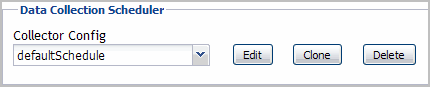
Use the controls in this panel as described in the following table.
Use the buttons on this dashboard as described in the following table.
For more details, see these topics:
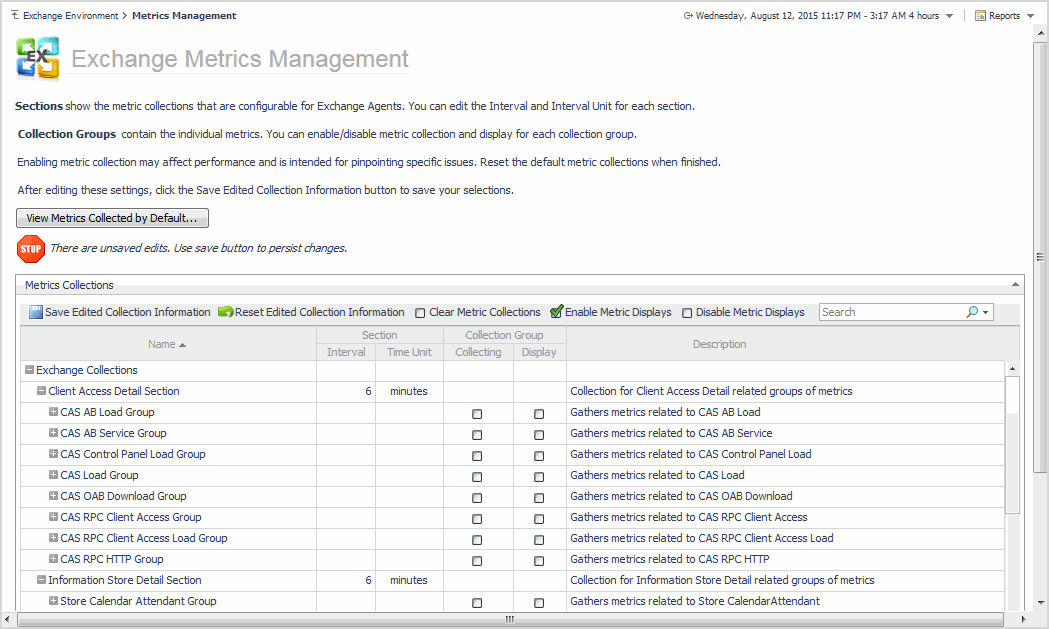
To display this dashboard, select Exchange Environment > Administration tab > Metrics Management from the dashboards listed in the navigation pane.
|
2 |
To change the interval, select the value displayed in the Interval column. Enter the new value in the dialog and select Update. |
|
3 |
To change the time unit, select the value displayed in the Time Unit column. Select the new time unit (days, hours or minutes) in the dialog and select Update. |
|
4 |
Select the Save Edited Collection Information toolbar button to save your selections. |
|
2 |
Click the check box in the corresponding Collection Group | Collecting cell. |
|
4 |
Click the check box in the corresponding Collection Group | Display column. |
|
6 |
Select the Save Edited Collection Information toolbar button to save your selections. |
|
7 |
On the Save dialog, click Save to confirm that you want to save your selection. |
|
2 |
Click the enabled check box (contains a green check mark) in the corresponding Collection Group column (Collecting or Display). |
|
4 |
Select the Save Edited Collection Information toolbar button to save your selections. |
|
5 |
On the Save dialog, click Save to confirm that you want disable the selected metric collection. |
|
1 |
From the Exchange Metrics Management page, select the View Metrics Collected by Default button. |