Steps to upgrade
1.Download and unzip the installation package to a suitable media folder. For more information see Steps to download the install media.
2.Run the OWA Extension installer. The default location is C:\Metalogix\Archive Manager Installation Package\OWA Extension\Archive Manager OWA Extension Setup.exe. The Welcome window opens.
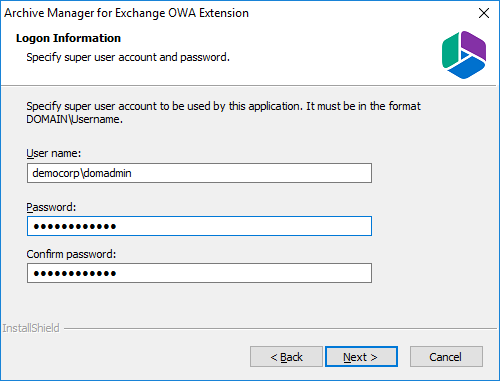
3.Click Next. The Logon Information window opens. Verify that the superuser User name is the same. Then re-enter the Password and Confirm Password. You can change the credentials if you want.
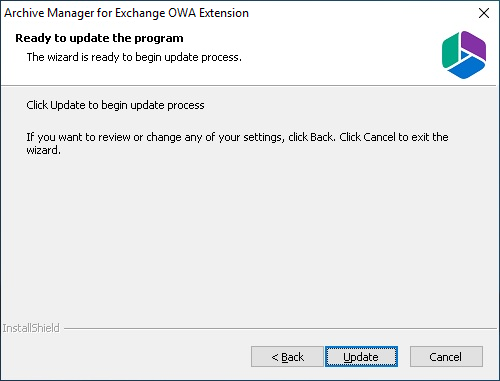
4.Click Next. The Ready to update the program window opens. If you want to review or change the wizard settings, click the Back button. To exit the wizard click Cancel. When the upgrade completes the Update Complete window opens.
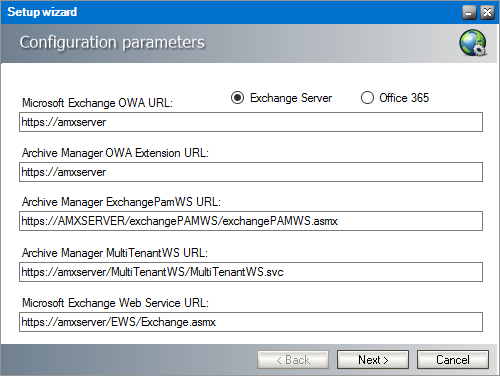
5.Click Upgrade. The Configuration parameters window opens. Select either Exchange Server or Office 365. The default exchange server selection and property values may be different. Please review and revise the values as described below.
For Exchange Server:
Microsoft Exchange OWA URL - URL of the Microsoft Exchange server.
Archive Manager OWA Extension URL - URL of the server where the OWA extension is installed.
Archive Manager ExchangePamWS URL - URL for the ExchangePamWS service. This service is installed on the Archive Manager server.
Archive Manager Multi TenantWS URL - URL of the MultiTenantWS service. This service is installed on the Archive Manager server.
Microsoft Exchange Web Service URL - URL of the Exchange web service in the format https://<exchange-server>/ews/exchange.asmx. The Exchange Web Service is a set of web services to access the mailboxes on Exchange Server. This web service is normally installed on Exchange Servers with the CAS role.
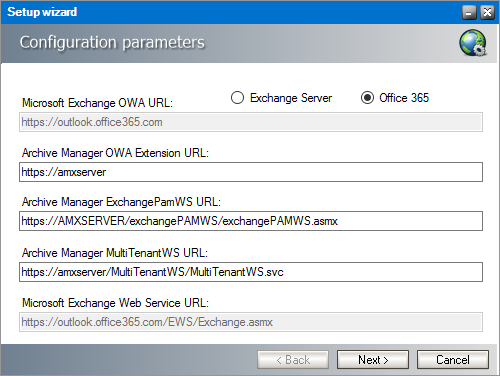
For Office 365:
Microsoft Exchange OWA URL - read only property. Default value is https://outlook.office365.com
Archive Manager OWA Extension URL - the URL used to access OWA from the internet. If you use multiple URLs to access OWA, please use the one which is accessible to most of the users.
Archive Manager ExchangePamWS URL - URL for the ExchangePamWS service. This service is installed on the Archive Manager server.
Archive Manager Multi TenantWS URL - URL of the MultiTenantWS service. This service is installed on the Archive Manager server.
Microsoft Exchange Web service URL - read only property. Default value is https://outlook.office365.com/EWS/Exchange.asmx
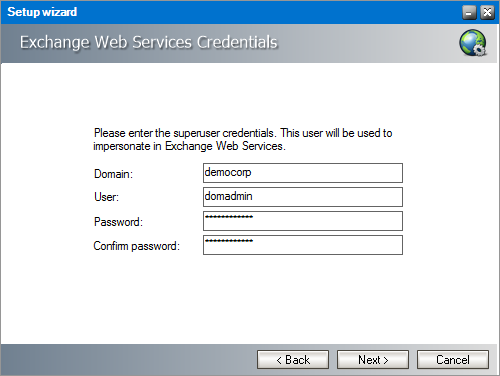
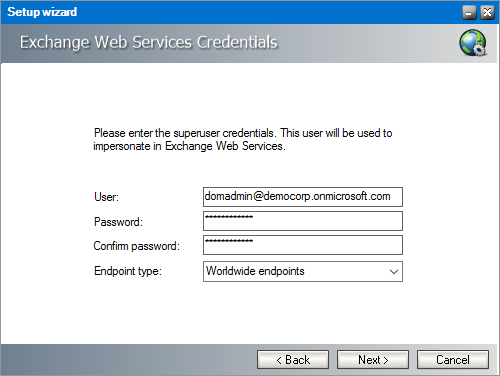
6.Click Next. Exchange Web Services Credentials window fill in the credentials of the super-user which runs the Archive Manager services. It was specified during the installation of the Archive Manager.
For Exchange Server:
Enter the properties as described below:
·Domain - enter the domain name
·User - enter the username
·Password - enter the password
·Confirm password - confirm the password you entered
For Office 365:
Enter the properties as described below:
·User - enter the Microsoft 365 username
·Password - enter the password
·Confirm password - confirm the password you entered
·Endpoint type - Choose from one of the following endpoints:
oWorldwide endpoints
oU.S. Government DoD endpoints
oU.S.Government GCC High endpoints
oMicrosoft 365 Germany endpoints
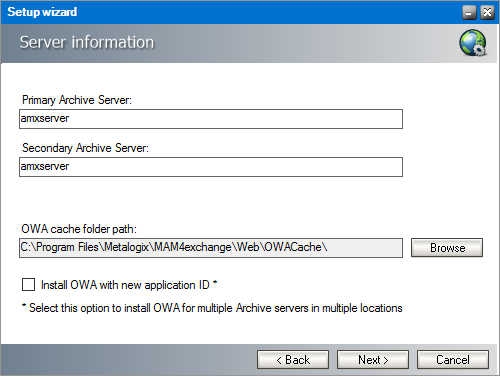
7.Click Next. The Server Information window opens.
Enter the information as described below:
·Primary Archive Server - name of your Archive Manager Archive Server.
·Secondary Archive Server - name of your Archive Manager Retrieve Server. For a single-server deployment, the server name is the same as the Primary Archive Server. The secondary server will be used if the primary is not available.
·OWA cache folder path - By default, the cache folder is created under the Web folder. Use the Browse button to change the OWA cache path, if necessary.
·Install OWA with new application ID - select this option to install OWA for multiple Archive servers in multiple locations. The unique identifier ensures that the Archive servers can reliably detect the OWA extension in different locations.
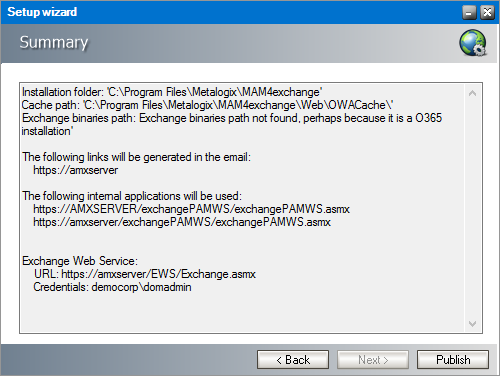
8.Click Next. The Summary window opens.
9.Click Publish. The Installation window opens and the the upgrade progress is displayed. When the upgrade completes, the Maintenance Complete window opens.
10.Click Finish to close the configuration setup wizard.
In this topic:
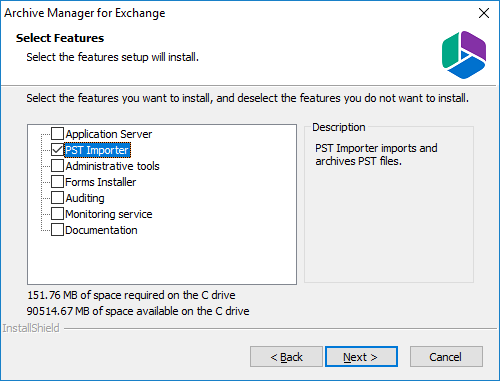
PST Importer is installed by default when you install Metalogix Archive Manager for Exchange. If it has not been installed, see the Metalogix Archive Manager for Exchange Advanced Installation Guide. Look for the topic Install the Archive Server in the Advanced Installation section.
When installing the Metalogix Archive Manager for Exchange you will be prompted to select the individual features. In the Select Features window, select the PST Importer feature and proceed with the installation.
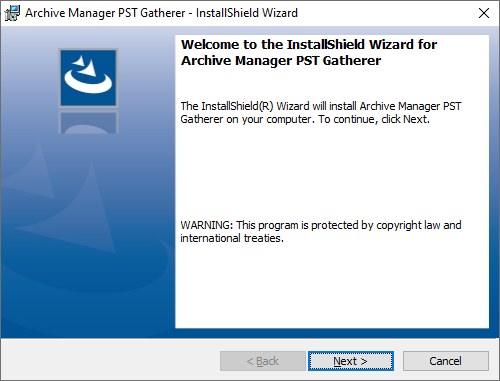
1.Run the installer. The default location is C:\Metalogix\Archive Manager Installation Package\Exchange\PST Gatherer\Archive Manager PST Gatherer Setup.exe
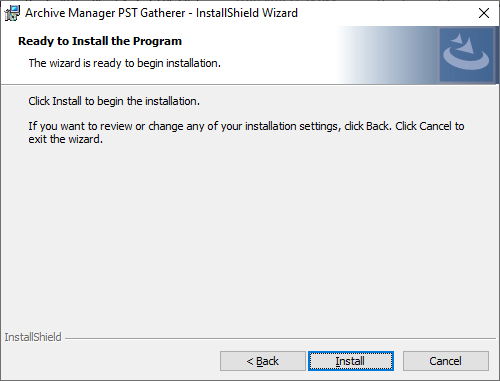
2.Click Next. The Ready to Install the Program window opens.
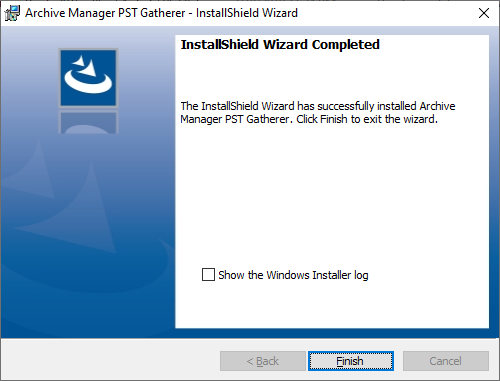
3.Click Install. When the install completes, the InstallShield Wizard Complete window opens.
4.Click Finish to complete the upgrade.
You can automatically upgrade search using the Archive Manager installer. If you need to manually upgrade the search or post processing services, follow the steps described below.
In this chapter:
·Steps to manually upgrade with the Search installer
·Steps to manually upgrade the Search database
Steps to manually upgrade with the Search installer
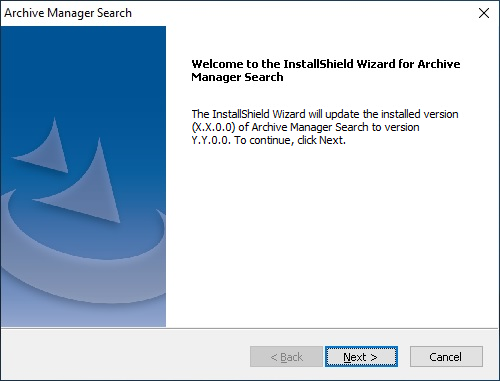
1.Run the Archive Manager Search installer. the default location is C:\Archive Manager Installation Package\Archive Manager Search\Archive Manager Search Setup.exe. The Welcome window opens.
|
|
NOTE: A prerequisite check occurs and missing requirements if any are displayed. Install the prerequisites. |
2.Click Next. The Logon Information window opens.
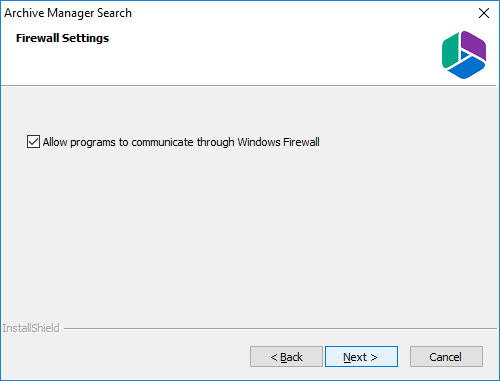
3.Click Next. The Firewall Settings window opens. Select the check box to allow communications through server firewalls. By default, the Allow programs to communicate through Windows Firewall is checked. This will allow critical services to communicate with the SMTP service. If you clear the check box, critical services may not be able to communicate through the firewall.
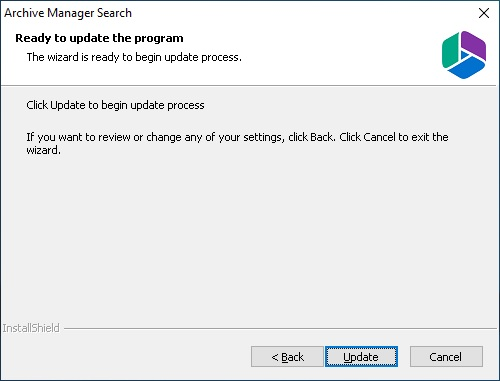
4.Click Next. The Ready to modify the program window opens.
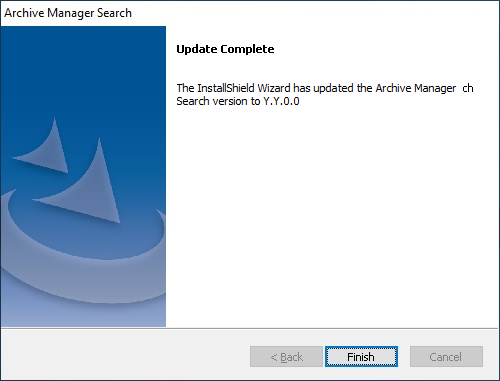
5.Click Update to upgrade Search. If you want to review or change the wizard settings, click the Back button. To exit the wizard click Cancel. When the upgrade completes the Update Complete window opens.
6.Click Finish.
Steps to manually upgrade the Search database
If you choose this manual process and database scripts are upgraded, you must run the scripts manually from the Archive Manager Configuration Tool for two components: Search and Post Processing.
For Search
1.From the feature panel on the left in the Archive Manager Configuration Tool, click Search and select the Database tab.
2.Verify that the database connection information is as expected. Then click Run Scripts. The Run Scripts selection window opens.
3.Click Select All to select all check boxes. Click Next. The View SQL scripts window opens.
4.Click Next. The Run Scripts authentication window opens. Enter the information as described below:
a.Authentication - authentication type used for the database. Choose either Windows authentication or SQL Server authentication
a.Database user - database login username if SQL Server authentication is the selected as the authentication mode.
b.Password - password of the database user if SQL Server authentication is the selected as the authentication mode.
c.(optional) Check the I want to review the SQL Scripts check box to view the scripts.
5.Click Next. If you chose to view the SQL scripts then the View SQL scripts window opens. If you chose to view the Oracle scripts then the View Oracle scripts window opens
Click Save Script to save the script as a script file to a folder. Check the Word wrap check box to display long lines as multiple lines of text.
6.Click Next. The Run SQL scripts window reopens with the scripts you have chosen to run.
7.Click Next. When the status changes to Scripts were run successfully, click Finish to close the script installer. The Scripts section of the Database tab displays the status and updated version of the scripts.
For Post Processing
1.From the feature panel on the left in the Archive Manager Configuration Tool, click Post Processing and select the Database tab.
2.Repeat steps 2 to 7 as described in the previous section.
Steps to upgrade
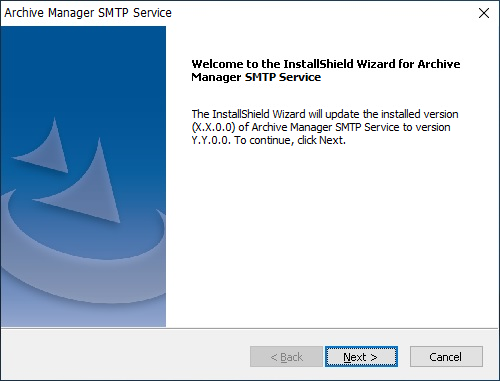
1.Run the installer. The default location is C:\Metalogix\Archive Manager Installation Package\SMTP\Archive Manager SMTP Setup.exe. The Welcome page of the Archive Manager SMTP Service opens.
2.Click Next. The Logon Information window opens. Enter the account details of a user who is authorized to run the SMTP service. It is recommended to use the account information of the super-user that was used to install Archive Manager for Exchange.
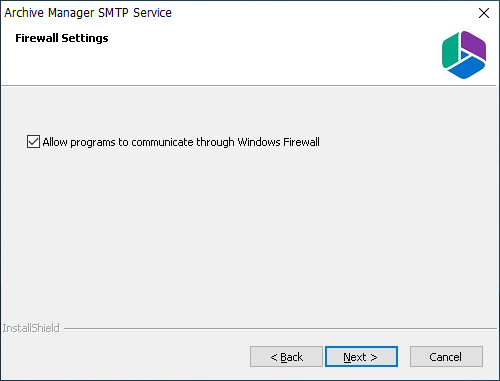
3. Click Next. The Firewall Settings window opens if the Windows Firewall is active on your computer. By default, the Allow programs to communicate through Windows Firewall is checked. This will allow critical services to communicate with the SMTP service. If you clear the check box, critical services may not be able to communicate through the firewall.
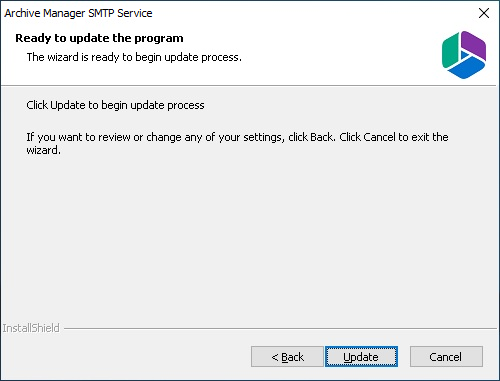
4.Click Next. The Ready to update the program window opens.
5.Click Update to begin the upgrade. If you want to review or change the wizard settings, click the Back button. To exit the wizard click Cancel. When the upgrade completes the Update Complete window opens.
6.Click Finish
For more information about SMTP, see the SMTP Guide.