Desktop Authority 9.x no longer supports MSDE or SQL 2000.
In order to upgrade to Desktop Authority 9.x follow the steps below. This procedure involves backing up the current data, and restoring it to a supported SQL platform.
Move the existing databases to a supported SQL platform
Take the following steps prior to upgrading to Desktop Authority 9.x:
Install updated version of SQL Server or Express
Desktop Authority 7.81/8.x supports 2005 or 2008 SQL Server Editions as well as SQL 2005, 2008 and Express Editions.
If you do not already have a SQL server available with one of the supported SQL versions, now is the time to install one. If you will be installing an Express edition, make sure to install the SQL Management tools along with it. These will be needed to restore your data.
Connect to SQL Server/Instance and Restore data
Now you will want to connect to your new SQL Server/Instance using the SQL Management tools and restore the databases that were previously backed up.
Note: For more information on using the SQL Management Tools, please refer to the SQL Documentation.
Point DA 7.81/8.x Manager to the new SQL database or SQL Express Instances
Now that the databases have been restored on a supported version of SQL, you must configure the existing DA 7.81/8.x Manager to point to the new SQL databases.
You will change the database location within the Desktop Authority Manager Global System Settings.
Launch the DA Manager and from the File menu, select Edit Global System Settings.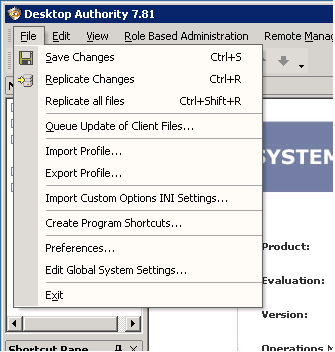
On the Global System Settings dialog, you will be changing the Reporting and Configuration SQL Settings.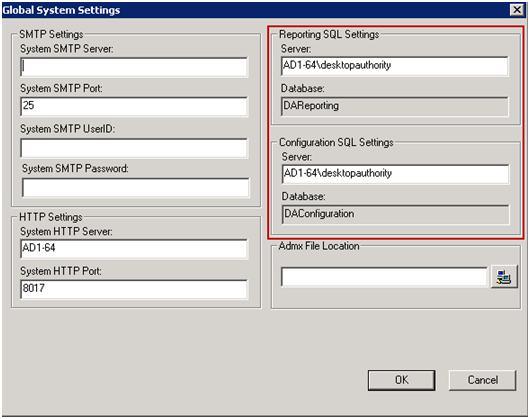
Enter the “machine name\instance name” into each of the Server fields.
Click OK after entering the appropriate data.
Close the DA Manager and before performing the next step, ensure that no other admins are currently using the DA Manager. Next, restart the Desktop Authority OpsMaster Service. To accomplish this task, click on Start, Run and type in services.msc and hit the enter key. Locate the Desktop Authority OpsMaster Service and restart it. Launch the DA Manager to complete the change to the database server. When the Manager is loading, the database locations will be checked. Once the console has finished loading, it is recommended to verify that the configuration settings and reports are intact by briefly viewing a few profiles and running a few reports. If data configuration settings appear to be intact, then you are ready to proceed with the upgrade to Desktop Authority 9.
Note: In the event that any problems or anomalies are experienced while following the instructions as provided above, please contact Quest Software Support.
It is now time to perform your Desktop Authority software upgrade. Please continue with the Installation and Upgrade Guide or See How to Upgrade to Desktop Authority Version 9.
