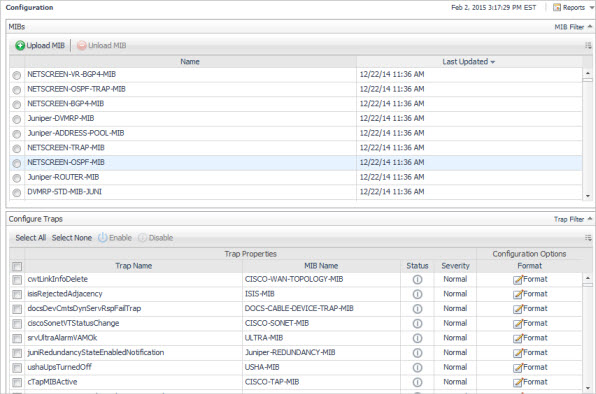
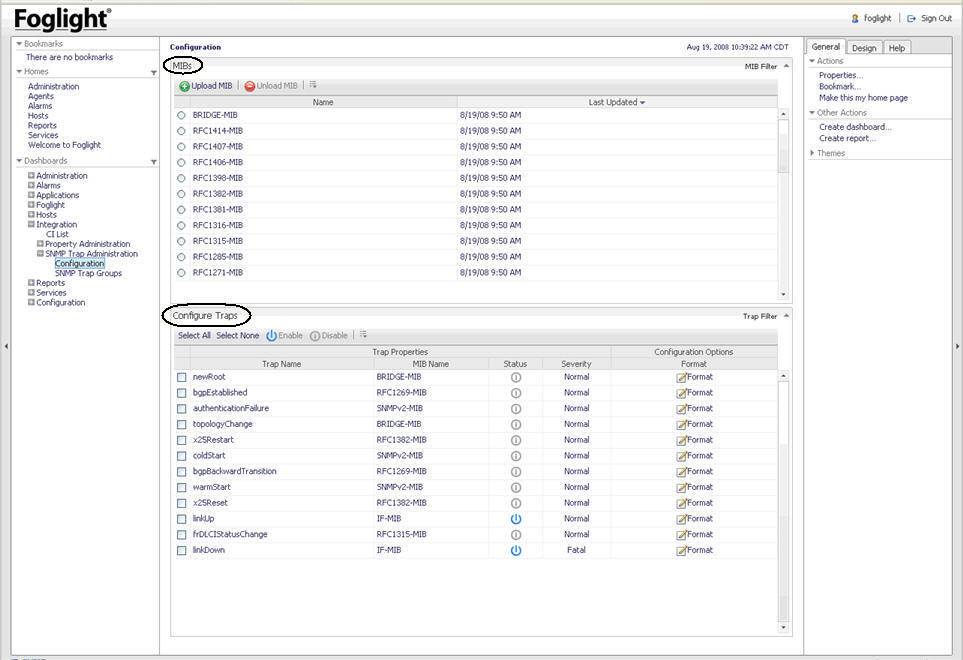
To upload a MIB, navigate to the MIB Trap Configuration dashboard found on the navigation panel under Dashboards, and click Integration > SNMP Trap Administration > Configuration.
|
1 |
On the navigation panel, under Dashboards, click Integration > SNMP Trap Administration > Configuration. |
|
3 |
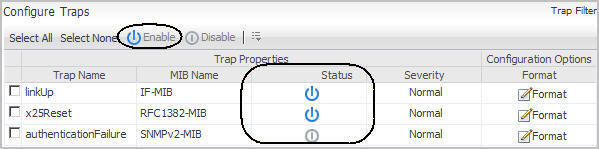
Click Enable. |
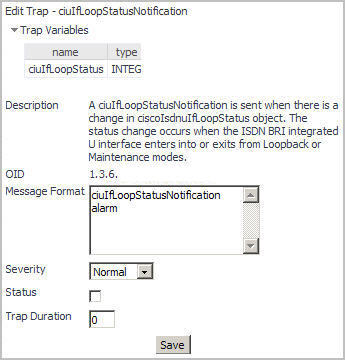
Trap Definition configuration is used to format the alarm that is sent into Foglight.
|
1 |
On the navigation panel, under Dashboards, click Integration > SNMP Trap Administration > Configuration. |
|
2 |
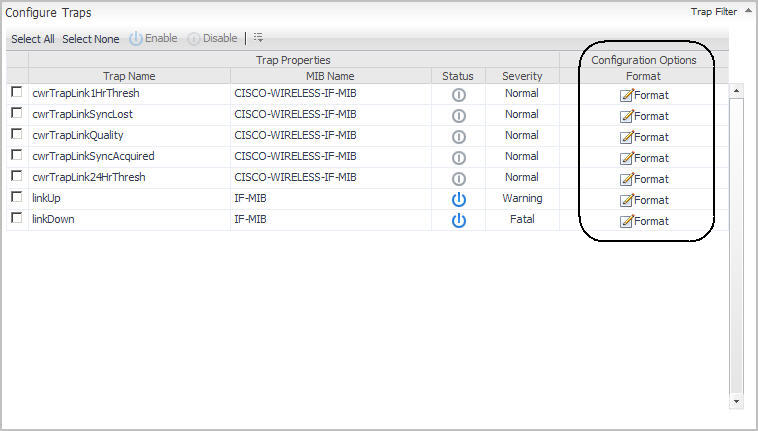
On the Configure Traps view, select Format for a Trap you want to configure. |
|
The Object Identifier (OID) of the trap as defined in the MIB file. | |
|
The message format that is provided on the alarm sent into Foglight based on the trap information. Trap variables can be specified in the message. For example, if the trap variable ifIndex is included in the message, it would be written ${ifIndex}. Likewise, the description from the trap definition can be included in the message by using ${description}. You can use the variables ${host} ${trapname} and ${technologyMonitor} in the message format. The ${host} is where the trap came from. | |
|
The status of a trap. The status can be either Enabled or Disabled. | |
|
1 |
On the navigation panel, under Dashboards, click Integration > SNMP Trap Administration > SNMP Trap Groups. |
|
2 |
Click Create. |
|
1 |
On the navigation panel, under Dashboards, click Integration > SNMP Trap Administration > SNMP Trap Group. |

|
2 |
|
1 |
On the navigation panel, under Dashboards, click Integration > SNMP Trap Administration > SNMP Trap Groups. |
|
2 |
Click Edit for the appropriate SNMP Trap Group. |
|
3 |