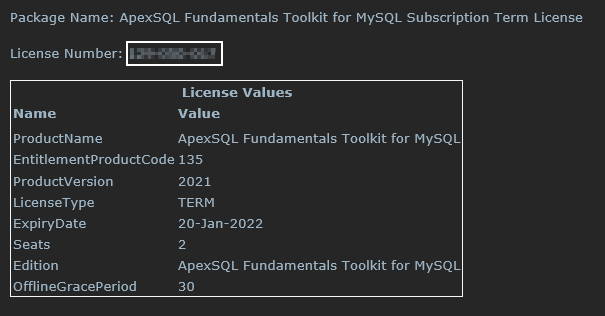
When the license is purchased, an email notification will be sent to the purchaser, that contains all the needed information for activating tools.
From the received email, copy the License number:

Start the application, and if not already logged with the Quest account, the Quest login window will be opened. The same credentials which are used to register on the Licensing portal can be used here as well. When the login process is finished, from the account drop list, select Manage your licenses online, to open the website. Once the site is loaded, click the Add license:
The Add License page will be shown, in the License number field paste the copied license number, or type it in, and click the ASSIGN button:
Now when the license (subscription) is activated, launch the tool and on the top of the tool on the right side the account name will be shown, the one for which the subscription is just added:

When the new license is added on the site, and the application was already started, the Check for the updated license must be used. This way the application will establish a connection with the server and the newly added license will be loaded. After that, the ApexSQL tools can be used again.
If the application isn’t already running, the license will be automatically refreshed when the application is launched.