The Appliance Migration Wizard allows you to easily move settings and images from one appliance to another. The migration does not work on the associated Remote Site Appliances (RSA). However, any links to the RSAs associated with the source appliance are migrated to the destination appliance.
The source and destination appliances must be on the same version. The migration process overwrites all data on the destination appliance and replaces it with those from the source appliance. The host name, IP address, and license key of the destination appliance are not affected by the migration.
IMPORTANT: Quest Software highly recommends that you perform the migration with both the source and destination appliances on the same network and same subnet. If required, the destination appliance can be moved to its appropriate subnet after the migration has completed.
1- Open two tabs in your web browser. On each tab, log in to the Administrator Console for the Source and Destination appliance.
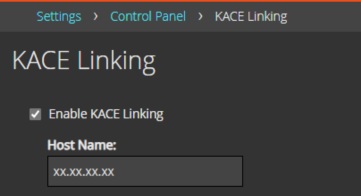
2- Ensure that appliance linking is enabled on each appliance at Settings | Control Panel | KACE Linking.
3- We strongly suggest using the IP Address at the Host Name field.
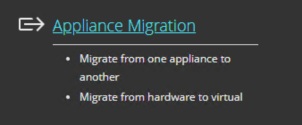
4- On each appliance, in the Administrator Console, on the left navigation pane, click Settings | Control Panel, then click Appliance Migration to display the Appliance Migration Wizard
NOTE: As you go through the wizard, you will need to switch between the source and destination appliances in your web browser.
To easily distinguish between the two appliances, you can apply different themes to each of them. For example, you can apply the Dark theme to the source appliance, and the Light theme to the destination appliance.
If appliance linking is not enabled on each appliance, this is indicated in the wizard. Click KACE Linking in the Appliance Migration Wizard and enable appliance linking using the KACE Linking page.
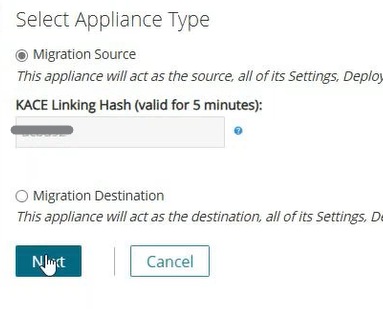
5- Specify the source and destination appliances.
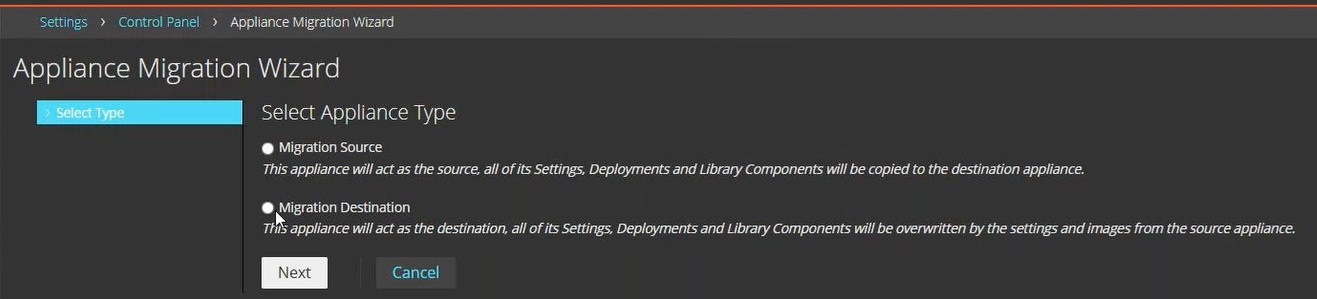
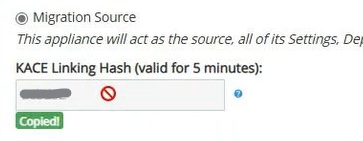
6- On the Source appliance, in the Appliance Migration Wizard, select Migration Source, and copy the KACE Linking Hash.
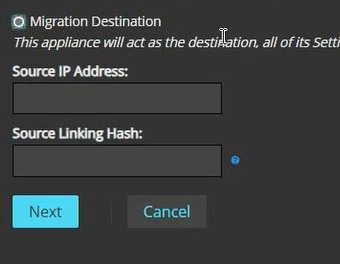
7- On the Destination appliance, in the Appliance Migration Wizard, select Migration Destination, enter the Source IP Address and Source KACE Linking Hash, and click Next.
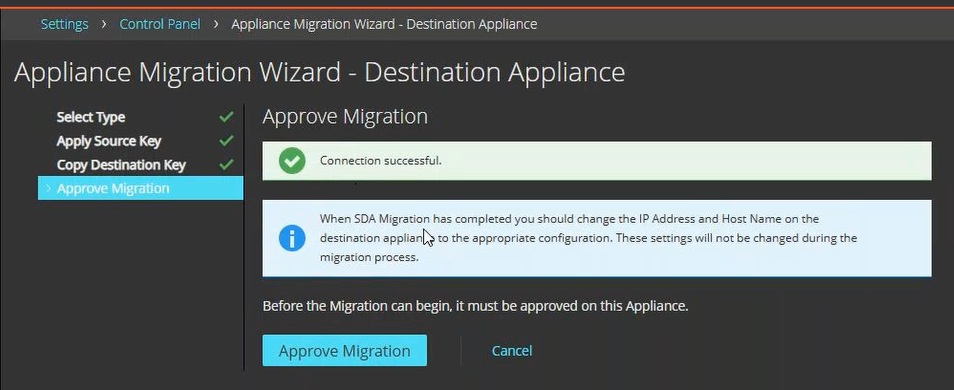
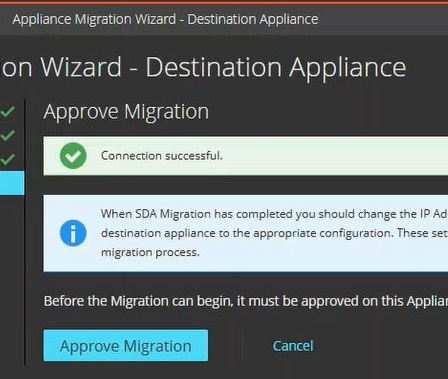
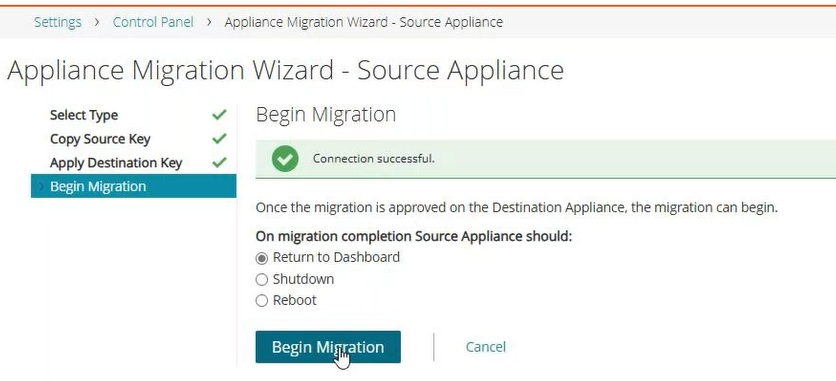
8- Still on the Destination appliance, after clicking Next, you should see Connection successful. Do not click anything else and go back to the Source appliance.
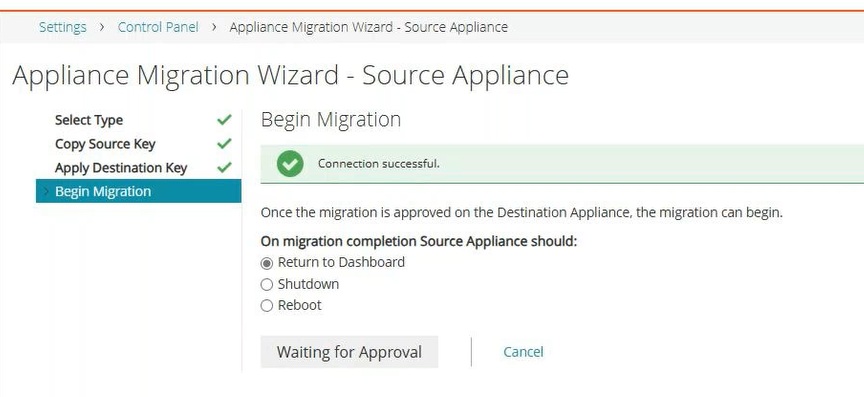
9- On the Source appliance, click on Next. After that, you should see Connection Successful and Waiting for Approval (grayed out).
10- On the Destination appliance, on the Approve Migration page, click Approve Migration.
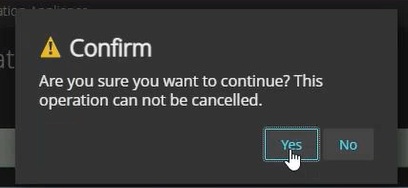
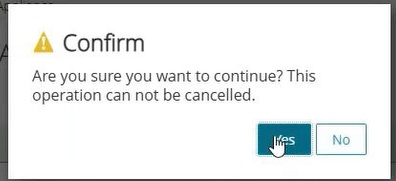
11- In the Confirm dialog box that appears, click Yes.
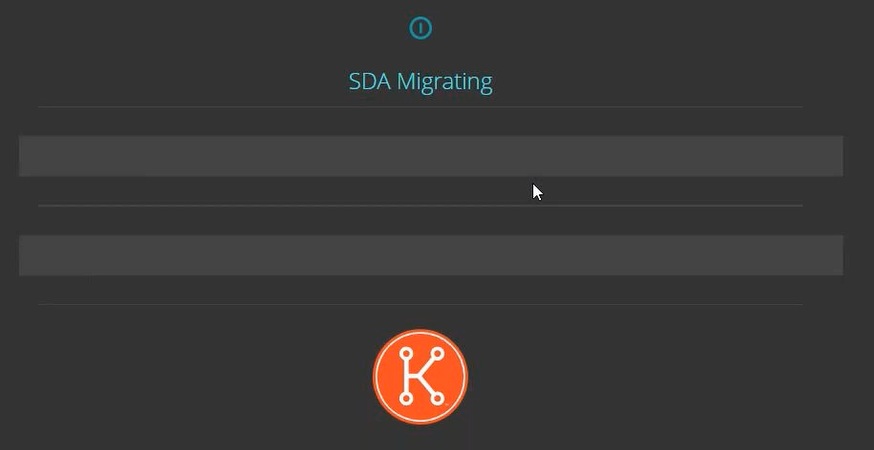
12- The Destination appliance goes into migration mode.
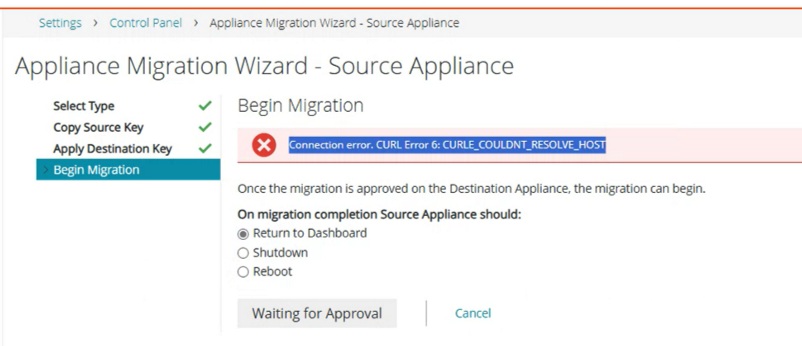
13- On the Source appliance, in the Begin Migration page, indicate which action you want the source appliance to take after the migration process completes.
To do that, on the page, select one of the following options:
▪ Return to Dashboard: The Dashboard page is displayed.
▪ Shutdown: The appliance shuts down.
▪ Reboot: The appliance reboots.
14- Click on Begin Migration.
15- In the Confirm dialog box that appears, click Yes.
16- The Source appliance goes into migration mode.
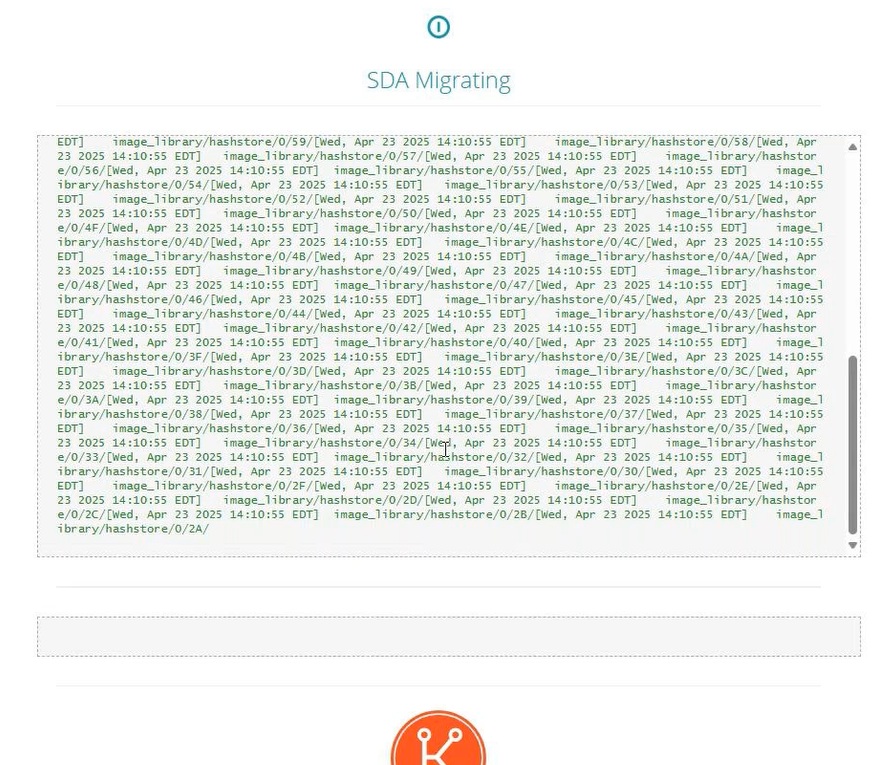
17- The log of the migration process appears for each appliance. The log contents are different for each appliance as they reflect what happens on each end of the process. When the migration process finishes, the destination appliance restarts, and the login page appears.
Additional Note:
IF on Step 9, the Source appliance, after clicking on Next you notice "Connection error. CURL Error 6: CURLE_COULDNT_RESOLVE_HOST", click Cancel on both appliances. Then, verify that you are using the IP Address in the Host Name field under Settings | Control Panel | KACE Linking from Step 3 and restart the process from the beginning.